
1. Swap Mixed Metals for One Metal Tone
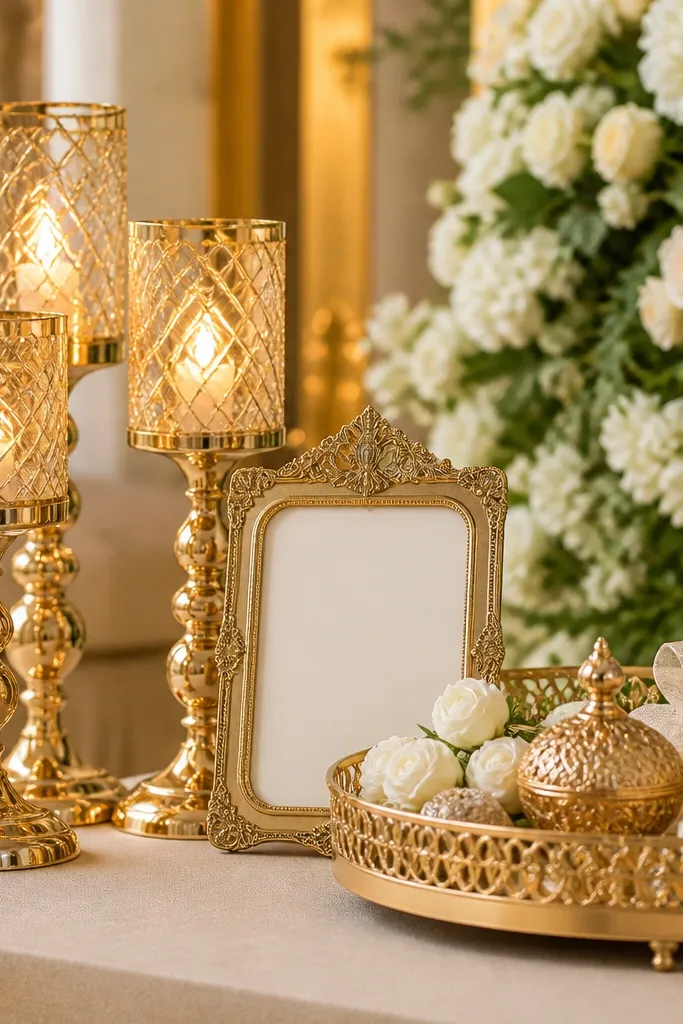
I used to sprinkle both gold and silver stage pieces because it felt "neutral." In photos, it reads as clutter. Pick one - warm gold or cool silver - and stick to it for rings, candle hardware, sign frames, and any shoe detailing that shows on camera. Warm gold flatters skin that leans peach or golden, while cool silver flatters pinker undertones and cooler makeup looks. If your bridal party has mixed jewelry, keep the stage metal consistent so the background still looks calm.
Start by laying your stage items on a table and sorting them into "warm" and "cool" based on how they reflect light. Then choose one group as your rule and only place those items on stage. Finally, check your shoes: if your shoe has gold hardware, keep the stage gold; if it's silver-toned, keep the stage silver. Take one quick phone photo from the front row seat so you can see the metal mismatch instantly before set-up day.
Try thisIf you already own mixed metal pieces, spray-paint only the small hardware parts with a metallic finish rated for indoor use - it's faster than replacing everything.
Common mistakeAvoid mixing gold and silver on the same visible plane, like candle + sign + tray, because it makes the whole stage look like a clearance pile.
2. Use Shoe Color Temperature to Match Your Florals
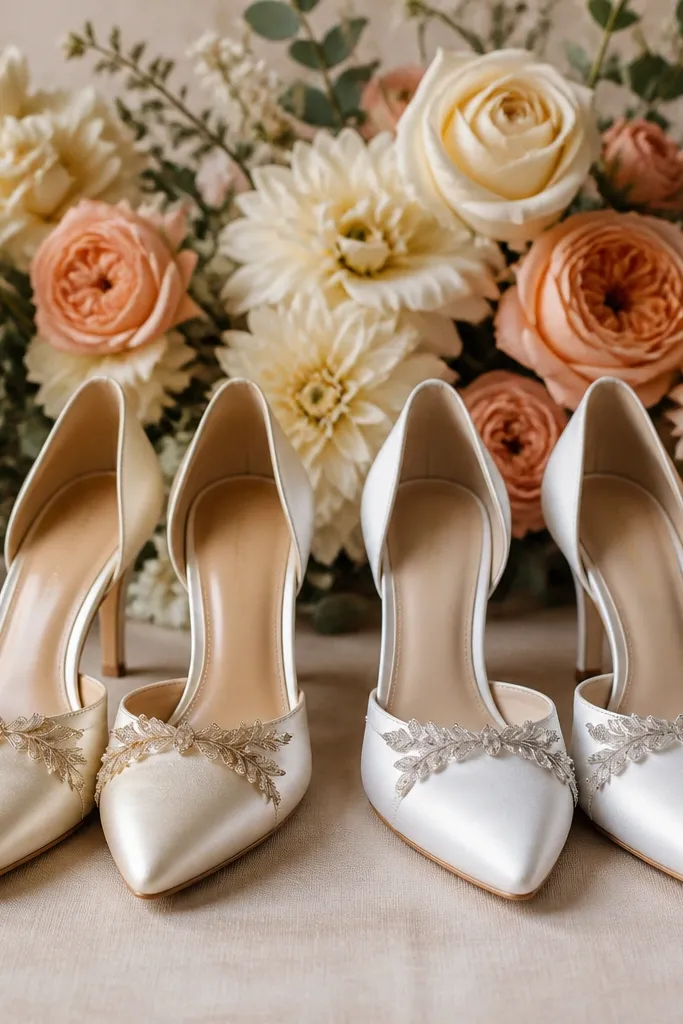
Stage styling breaks when shoe color temperature fights your flowers. If your bouquet and drapes are cream with peach or caramel tones, warm ivory shoes look like they belong. If your florals are icy white with blue undertones, cool white shoes stop looking "off" when you match that temperature. This matters even when shoes are mostly covered - camera catches them during walking and when the couple stands close to the front edge. I've seen warm shoes look yellow next to cool florals; it looks accidental even if it's not.
Start by holding a fabric swatch or ribbon from your florals next to your shoes in daylight near a window. Then decide: warm match or cool match, and commit to that direction for any visible shoe areas like straps, bows, or toe caps. Finally, style your stage accents to echo the shoe temperature - warm ivory pairs well with blush satin ribbons and antique gold frames, while cool white pairs with pearl textures and silver frames. Do a quick test photo where your shoes appear at the bottom of the frame.
Try thisIf you're unsure, choose "ivory" over "bright white" for most wedding stages; it blends with real flowers better in daylight photos.
Common mistakeAvoid choosing shoes based only on the wedding dress color name - "white" can be either warm or cool in real life.
3. Bring One Repeat Texture Into Accessories and Stage Props
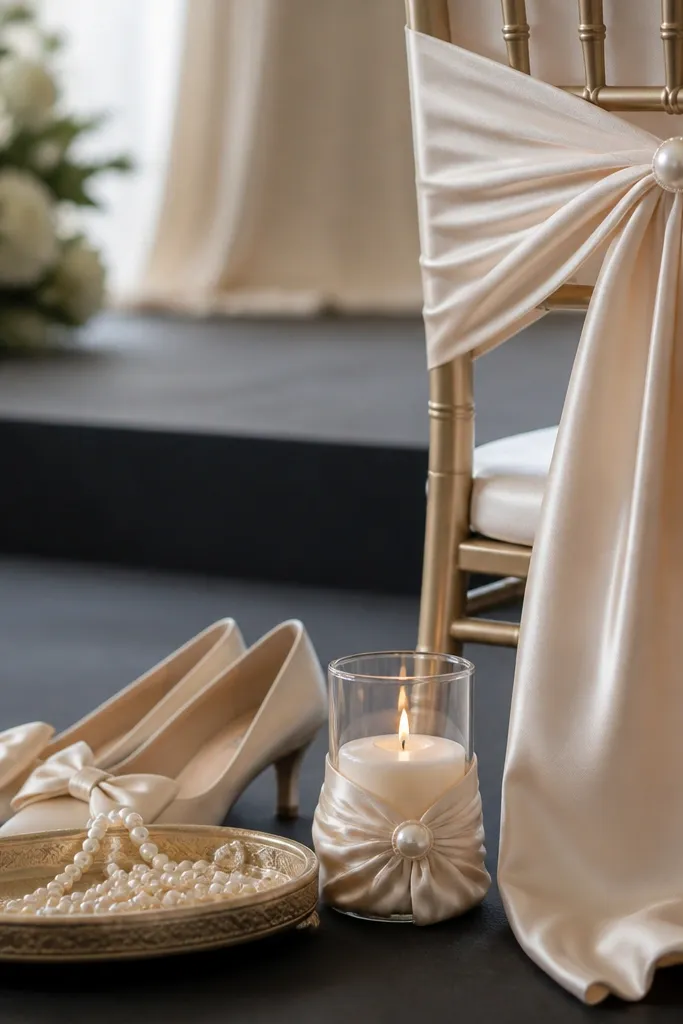
Your stage looks expensive when textures repeat, not when everything matches perfectly. I've had the best results repeating one texture across accessories and at least one stage prop. Satin reads smooth and romantic in photos; pearls read classic and clean; braided rope reads beachy and structured. The repeat texture guides the eye, so your stage feels designed even if the color palette is simple. If you're styling men and women, texture repetition is the easiest bridge because it works regardless of skin tone.
Start by choosing the texture you can commit to without buying a whole new set - satin bow, pearl strand, or braided cord. Then place it in two places on stage: one near the couple's seating or center cluster, and one in an accessory zone that's visible from the front row. Finally, match finish: satin should look like satin (not matte polyester), pearls should be consistent size (think 6-8mm strands, not random beads). Lay everything down before setup and take a photo from where the photographer stands.
Try thisIf you use pearls, keep them off the floor - hang or drape them so they catch light instead of looking dusty.
Common mistakeAvoid repeating color but not texture - it looks like you tried, then ran out of time.
4. Add Height with Shoe Choice, Not Only Props
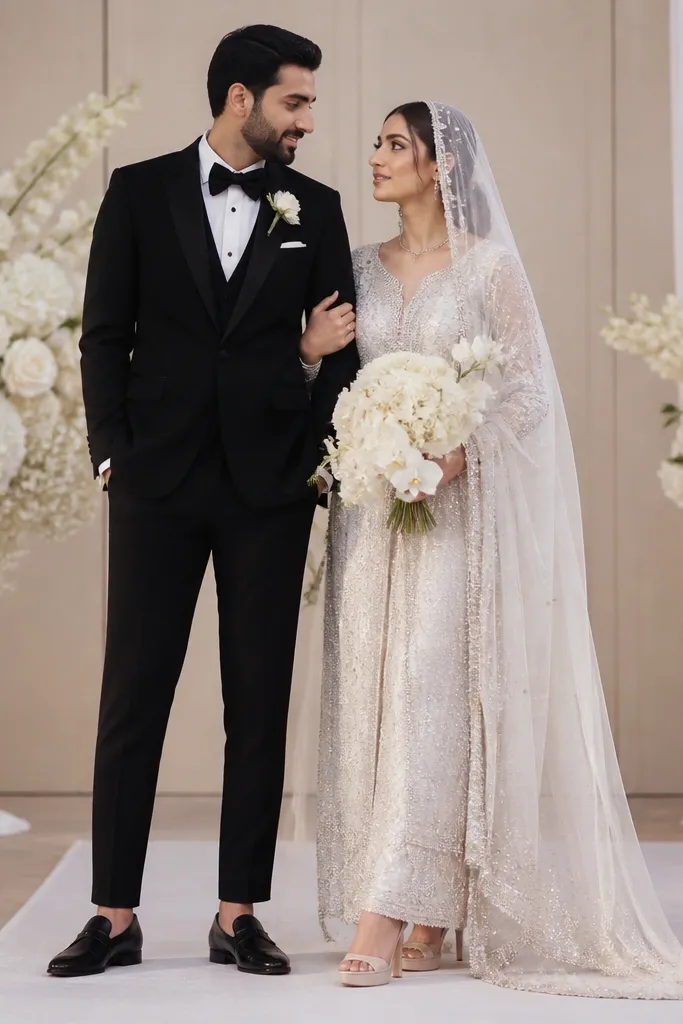
I used to rely on tall aisle pieces and forget that shoes control height in the frame. When the couple stands, the camera reads shoe height as part of body proportions, especially for the person in heels. A small platform in bridal heels balances a long gown hem and keeps your stance looking confident. For grooms, a clean, low-profile loafer with a slightly raised sole makes the legs look longer without adding bulk. This also helps when the stage floor is raised - you don't want feet disappearing into the bottom of the frame.
Start by deciding what you want to correct: shorter legs, uneven stance, or hem coverage. Then choose shoes that change height in a controlled way - platform or block heel for bridal, structured sole for groom. Finally, adjust stage props height to match: if shoes add height, use a lower runner or shorter candle cluster so faces stay visible. Test by standing where the couple will stand and take a photo at phone camera height.
Try thisBring a second pair of "backup height" shoes if your primary pair is slippery; you want the same look even if you change after portraits.
Common mistakeAvoid choosing super tall heels that force a tense posture - the body angle shows in photos.
5. Switch to Clear or Thin-Edge Sign Frames
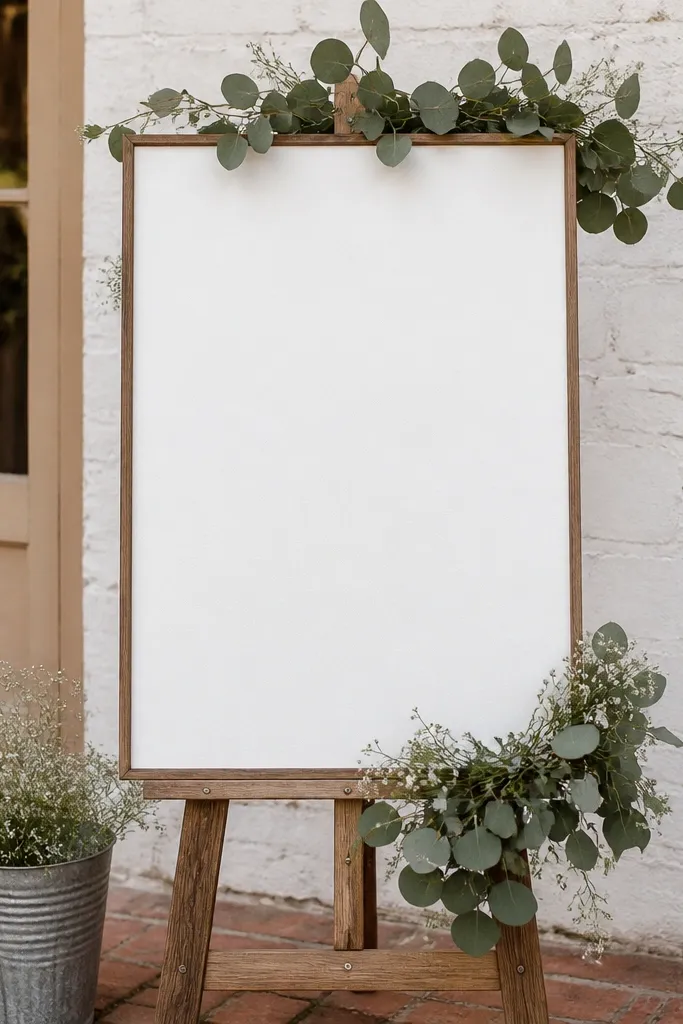
Thick sign frames steal attention from the couple. I learned this when I swapped a heavy wooden frame for a thin-edge gold acrylic frame and the entire stage looked calmer in photos. Clear or minimal frames let the background drape and florals stay the focus. Choose thin gold if your stage metals match gold; choose silver if you've committed to cool tones. This is especially flattering for people with busy hair accessories because the frame won't compete with sparkle at the top of the image.
Start by measuring the sign area so the frame doesn't overhang the couple's heads when viewed from the front row. Then choose a frame with narrow edges and place it behind the center cluster, not on the floor in front. Finally, keep your sign text simple and large enough to read from 10-15 feet; thin frames make small text harder to read. Take a test photo and check that the frame lines don't cut across faces.
Try thisIf you're using acrylic, wipe it with a microfiber cloth right before set-up; fingerprints show in stage lighting.
Common mistakeAvoid chunky frames that create heavy horizontal blocks behind the couple's shoulders.
6. Choose Satin Ribbon Bows That Don't Flop
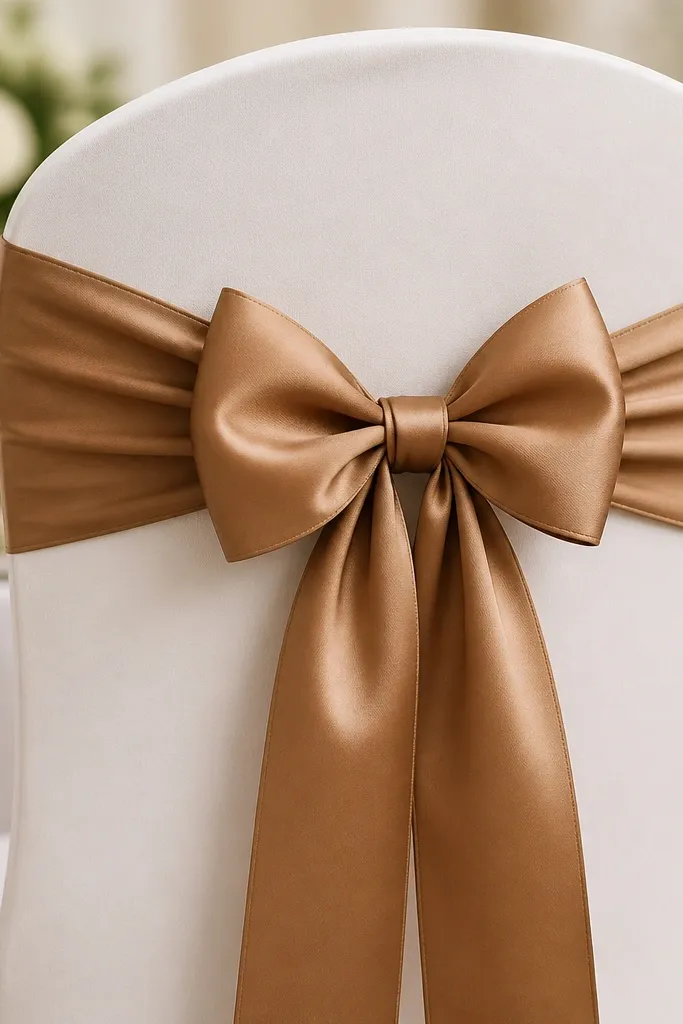
Ribbon can make your stage look pulled together or like it came from a craft bin. The difference is how the satin holds shape. I like satin with a firm hand - grosgrain bows look too textured sometimes, and soft costume satin flops and collapses in photos. Crisp satin bows read clean and romantic, especially on chair backs and small accessory stands. If you're styling both men and women, a satin bow on the stage keeps the look consistent even when outfits vary. It also flatters all skin tones because ribbon sits in the mid-frame and reflects light evenly.
Start by selecting ribbon width: 1.5 to 2 inches looks right for stage bows without overpowering the couple. Then tie a tighter loop than you think you need - you can always loosen after you pin it. Finally, anchor the bow with a hidden wire or a small zip tie under the sash so it stays crisp through heat and movement. After you set it, press the bow lightly with your palm for one second to reset the fold lines.
Try thisCut ribbon ends at a slight angle and seal with heat if it's synthetic; frayed ends ruin close-up photos.
Common mistakeAvoid "cheap sheen" ribbon that looks glossy in one angle and dull in another - it reads uneven under lighting.
7. Use Pearl-Edge Details on Shoes and Stage Trays
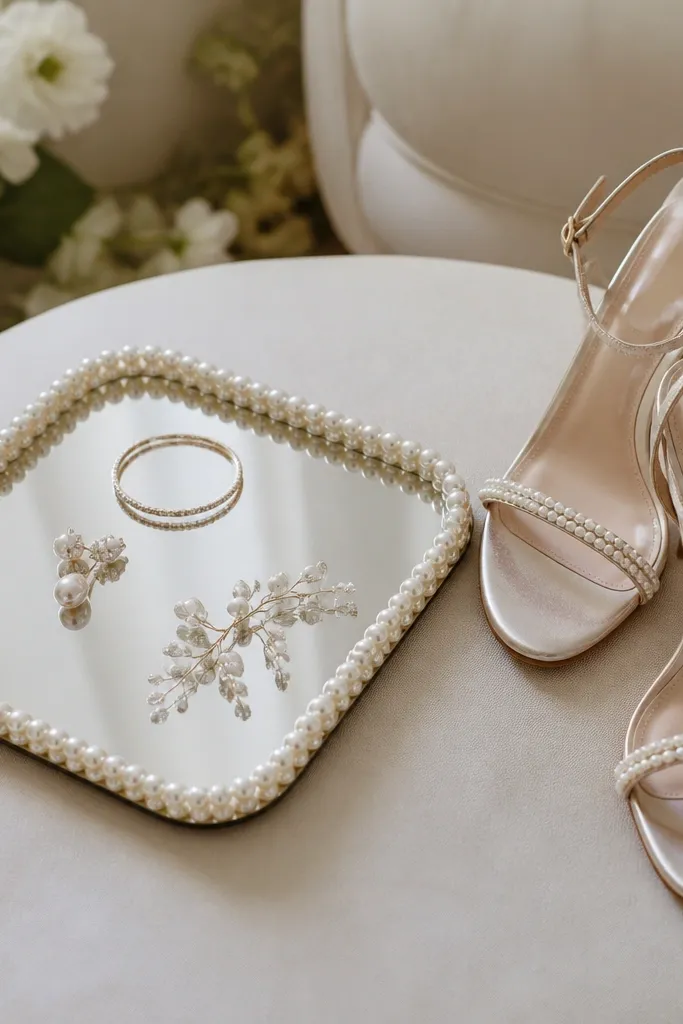
Pearl-edge details tie shoes to the stage without forcing full matching. I like adding pearl accents where the camera naturally lands: along a strap, toe cap edge, or a small tray border near the center. Pearls also soften harsh stage lighting, which is a big deal if your venue uses strong overhead LEDs. This style looks great on both warm and cool palettes because pearls sit between tones. It also photographs well with lace dresses and with clean modern silhouettes.
Start by choosing where pearls will appear: either on shoes, on a tray, or on both. If your shoes already have pearl accents, keep the stage pearl limited to one border area so it doesn't look like your props are copying your shoes. Then line a small tray or sign base with a pearl beaded trim that matches your shoe tone. Finally, place the tray where it's visible during vows or close-up portraits - not off to the side where it gets cut from frame.
Try thisUse a single bead size across the border so it looks intentional instead of handmade.
Common mistakeAvoid covering large areas with pearls; it turns into "costume sparkle" fast under venue lights.
8. Swap to a Low-Contrast Runner Under the Couple
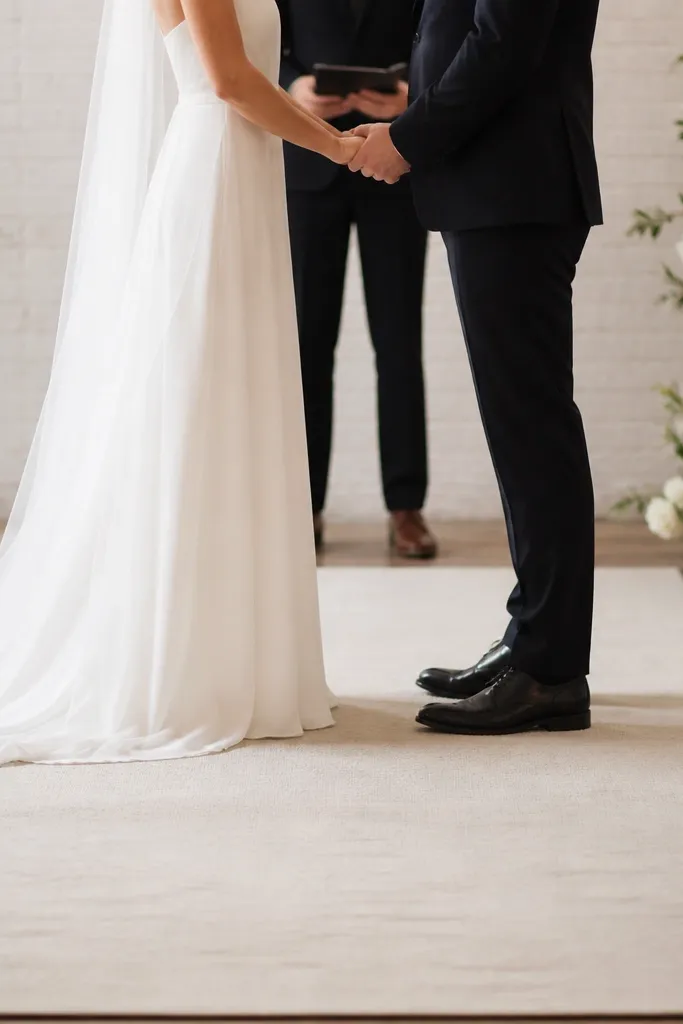
A stage runner can either frame the couple or steal attention. I learned that low-contrast runners look more expensive than bold printed ones because the camera has enough pattern already from drapes and florals. Matte fabric also avoids glare, so shoes stay readable and skin tones look natural. If your stage has a lot of white, go slightly warm cream; if your stage has a lot of wood or tan, go cooler ivory. This helps the couple look grounded without turning the floor into a design statement.
Start by choosing a runner with subtle texture: cotton-linen blend, matte satin with no heavy shine, or a tightly woven fabric. Then place it centered under where the couple will stand, leaving 2-4 inches of margin to the main floor elements. Finally, keep the runner low - no thick padding that lifts shoes out of the frame. When it's down, walk across in the shoes you plan to wear and check that the runner doesn't bunch underfoot.
Try thisIf your venue floor is shiny, use matte fabric - gloss reflects overhead lights and ruins shoe detail.
Common mistakeAvoid busy prints that compete with the couple's clothing, especially near the hemline and shoe area.
9. Match Shoe Shine to Stage Lighting Strategy
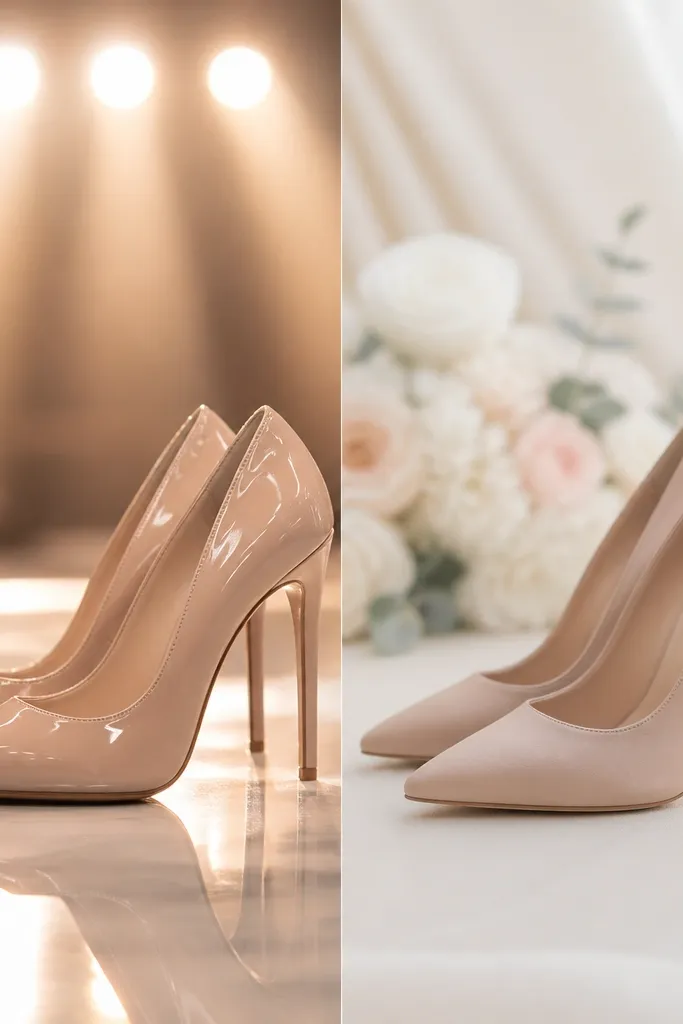
Shine is tricky because it reacts to venue lights. Patent leather and high-gloss satin can create hotspots in photos, especially if the stage has spotlights aimed downward. I've gotten the best results when the stage has mixed finishes: matte drapes, matte runner, and one controlled glossy element - sometimes the shoes. If your stage lighting is strong and direct, go matte or low-sheen satin for shoes. If lighting is soft and diffused, a hint of shine looks romantic without blowing out details.
Start by checking the venue's lighting: are there overhead spotlights or only ambient bulbs? Then choose shoe finish accordingly - matte satin or soft leather if you see harsh glare in test photos. Finally, keep one reflective element in the center cluster, like a candle holder or a small metal frame, so you don't multiply reflections. Take a test photo with your shoes in the same spot the couple will stand.
Try thisBring a small powder compact or anti-shine blotting paper for patent shoes if they reflect too much in close-ups.
Common mistakeAvoid pairing glossy shoes with glossy stage props like mirrored trays and glass vases - the highlights stack.
10. Plan a Clean Shoe Moment at the Front Edge
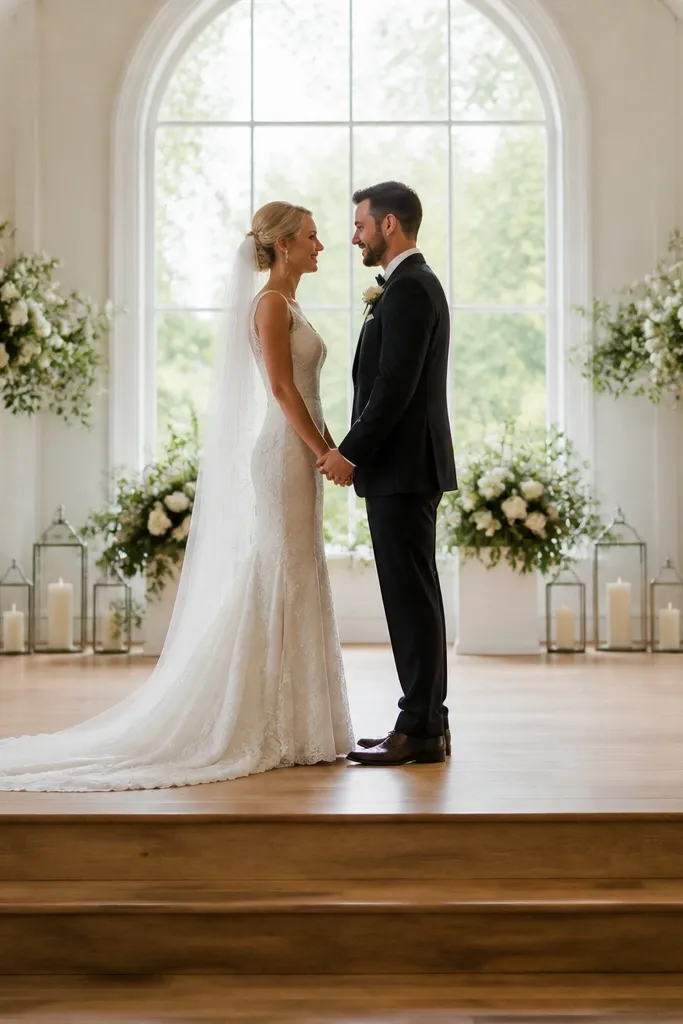
Photos often crop low. That means your stage floor clutter becomes a shoe distraction. I now leave a clean "shoe moment" zone: a small area in front of the couple where nothing sits. This makes shoes look intentional and keeps the frame from filling with random ribbon tails or loose decor. It also helps with men's footwear - loafers and dress shoes need clean lines to look sharp. If your audience is close, this detail alone makes the stage look more professionally styled.
Start by marking the spot where the couple's toes will land when they stand for portraits. Then place props behind that line - think candle clusters, signs, and accessory trays 6-12 inches back. Finally, keep loose items like ribbon ends, chair sashes, and garlands from drooping into the shoe zone. Do one quick walk-through with the shoes you'll wear and check the crop area from the photographer's typical position.
Try thisUse painter's tape on the floor temporarily so you can see the shoe zone during set-up and prevent accidental decor placement.
Common mistakeAvoid letting chair ties, drape ends, or loose fabric fall in the area where your shoes will sit.
11. Use a Small Matching Bow on the Groom's Shoes
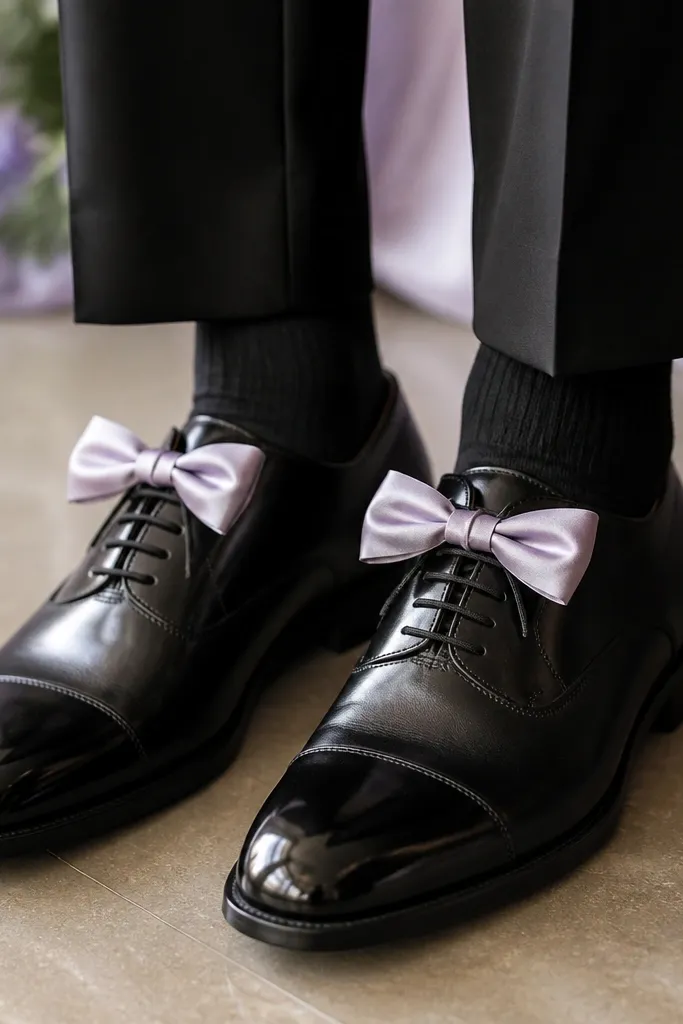
This is one of my favorite fixes for couples who want the stage to feel cohesive without making the groom's look costume-y. A small matching bow on the groom's shoes pulls the whole styling together because it repeats the same ribbon finish used on stage. Keep it small and centered - around 1-1.5 inches - so it reads as a detail, not a costume accessory. It works with both leather dress shoes and lace-up boots as long as the bow sits flat. In photos, it gives the camera a second point of interest at the bottom of the frame.
Start by choosing the same ribbon you used for stage bows, ideally the same width. Then decide the placement: center on the lace-up strap or slightly off-center on the vamp where it stays visible when standing. Finally, make it removable with a discreet pin or stitched loop so it doesn't shift during dancing. Take a photo from the front row to confirm the bow doesn't blur from motion or catch on socks.
Try thisIf the groom hates bows, use a matching ribbon lace cover instead - it keeps the look clean and still repeats the stage texture.
Common mistakeAvoid oversized bows that sit above the shoe line; they look like hair bows on feet.
12. Switch to a Shoe-Friendly Stage Surface
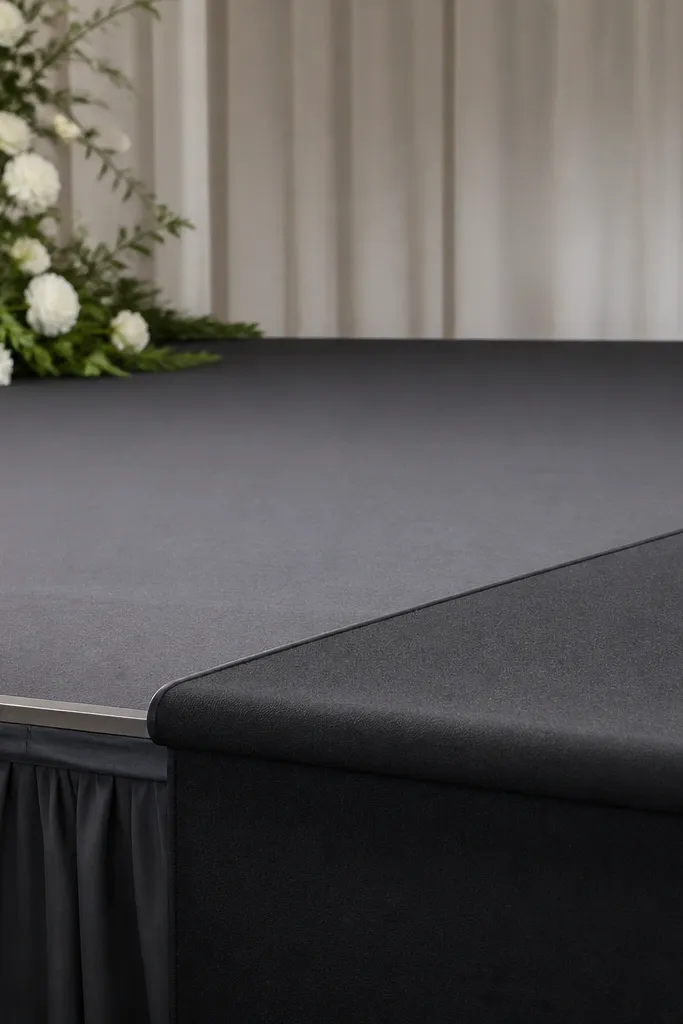
Nothing ruins stage photos faster than a couple adjusting their stance because the surface is slippery. I've set stage decor on smooth vinyl and watched heels slide just enough to ruin posture. A grippy, matte surface keeps feet stable, which means your body angles look confident in every shot. For accessories, this also matters because loose items shift when people step. Choose a fabric with traction - cotton-linen blends or a grippy stage runner - instead of shiny plastic tablecloth material.
Start by touching the stage floor and checking for slickness - if you can see a sheen, it will reflect and slide. Then lay a grippy base layer: a matte runner or stage-safe fabric sheet that covers the couple's standing area. Finally, place your decorative runner on top if you need aesthetics, but keep the traction under it. Walk once in your heels and dress shoes and confirm you don't feel micro-slips.
Try thisTape down runner edges with double-sided fabric tape so it doesn't ripple and create texture glare.
Common mistakeAvoid placing decorative runners directly on glossy floors; they wrinkle and make shoes look unstable.
13. Add a Bow Tie or Hair Accessory Color Repeat at the Center Cluster

If your stage has a signature color, repeat it in one wearable accessory detail that shows in photos. I've done this with groom bow ties and bride hair clips when the stage decor is mostly neutral. The trick is to keep it to one color repeat, not five. When the bow tie and hair accessory match a small ribbon on the stage sign or a candle wrap, the whole look feels connected. It flatters the couple because it creates a clean visual thread from face to accessories to stage center.
Start by picking the one stage color you want to "carry" - like dusty rose, deep navy, or sage. Then match it to a visible accessory: groom bow tie or suspenders, and bride hair clip or a small headband detail. Finally, bring that same color into a stage accent within 2-3 feet of the couple, like a ribbon wrap on a candle or a small bow on the sign base. Take a photo and check that the color appears in at least two places at different vertical heights.
Try thisUse the exact same fabric type if you can - satin for satin, velvet for velvet - because color looks different by finish.
Common mistakeAvoid matching color with a totally different finish; it reads as "random accent" instead of intentional.
14. Choose Shoe Insoles and Hem Clearance Like It's Part of Styling
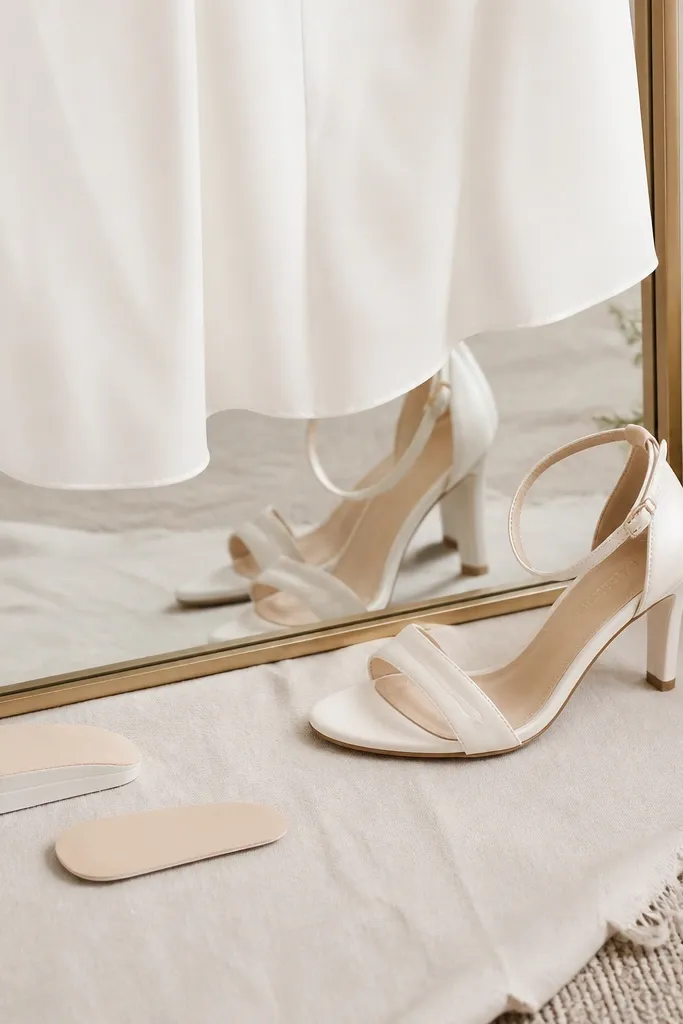
This is the unglamorous part that changes how the whole stage looks: hem clearance and shoe comfort. When heels are too tall or the insole is too thick, the bride shifts her stance and the dress hem creeps. That shows up in photos as uneven hem lines and awkward posture. I fix it by testing in the shoes before set-up, then adjusting dress length if needed. Comfort also affects how long you can hold the same pose during portraits, and that directly changes the sharpness of your stage photos.
Start by trying on the shoes with the exact dress or dress lining you'll wear, and walk around for five minutes. Then check hem clearance: you want a clean gap or a consistent brush pattern, not random dragging. Finally, adjust insoles - swap to a thinner insole or add a gel insert only if it changes your posture. Do a quick test photo with the couple's stage stance so you can confirm the hemline sits the way you want.
Try thisIf you're wearing block heels, add an anti-slip sole layer; it keeps your stance steady and prevents tiny posture changes.
Common mistakeAvoid ordering stage photos around the dress length without testing the actual shoes - the hem will lie to you.
15. Keep Shoe and Accessory Packing Order So Setup Stays Perfect
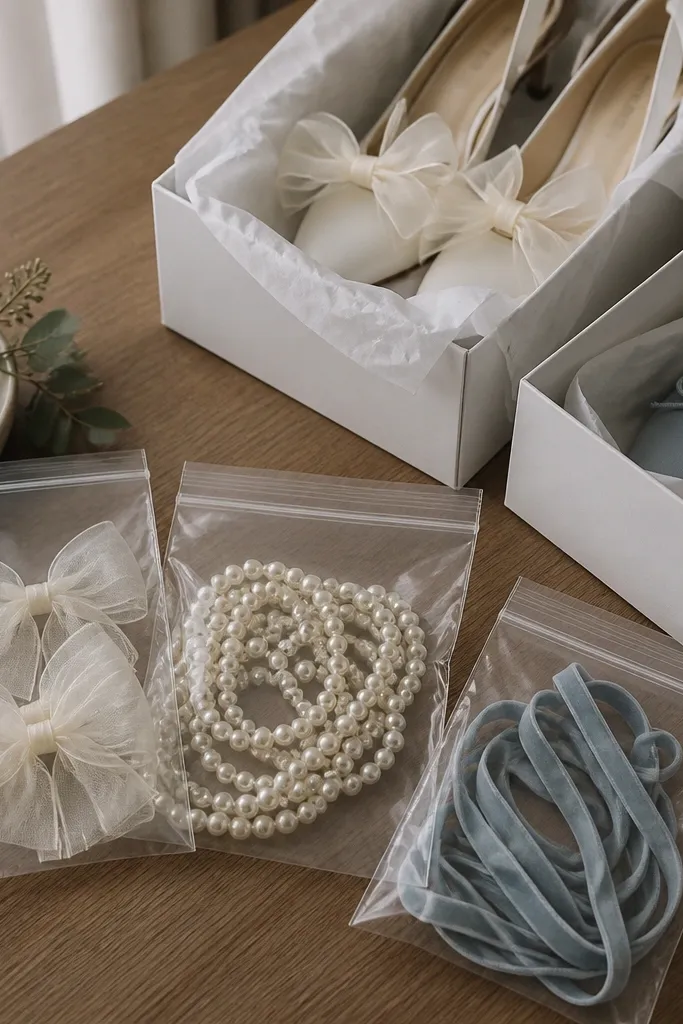
This is about look, not logistics. When you pull accessories out in a tangled mess, you end up rushing and placing things where they don't belong. I keep shoe-related accessories in the same order I'll install them, so the stage ends up crisp. It matters because shoe details like bows, pearl trims, and straps need to be positioned while they're smooth and dry. If you're styling both men and women, this also prevents mixing up similar ribbon colors or hardware tones at the last minute. Cleaner setup time means cleaner photos.
Start by packing each shoe with its specific accessory in a labeled zip bag: one for bridal bows, one for groom ribbon ties, one for any spare heel pads. Then pack stage accessories in the order they go on: tray accents first, then center cluster items, then chair or sign details. Finally, lay out items on a table in the same orientation as the stage before you open the boxes. Take five seconds to do a final check photo from where you'll take portraits.
Try thisUse tissue paper inside shoe boxes to keep satin bows from crushing - satin creases show immediately in close-up camera shots.
Common mistakeAvoid tossing bows and pearl strands into the same bag as wrapping paper or other fabric; you'll fight wrinkles and tangles on-site.