1. Curtain backdrop with warm fairy lights in vertical lines
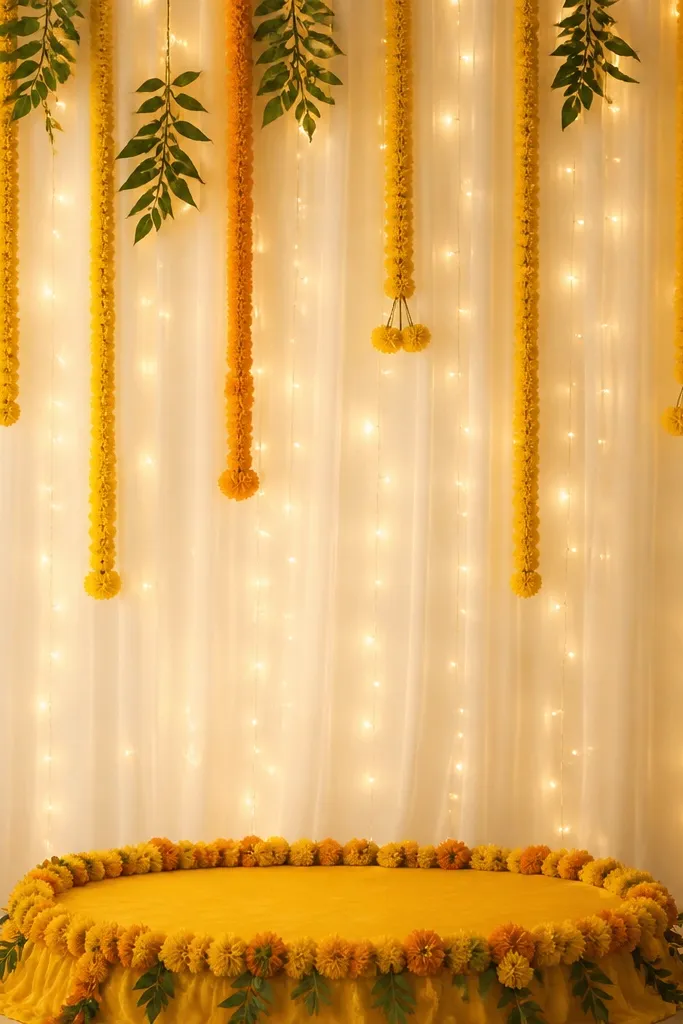
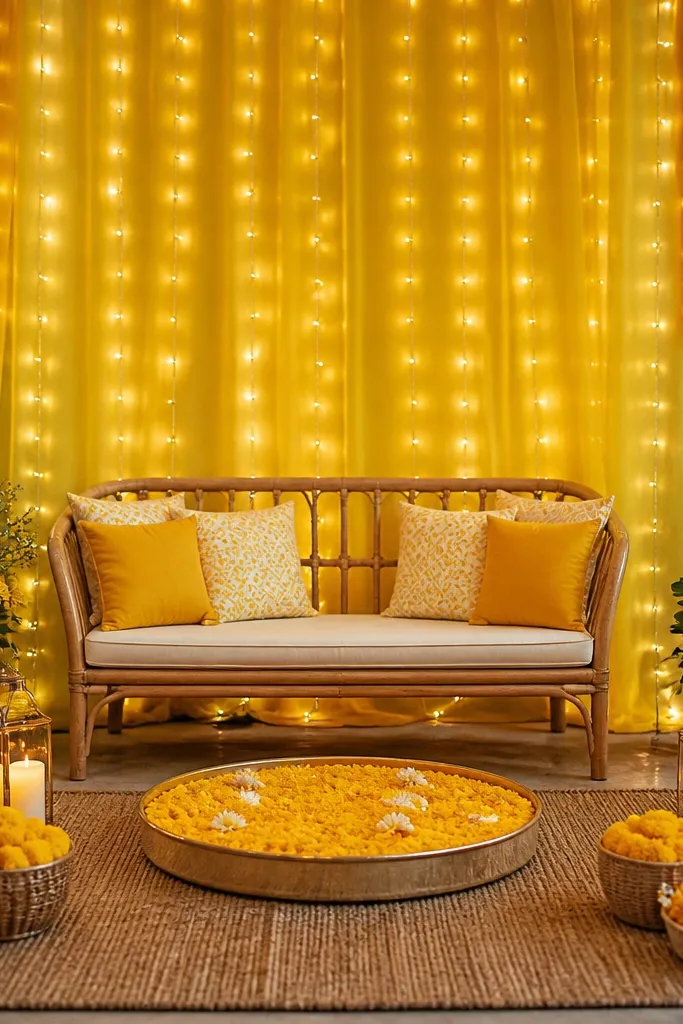
I love a curtain backdrop because it turns one flat wall into depth. I use a sheer cream or off-white curtain (not heavy velvet) and then hang warm white fairy lights in vertical lines so the background looks taller in photos. The light bounces through the fabric and gives that smooth, halo effect around garlands. This works best for medium to smaller rooms because the curtain fills space without making it feel crowded. If you have a slightly darker wall, the warm glow helps the marigolds look brighter and the green leaves look fresh.
Start by stretching the curtain wide enough that it covers the entire decoration area, even if your garland sits only in the center. Then pin or clip the fairy light strands to the curtain top seam so the strings hang straight - I space them about 4 to 6 inches apart. Finally, place your marigold garlands in front of the curtain, not behind it, so the lights outline the flowers. Keep the plug point near one side and route the cable behind a thicker garland line so it disappears. Step back and check from face height - if you see glare on the curtain, lower the light density by skipping a few strands.
Try thisUse a light tulle or organza panel over the curtain's center if your fairy lights are too bright. It softens the glow on camera.
Common mistakeAvoid hanging fairy lights too loosely - saggy strands make the whole backdrop look uneven and messy.
2. Marigold arch with battery LED strip tucked along the inner curve
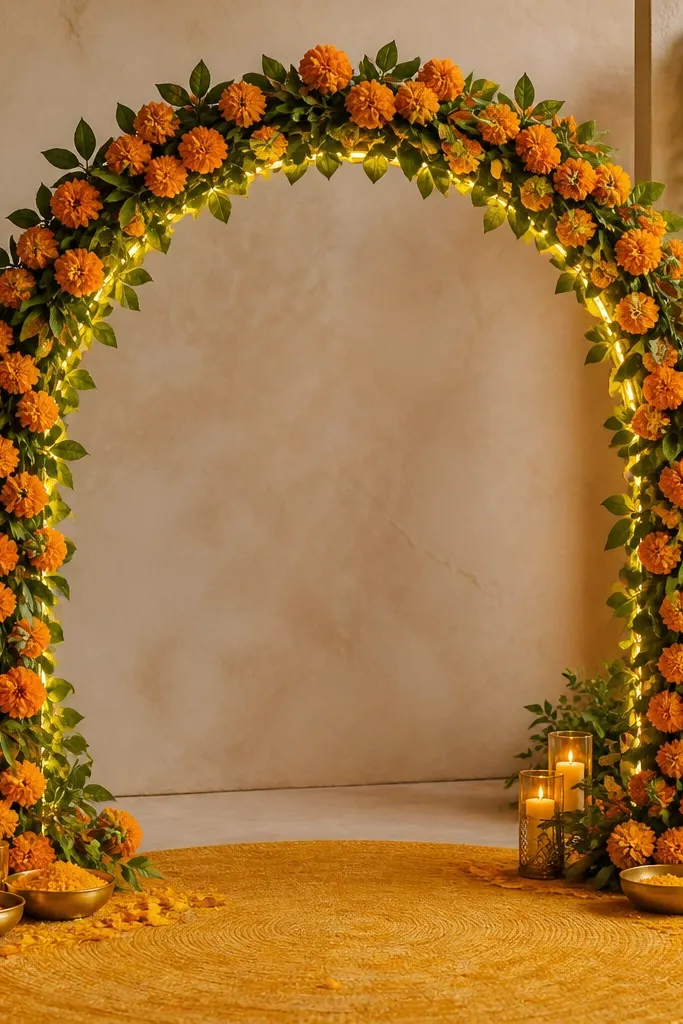
An arch is the fastest way to make haldi look "event-level" because it frames the couple or the main seat. I tuck a warm white LED strip along the inner curve so you see the outline glow, not the plastic strip. That outline makes the arch look thicker and more dimensional, especially in evening light. This is flattering for most skin tones because warm light keeps undertones natural and avoids the washed-out look that cool LEDs create. If your venue lighting is bright from above, the hidden strip still gives you a soft underglow that reads well in photos.
Build or assemble the arch first, then open a small channel in the leaves where the LED strip can sit. Wrap the strip around the inner curve and secure it with thin zip ties or floral tape, so it stays hidden behind the garland bulk. Next, place marigold bunches over the strip every 4 to 6 inches to block any visible hotspots. Use a battery box on the side stand or inside a decorative basket, not behind the main flowers where it will be obvious. Finally, test the glow before you finish the outer layer so you can adjust brightness and placement.
Try thisChoose LED strips with a diffuser cover. Even a small diffuser makes hotspots disappear.
Common mistakeAvoid wrapping the strip on the outermost edge - you'll see the bright line and it looks cheap.
3. Table runner base lighting with U-shaped warm fairy strands
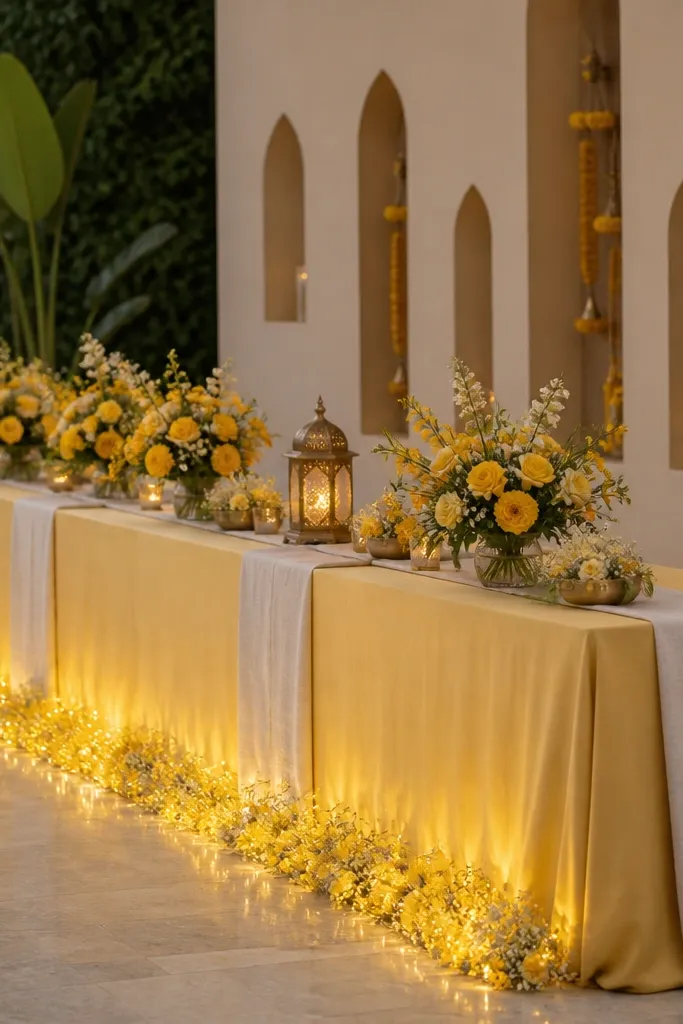
This is the trick I use when the table looks empty in photos. Base lighting adds depth under garlands and makes the setup look layered, not flat. I run warm fairy lights in a U-shape along the underside or the lower edge of the table so the light spills upward onto flowers. It looks especially good with cream, beige, or pastel runners and with marigold-orange garlands. If you have a darker table surface, the upward glow brightens it without looking like a harsh spotlight.
Start by placing your runner and floral arrangement plan first, so you know where the lights can hide under the bulk. Then tuck the fairy lights along the lower edge in two legs of the U, leaving a gap in the middle where the centerpiece will sit. Secure with cloth tape on the table underside or with zip ties to the table frame, not on the visible fabric. Finally, drape a thin organza strip or a second layer of garland over the light line so you only see glow, not bulbs. Turn it on and adjust - if the light is too bright, reduce the number of strands or move them slightly deeper under the runner.
Try thisUse a sheer runner overlay near the front edge. It makes the glow look softer and more expensive.
Common mistakeAvoid placing lights directly on top of the runner - you'll get glare and a messy "string on fabric" look.
4. Leafy canopy with warm lights woven through artificial vines
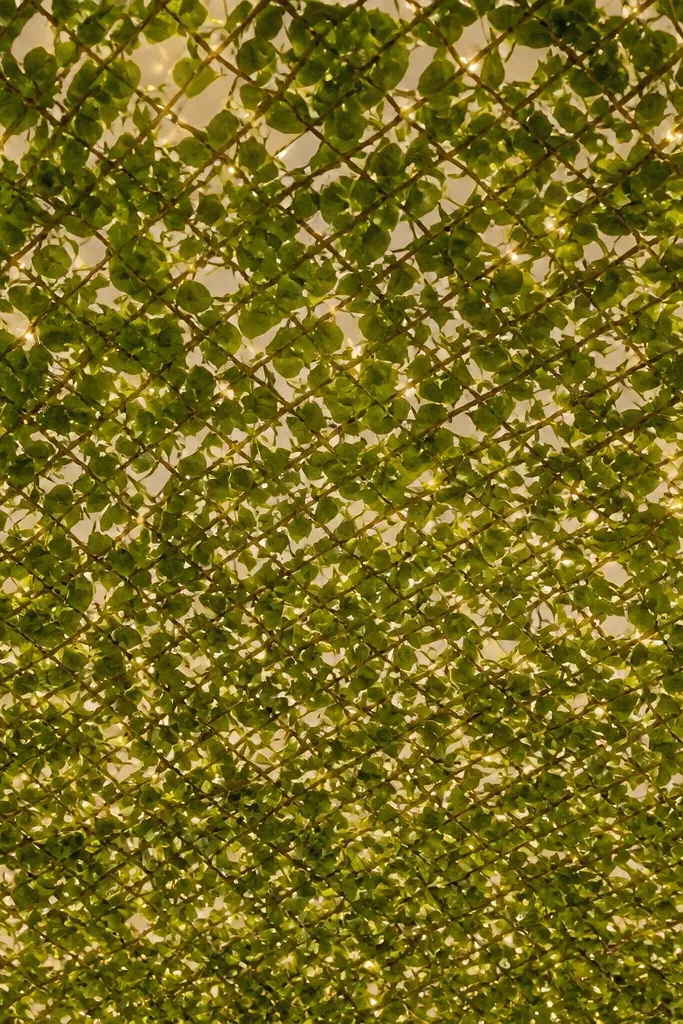
Overhead lighting changes everything because haldi photos usually get taken from face level up to the decorations. I weave warm lights through artificial vine garlands so the light looks like it's coming from the greenery itself. The effect is gentle and romantic, not harsh, and it makes the space feel "wrapped" instead of just decorated at the front. This works best in halls with a visible ceiling and enough height to hang something safely. If your venue has low light, the canopy glow helps skin tones look warm and alive without turning everything orange.
Hang the vine garland net or multiple vine strands first, then weave the fairy lights into the gaps between leaves - I aim for one light point every 6 to 10 inches. Secure the wire with floral tape so it doesn't slip down and show bare bulbs. Then connect the strand ends at the back or side where you can reach them later without stepping into the active decor zone. Use clips on a ceiling hook or a sturdy stand, and route the cable along a beam or pillar edge. Turn on the lights before you add any extra marigolds so you can see if the glow is even.
Try thisIf you're using battery lights, test the runtime. I plan for at least 4 hours so the glow doesn't fade mid-function.
Common mistakeAvoid hanging lights with long loose loops. They sway and smear the glow in photos.
5. Terracotta pot glow lights for a garden-style corner
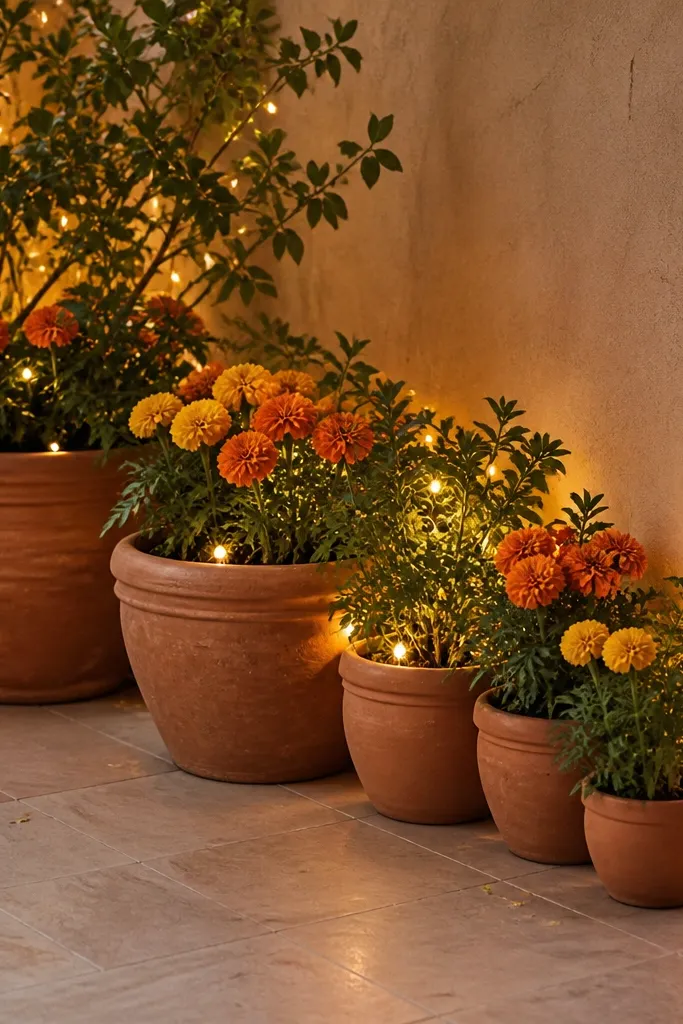
A corner glow looks intentional even if you only decorate one small area. I use terracotta pots because the warm light bounces off the earthy color and makes the marigolds look richer. Hide the string lights behind the pot foliage so the bulbs are not visible from the front. This works great if your venue has people moving around and you want the decor to look good from multiple angles. For fair skin tones, warm light from ground level flatters and reduces the harsh shadows you get from overhead lights.
Start by placing the pots where you want them photographed, usually near the entrance or beside the main haldi seat. Then tuck a warm white string light behind the inner plant cluster in each pot, keeping the wire hidden under leaves. Run cables along the floor edge to a single extension point - I tape them down with cloth tape so nobody trips. Finally, add a small garland or leaf wrap around each pot rim to cover any visible bulb clusters. Turn on and check both from standing height and sitting height - you want glow without direct bulb sightlines.
Try thisChoose pots with textured surfaces. Smooth plastic pots reflect light in a flat way and look less natural.
Common mistakeAvoid mixing cool white lights with warm decor - the corner will look mismatched.
6. White tulle drape with soft warm LED dots
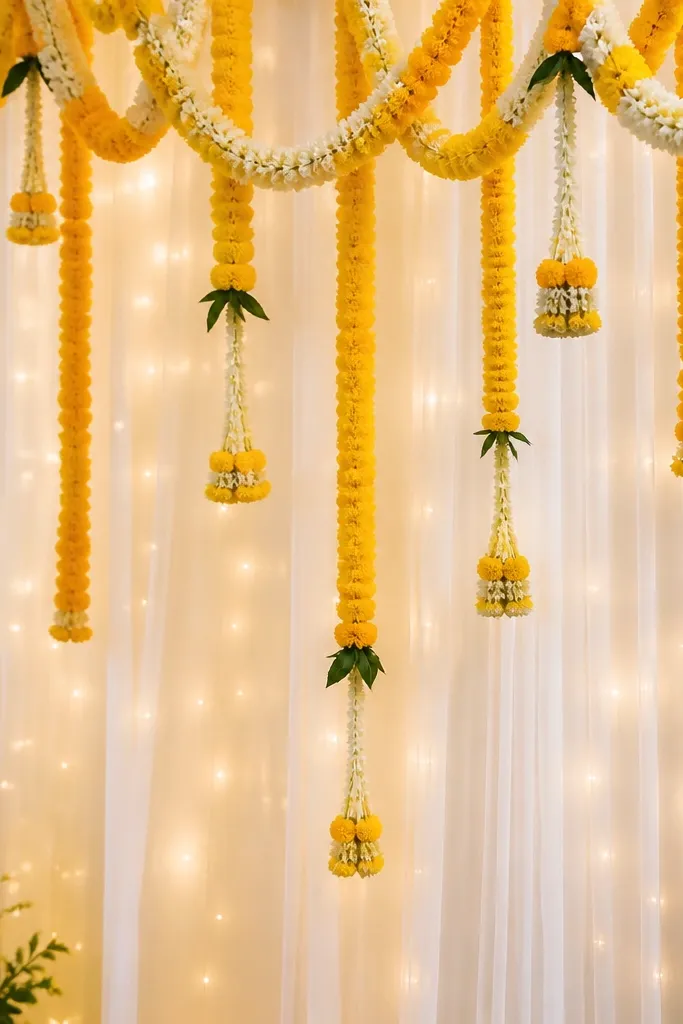
If you want a dreamy look without going heavy on flowers, tulle is your friend. I hang white tulle in layers and use warm LED dot lights scattered sparsely so it looks like soft sparkle. The tulle diffuses each point of light, so it never looks like a bare string slapped on the wall. This flatters most skin tones because the glow is gentle and doesn't create sharp shadows. It's also good for smaller spaces where full arches or big backdrops would feel like too much.
Hang the tulle first, then use clothespins or small safety pins to keep it from twisting. Place LED dot lights behind the tulle layer, not on top, so the bulbs are hidden and only the glow shows through. I space the dots about 8 to 12 inches apart, and I cluster a few points around the garland center for a focal area. Route the wire to the side and hide it behind a thicker garland line or a decorative basket. Turn on and walk around - if you see bright dots clearly, move the lights deeper under the tulle.
Try thisUse warm LED dots, not bright mini bulbs. The softer ones photograph better and feel less harsh in person.
Common mistakeAvoid covering the whole tulle with dense dots. It turns into a bright screen and looks cheap.
7. Marquee-style warm lights around a cutout name board
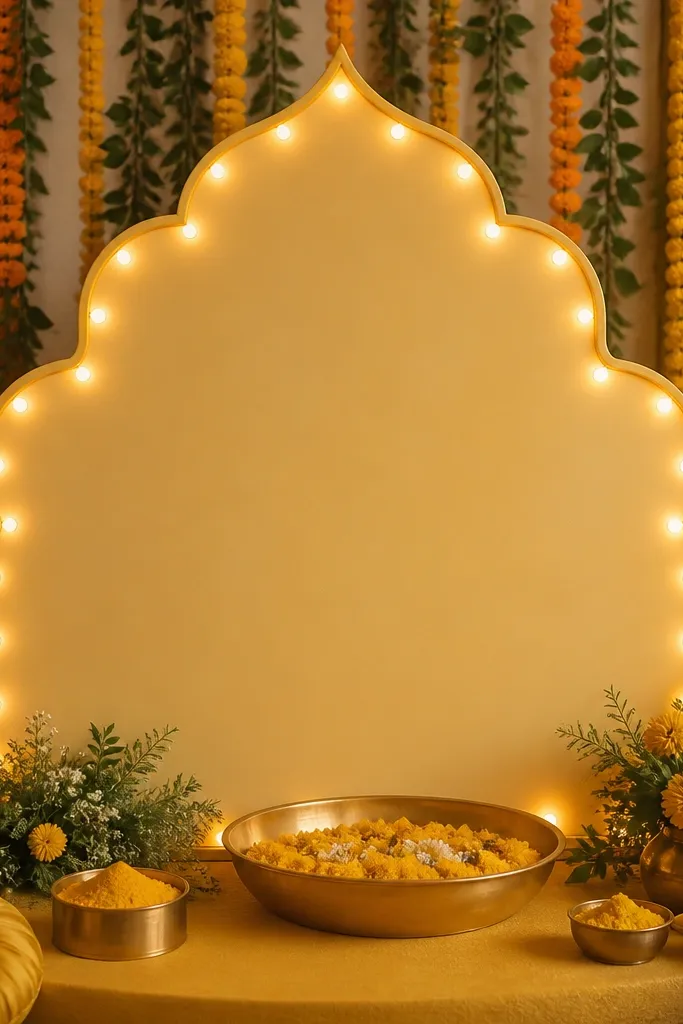
A marquee border gives you a clean, readable focal point in photos. I use a cutout sign shape - even a simple rounded rectangle - and wrap warm white string lights around the edges so the border looks like a soft frame. This is great if you're setting up a "haldi welcome" vibe or want a clear background behind the main action. Warm light keeps the sign from looking icy, and it makes yellow turmeric tones look natural. It also works well for both men and women setups because the sign frames the group photo without pulling focus to one person's outfit.
Start by cutting or buying a thick cardboard or foam board sign and test fit it in the spot you'll photograph. Wrap warm string lights around the sign edges - keep the spacing consistent so the frame looks even, not lumpy. Secure the string with small strips of tape on the back side so no tape shows on the front. Place the sign behind your main garland line so flowers partially cover the bottom edge and hide the cord. Plug in and check the glow from the camera angle you'll actually use.
Try thisUse a sign material with a matte finish. Glossy boards reflect bulbs and create hot spots.
Common mistakeAvoid using blue LEDs for framing - the sign will look harsh and everything around it looks off.
8. Paper lantern glow with warm micro fairy lights inside
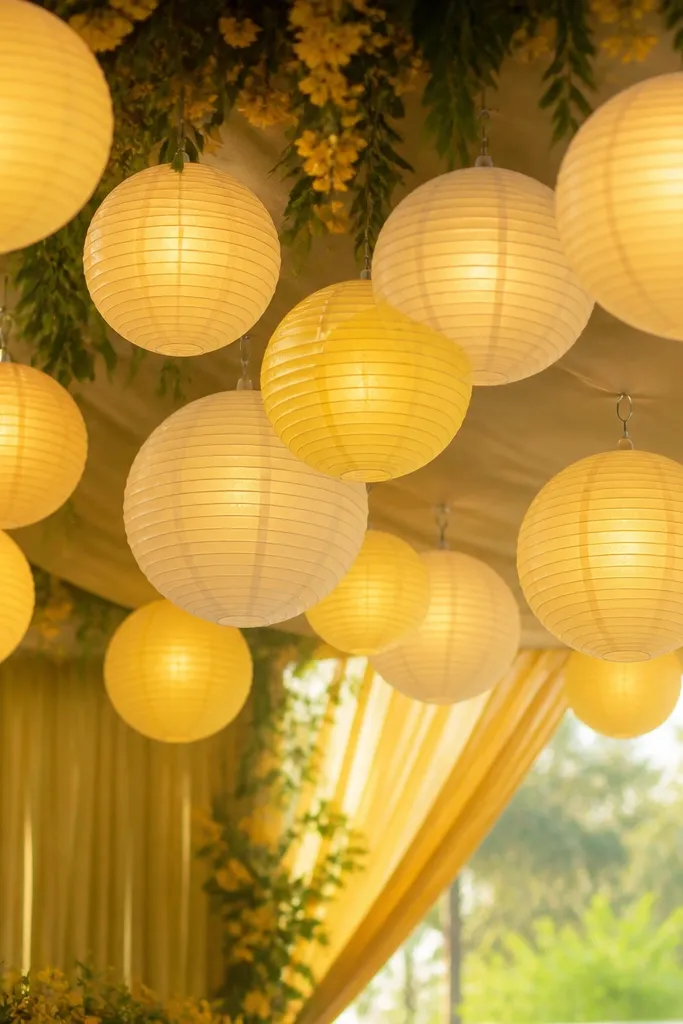
Lanterns make haldi feel like a celebration instead of a craft project. I hang cream or pale yellow paper lanterns and add warm micro fairy lights inside so the glow spreads evenly. The effect is soft and flattering because the light source is diffused by the lantern paper. This works well when you're decorating a seating area, where people look up and smile. For deeper skin tones, warm lantern glow looks especially flattering because it warms the face without creating harsh contrast.
Pick lanterns with a stable top handle and breathable paper so heat isn't trapped. Place a warm micro fairy light inside each lantern and keep the battery box or plug outside the lantern body. Hang them at slightly different heights - I do one higher in the center and two lower on the sides - so the scene has rhythm. Route the cords up along the hanger line and tie off with a small zip tie so they don't swing. Finally, turn them on and look from the main seat - you want an even glow, not a bright pocket of bulbs.
Try thisUse lanterns with warm paper tones instead of pure white if your haldi theme is turmeric yellow and marigold orange.
Common mistakeAvoid putting regular mains string lights directly inside thin paper lanterns.
9. Mirror table frame with warm lights tucked behind the edge
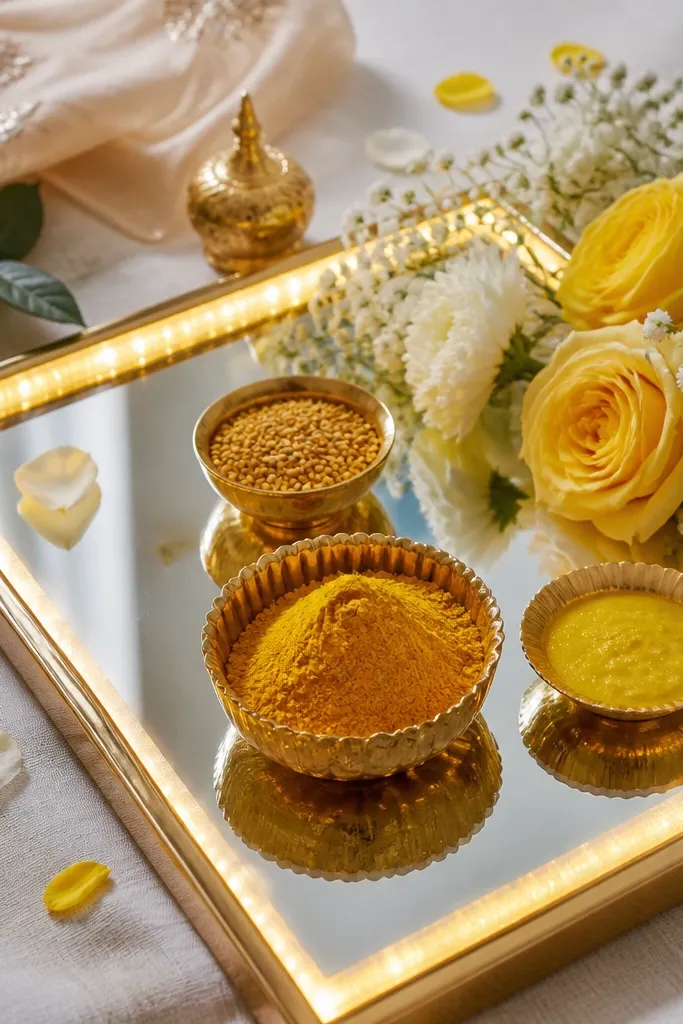
Mirrors make lights look twice as good because they bounce the glow back into the decor. I use a mirror panel or mirrored tray as the base and tuck warm lights behind the edge so the reflection adds depth. The result is a soft halo around the haldi bowls and a cleaner look for close-up photos. This works best if you're doing a neat tray setup with bowls, flowers, and a small candle or lamp-style element. It also helps when your room lighting is uneven, because the mirror evens out shadows around the hands and bowls.
Start by cleaning the mirror so the glow doesn't show streaks in photos. Place your haldi bowls and flowers first, then position the warm light string behind the mirror edge where it won't touch the items. Secure the string with tape on the back side of the mirror frame or on the table edge, not on the mirror surface. Turn on the lights and check the reflection - if you see a bright line, push the string deeper behind the frame. Add a thin garland around the mirror edge to hide any visible knots.
Try thisUse warm white and a diffuser. Mirror reflections magnify hotspots.
Common mistakeAvoid placing lights directly on the mirror surface. You'll see bulb glare and the mirror looks messy.
10. Pillar wrap lights for a side aisle or mandap column
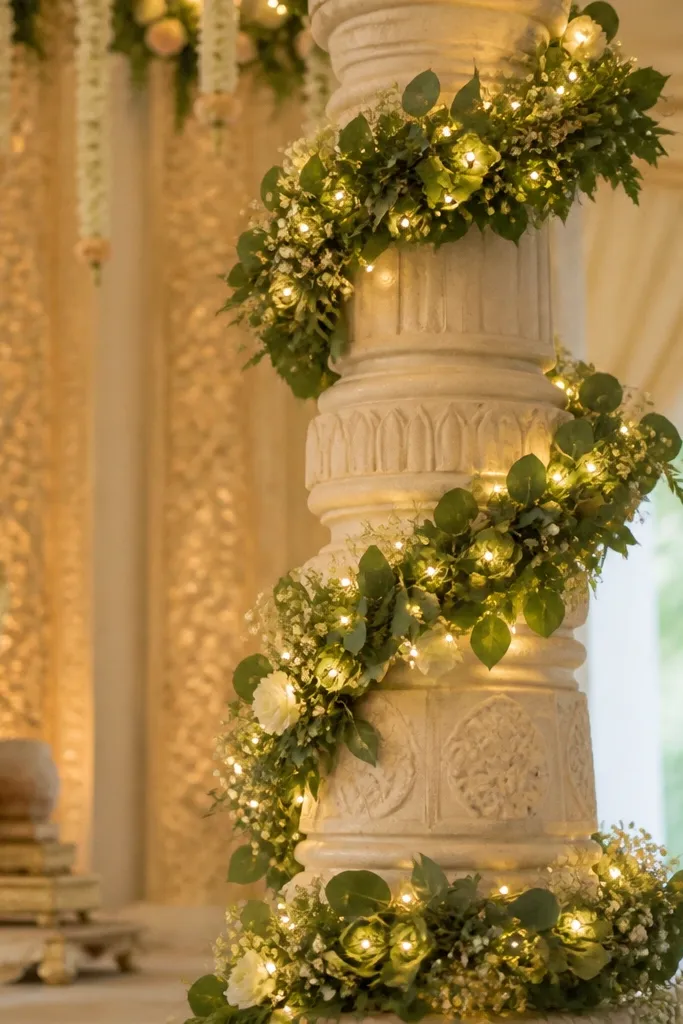
Columns are the easiest place to add vertical lighting without building a new backdrop. I wrap warm lights around the pillar and tuck them behind garland layers so you see a continuous glow ring. This makes the space feel taller and helps photos because the background has structure. It's also practical when your main backdrop is small - pillars fill the "in-between" areas. Warm light helps the green leaves look like real foliage instead of plastic.
Start by wrapping the pillar with a base layer of thick garlands or artificial leaves so there's something to hide wires. Then weave warm fairy lights around the pillar in a spiral pattern, keeping spacing consistent - about every 3 to 5 inches vertically. Secure the wire to the garland stems with floral tape so the strand stays in place. Route the cable down the back side of the pillar and tape it along the edge so it doesn't hang into the walkway. Turn on and check from the direction guests will stand - you want glow around the pillar, not visible cords.
Try thisUse two shorter light strands instead of one long one. You get cleaner hiding and fewer cable knots.
Common mistakeAvoid wrapping lights too tight. It bunches the garland and creates uneven glare.
11. Single flower bunch with micro LEDs behind petals
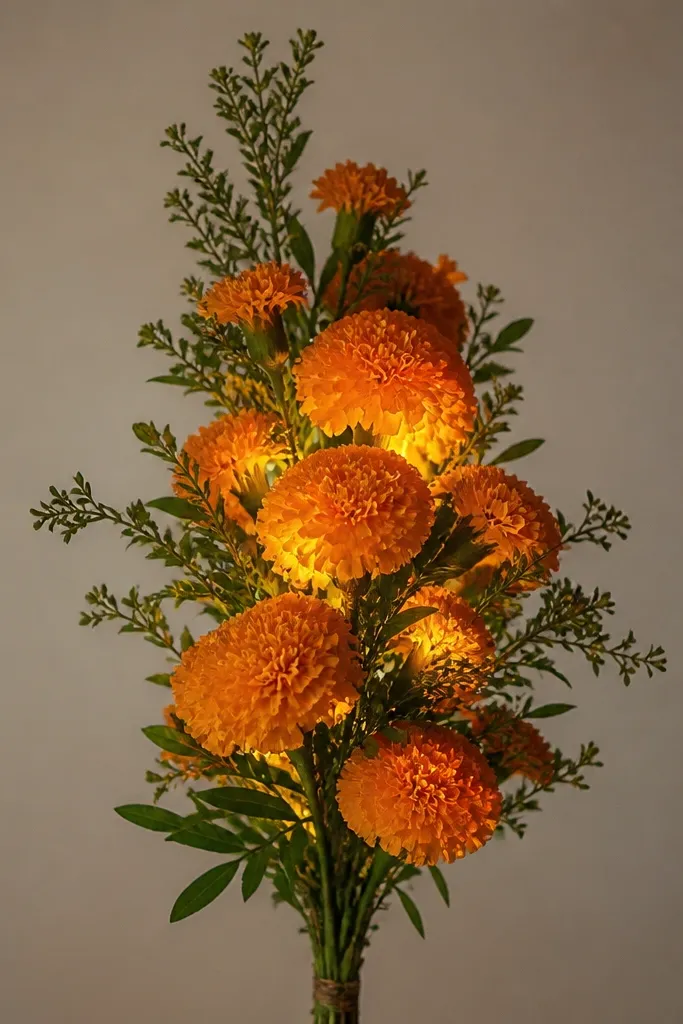
This is for people who don't want a full-on lighting setup but still want photos to look special. I hide micro LEDs behind a dense flower bunch so the glow looks like it's coming from the flowers. It's a strong focal point and works well when you have a simple backdrop. Warm light inside marigold clusters makes the orange look golden instead of flat. This also flatters hands and face in close shots because the light source is centered and soft.
Build your flower bunch first so it's thick enough to hide LED points - thin arrangements show the bulbs. Tuck micro warm LEDs behind the outer layer of petals and secure the wire with floral tape on stems. Keep the LED cluster small, roughly the size of your palm, so it doesn't spread into random bright spots. Place the bunch at the side of the main haldi seat, where it frames the person's profile. Finally, test the glow with your camera phone in portrait mode - if you see individual bulbs, push them deeper under flowers.
Try thisUse warm micro LEDs with a steady mode, not flashing. Flashing looks chaotic in haldi photos.
Common mistakeAvoid using large fairy bulbs inside a flower bunch - they look obvious and plasticky.
12. Halo light ring behind the haldi kalash
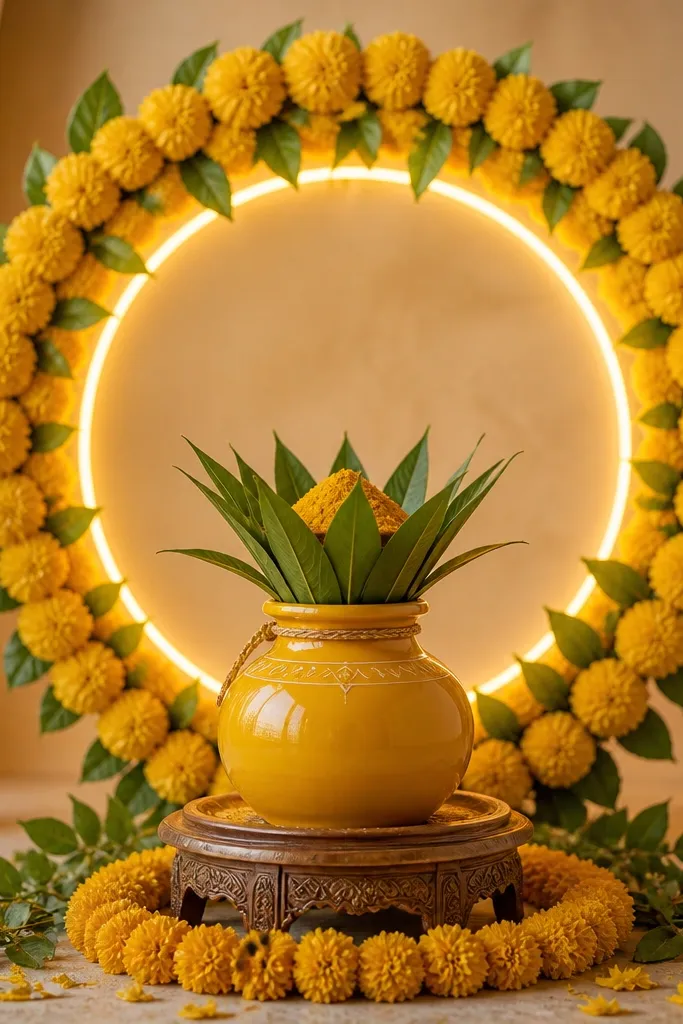
A halo ring is a simple way to make the kalash look like the star. I place a warm LED ring or bendable LED strip behind the garland so it creates a gentle outline behind the vessel. It photographs like a professional background glow without needing a full backdrop. This works best when your kalash area is centered and you want that clean focus point. Warm halo light also makes turmeric and sandalwood colors look richer rather than washed.
Set up your kalash and garland layout first so you know the ring size. Then position the LED ring behind the garland line, not in front, and hide the connection point behind a thick flower cluster. Secure the ring using zip ties to a stand or by placing it behind the garland so it can't tip. Keep the ring glow slightly bigger than the kalash so it frames the object instead of touching it. Turn on and adjust distance - too close looks bright and harsh, too far looks faint.
Try thisIf your ring is too bright, cover it with a thin white organza strip. The halo becomes soft and flattering.
Common mistakeAvoid letting the ring show as a bare plastic circle. Always hide it behind garlands.
13. Gauze veil over lights for a soft, foggy glow
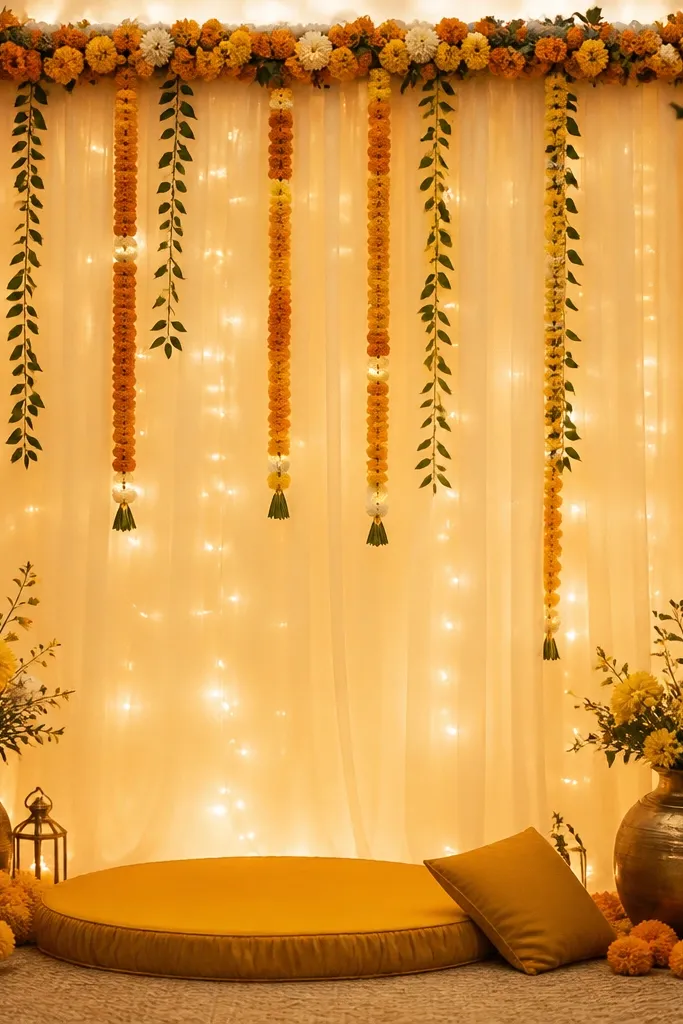
If you hate glare, gauze is the fix. I put warm fairy lights behind a sheer gauze veil stretched like a panel. The gauze scatters the light so you get a calm, glowing background instead of individual bulbs. This looks good for haldi setups where you want a romantic mood rather than a bright party feel. It's also forgiving if your wall has texture or imperfections because the gauze makes everything look smoother.
Stretch gauze over a simple frame or directly over a backdrop stand using clothespins. Place warm fairy lights behind the gauze, then secure the wire so it stays flat and doesn't poke through. Add your garlands on the front side, leaving the gauze visible around them for glow. Keep the lights about 2 to 3 inches behind the gauze so the glow spreads instead of looking like a bright dot. Turn on and adjust - if you see bulb shapes, add a second layer of gauze.
Try thisUse warm lights only. Gauze turns cool light into a bluish haze that looks wrong with turmeric.
Common mistakeAvoid using thick netting that blocks light. You want airy diffusion, not a dark screen.
14. Warm LED rope under flower base for floating garlands
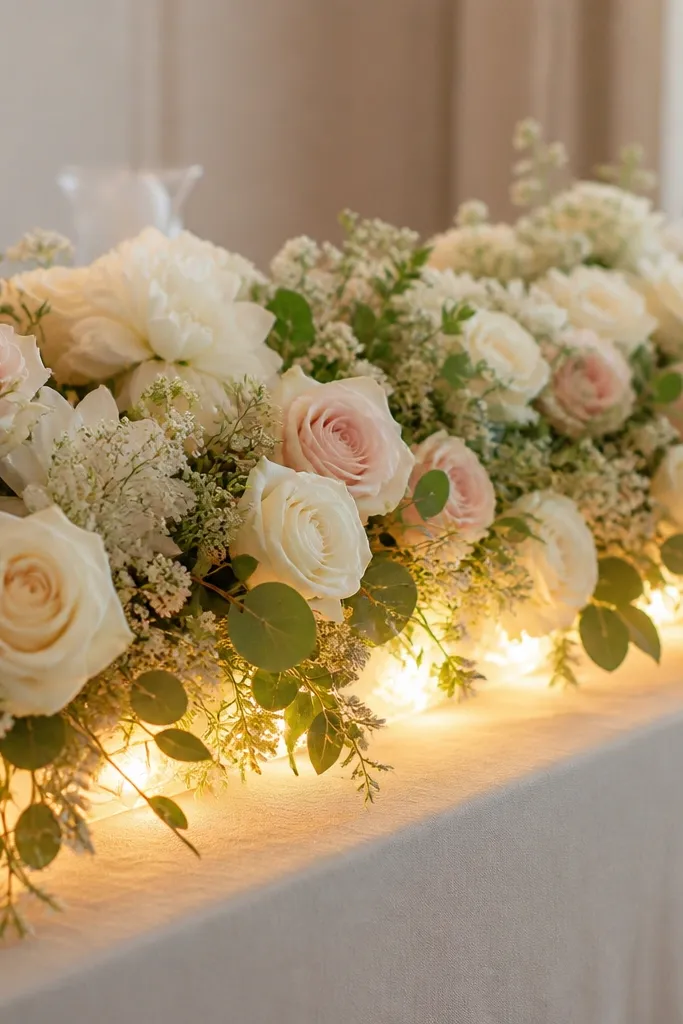
This gives you that "floating flowers" look, and it's one of the cleanest ways to add lights without clutter. I tuck a warm LED rope light under a thick flower base so the glow shows along the underside edges. The light makes marigold layers look stacked and adds depth to the base. It works great for longer stage setups where you want the whole front line to look alive. Warm glow also helps skin tones look warm in haldi because it reduces harsh shadows under the chin.
Build your flower base with a slightly raised layer - even 1 to 2 inches of height helps. Then slide the warm LED rope under the top layer and secure it with tape to the base frame. Hide the rope by adding another thin garland layer over it, so bulbs never face the camera. Route power to the side and keep the cable behind the base flowers. Turn on and check the underside - if the glow is too strong, move the rope deeper under flowers or reduce the number of segments.
Try thisUse a rope light with a warm diffuser cover. It makes the glow look like a continuous line instead of dots.
Common mistakeAvoid placing the rope too close to the camera-facing side. You'll see bright segments and it looks DIY.
15. Side-stage fairy light curtain with a hidden extension cord plan
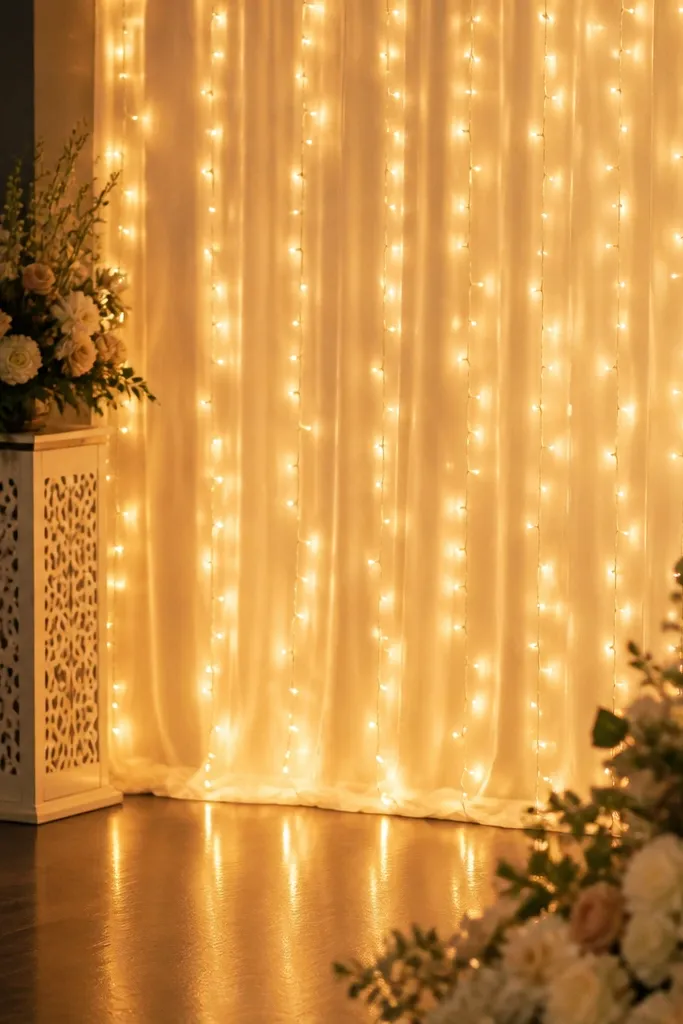
The most common "bad" look I see in haldi lights is cables. The decor might be pretty, but visible cords kill the vibe fast. I make a side-stage fairy light curtain, then plan the power path so the cord never crosses the main photo area. This gives you clean lines and lets the lights look like part of the decor, not an afterthought. It works in both small homes and bigger halls because you can scale the curtain length. Warm lighting also keeps everything flattering under mixed venue lights.
Start by measuring from your plug point to where you want the curtain lights to end, then buy or use an extension that reaches without tension. Hang the fairy light curtain using clips to a rod or stand so it falls straight - I keep the first clip at the top corner and then space evenly. Hide the extension cord behind a pillar, a chair leg, or a heavy garland bundle. Secure the cord with cloth tape to the floor edge so it doesn't slide when people walk past. Turn on the lights and walk around the setup with your phone - if you can see the cord from guest height, reroute before you add anything else.
Try thisUse cable ties sparingly - cloth tape hides better and comes off clean if you're reusing decor.
Common mistakeAvoid letting cords hang freely. They catch light and show up as shiny lines in every photo.