1. Mustard marigold crescent with white cotton base
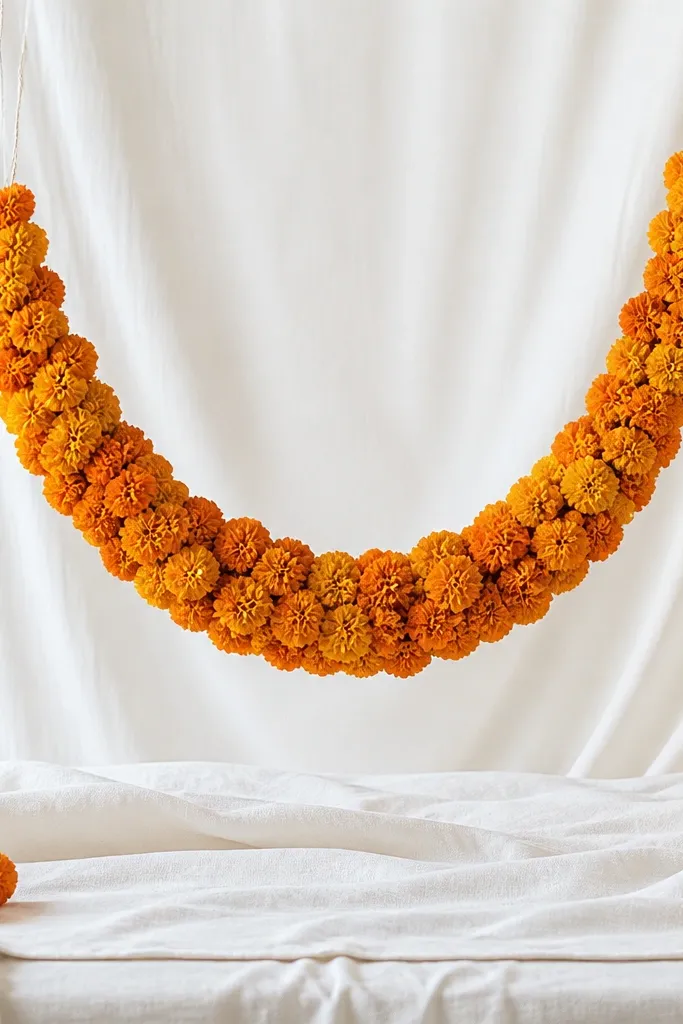
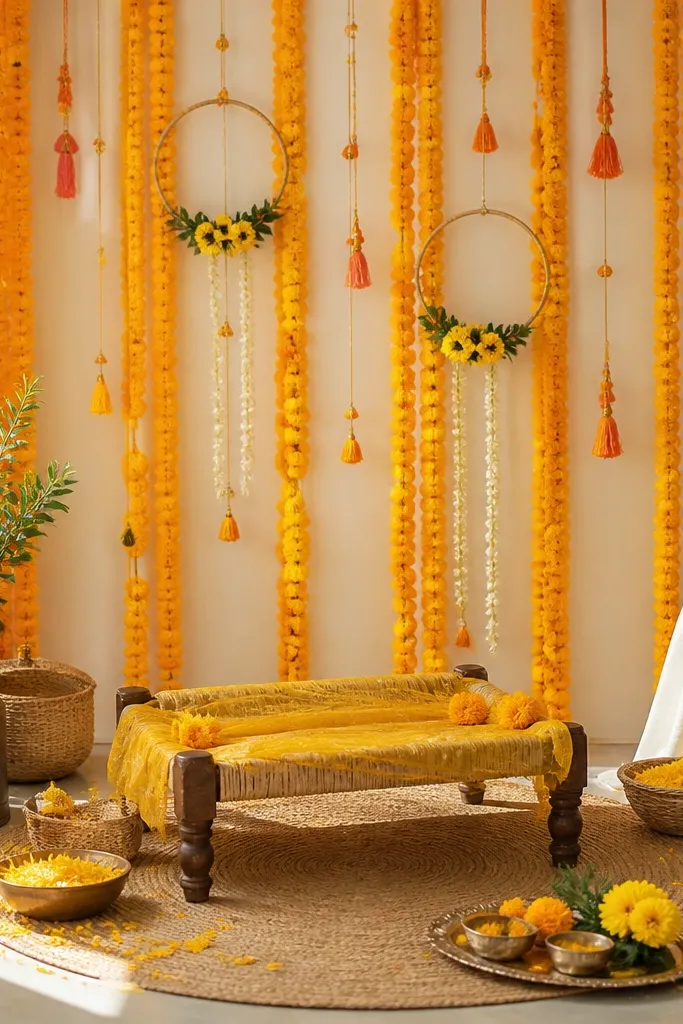
This is the setup I repeat most because it makes the yellow look expensive without turning neon. I use mustard marigolds (the deeper orange-yellow) and keep the backdrop base white cotton so it cools the color temperature for photos. The crescent shape frames faces naturally, which is why it flatters guests of different heights. If you have deeper skin tones, the white base keeps everything from looking muddy, and the marigolds add warm contrast. For fair skin, the mustard tone avoids the "lemon" look that can wash people out.
Start by making a simple frame using a thin PVC or bamboo arc so the garland sits with a gap of 3-4 inches from the backdrop. Drape a plain white cotton cloth behind it - pull it tight at the top and let it fall straight down. Then hang the mustard marigold garland in a tight loop and add two smaller marigold strings at the lower edges so the base doesn't look empty. Finally, lay a white runner or a plastic-backed sheet under a white cloth so turmeric has a barrier; tuck the runner corners under to stop slipping. Finish by adding 3-5 tiny marigold bunches along the runner edges.
Try thisBefore the ceremony, take one phone photo from where guests stand and adjust the garland height by 2-3 inches until faces look centered.
Common mistakeAvoid neon-yellow marigolds against bright white if your outfits lean warm gold; it can look harsh and flat in daylight.
2. Sage green + yellow drape backdrop with pom-pom repeat
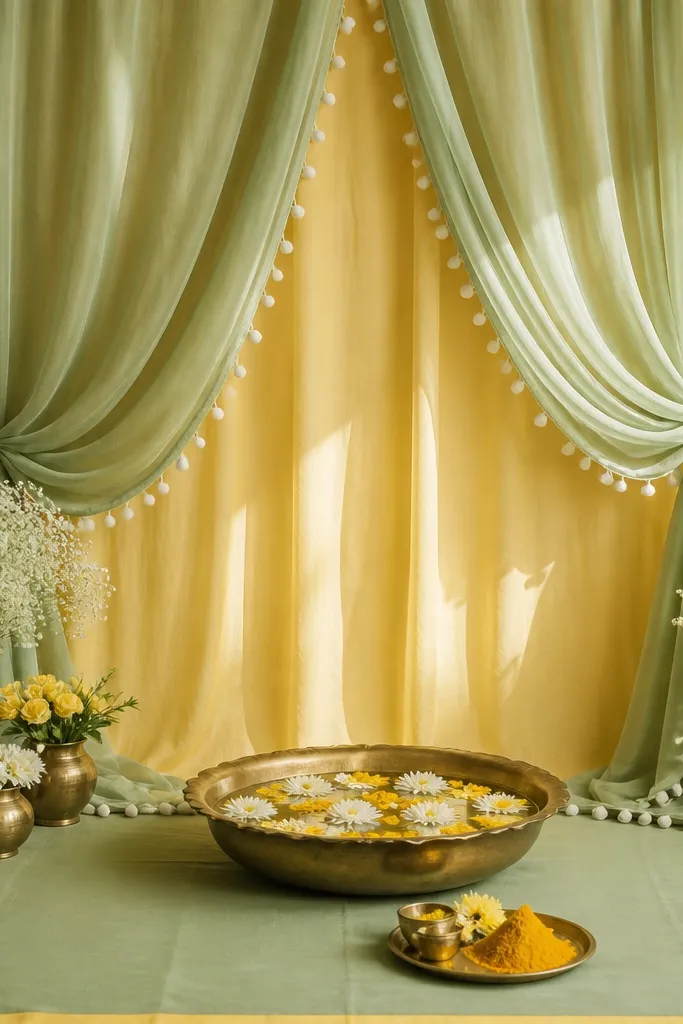
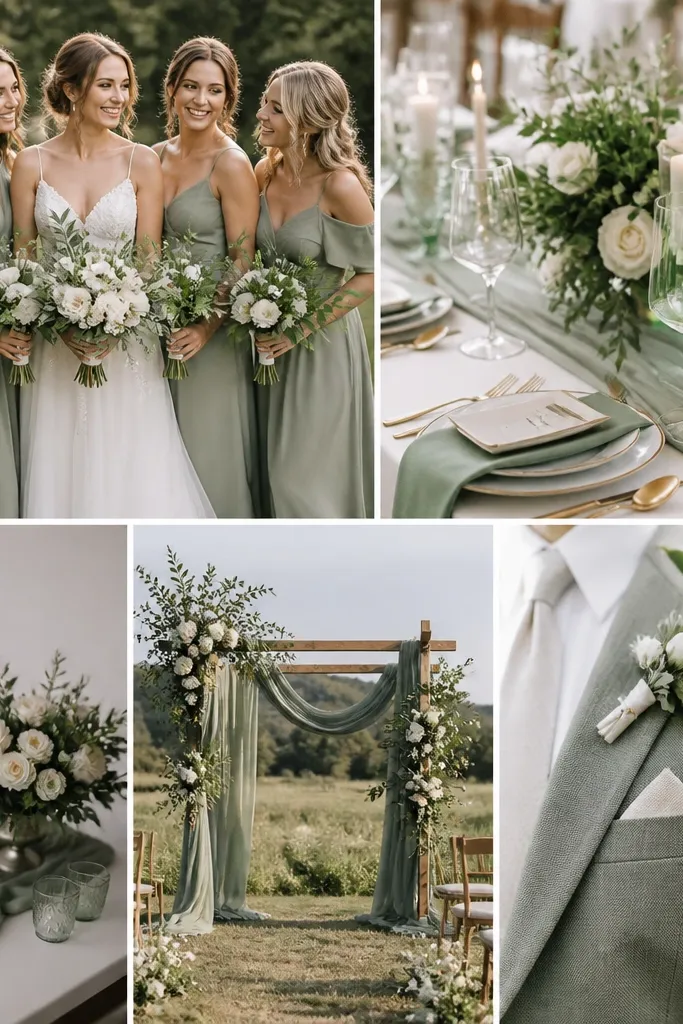
If your room is narrow or your ceiling is low, this drape style saves the day. The trick is layering: a sage green fabric behind a soft yellow base gives a gentle contrast that makes skin look alive and gold jewelry pop. Pom-poms add a repeat pattern so the backdrop doesn't look like plain cloth. I've used this for people who don't want heavy flowers but still want a "decor" look. It also works well for both men and women outfits because the colors don't compete with jewelry or embroidery.
Start with a wide yellow base cloth (cotton or matte satin) hung from two points so it forms a smooth rectangle, about 6 ft wide and 6.5 ft tall. Layer a sage green sheer over it with a slight tilt so the yellow shows at the sides, not fully covered. Attach small white pom-poms along the vertical seam lines - spacing them 10-12 inches apart looks intentional. On the floor, use a sage runner and add a thin yellow border strip (fabric tape or a narrow cloth) so the scene has a frame. Keep everything tied with hidden safety pins or zip ties so nothing droops when people gather.
Try thisUse a handheld steamer on the yellow base first; creases show up as grey streaks in photos.
Common mistakeDon't use shiny satin for both layers; the glare makes faces look washed out.
3. Mango-leaf arch with marigold ribbon ties
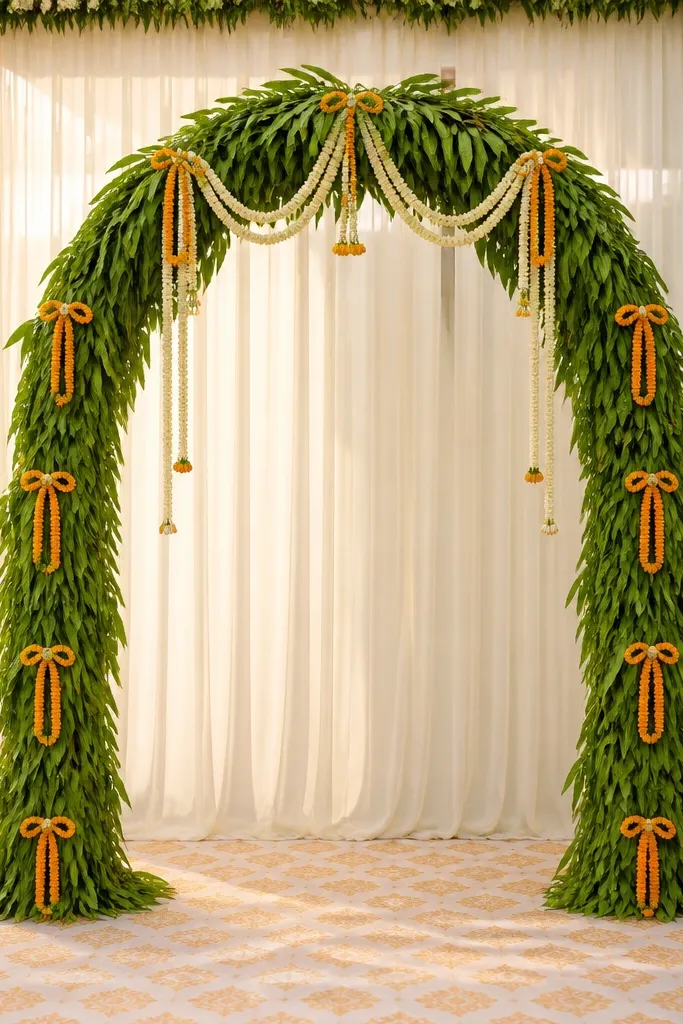
Mango leaves bring a fresh green that balances haldi's warmth. I build this arch when I want guests to feel like they walked into a "real" traditional setup, not a flat backdrop. The marigold ribbon ties are key because they add movement and a visible repeat pattern at different heights - that's what creates the before-after effect in photos. If your venue has white walls, the green pops and makes turmeric look brighter without looking orange-brown. For people with cool undertones, the green keeps the palette from turning overly peachy.
Start by building a lightweight arch frame and wrap it with jute or thin cloth strips so leaves don't snag. Fasten mango leaves in overlapping rows, trimming the stems so they sit flat and don't poke. Tie marigold ribbons at 3 levels: top center, mid on both sides, and one lower tie near the base. Add a thin marigold garland around the inner curve so the arch looks thick from the front. Cover the floor area with a patterned cloth or plastic-backed sheet under a decorative layer, and place two small marigold clusters at the base corners.
Try thisMist mango leaves lightly with water 10 minutes before guests arrive so they look fresh instead of dry and brittle.
Common mistakeAvoid tying leaves too tightly; they bruise and turn dark within a few hours.
4. Rent backdrop + DIY ring of tea-light lanterns
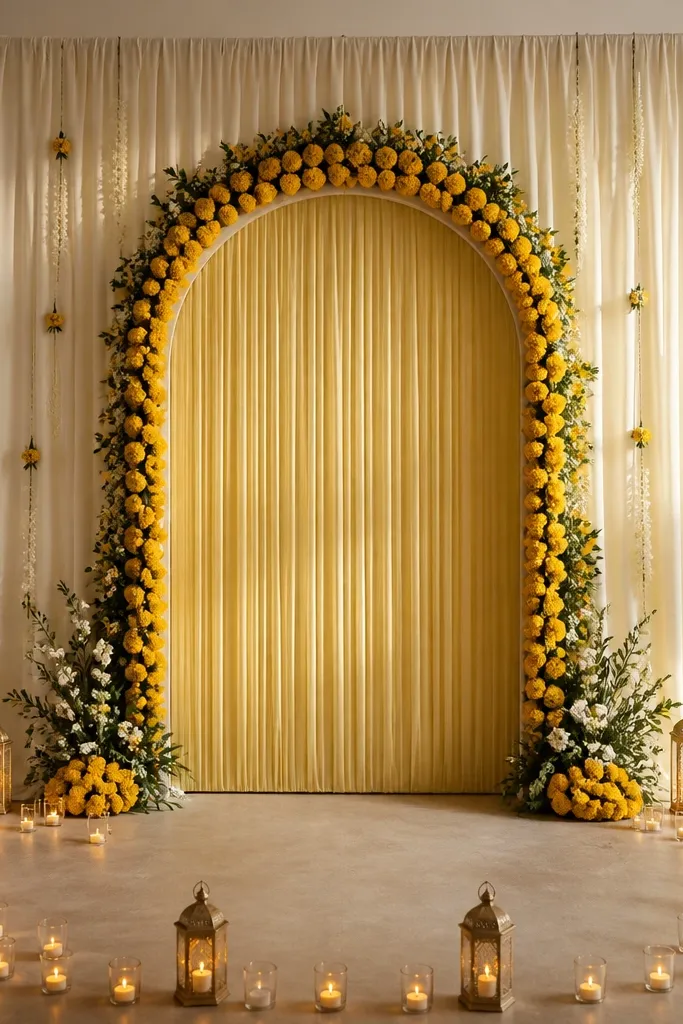
This is my go-to for "rented but not generic." The rented backdrop gives you the shape and symmetry quickly, then you add a DIY ring of lanterns to control the mood. Tea lights create soft shadows around faces, and that's where the before-after upgrade really shows up - skin tone looks warmer, not grey. I use small glass lanterns or paper lanterns with LED tea lights if the venue is strict about real flames. This works for both daytime and evening haldi, but it's strongest at dusk when the room lighting is mixed.
Set up the rented backdrop first and keep it centered at least 4 ft away from the main seating area so people don't block the camera angle. Then lay a circular layout on the floor: measure out a 5 ft diameter circle using string and mark the spots. Place 10-14 lanterns evenly spaced, and keep the lantern height around 8-10 inches so they don't crowd legs. Add a simple garland strip across the lower edge of the backdrop to connect it to the floor. If you're using LED tea lights, test brightness from your phone camera - adjust by swapping darker lanterns for brighter ones.
Try thisTake one test photo with flash off and on; if flash flattens faces, you need fewer bright lanterns and more spacing.
Common mistakeDon't place lanterns too close to the backdrop; they cast harsh shadows on the garlands.
5. Budget paper lantern ceiling drop + marigold table runner
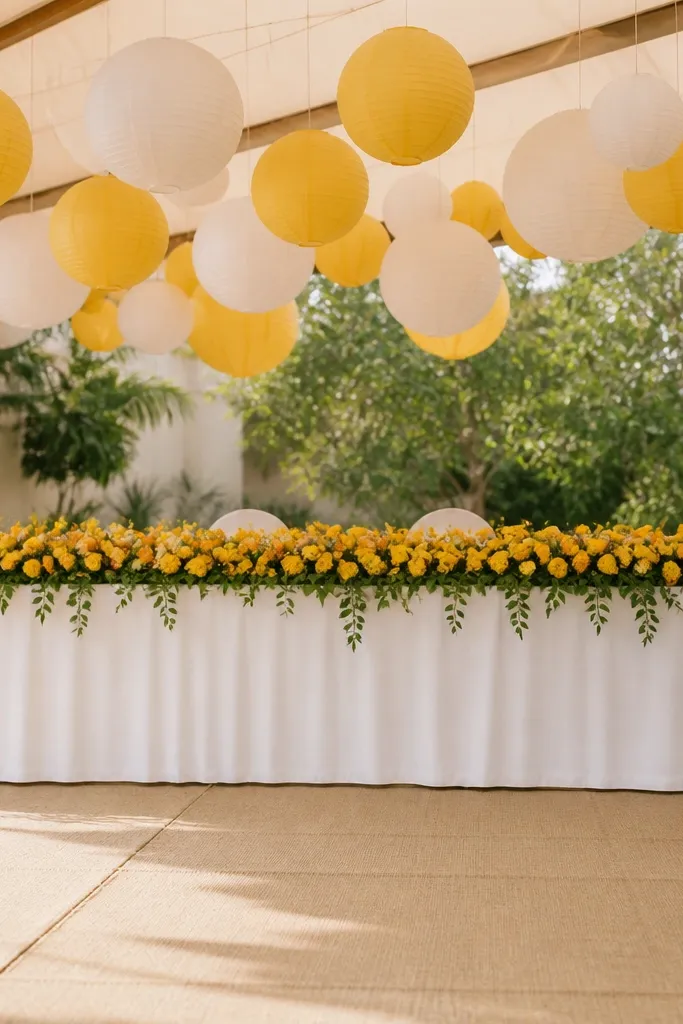
This is the quickest way I've found to make a small haldi area feel bigger without building a tall arch. Overhead lanterns give you height and a "celebration" feel even if your backdrop is simple. I combine yellow paper lanterns with white ones so the palette stays warm but not one-note. The table runner matters too: a marigold line along the front edge makes the whole setup look anchored, not random. It flatters photos because the lantern cluster leads the eye toward the center where people sit and perform rituals.
Start by hanging lanterns from a single point above the center. Use 8-10 lanterns total in two sizes: 6-7 small and 2-3 medium, with the bottom of the lanterns around 6-7 ft from the floor. Tie them with fishing line or thin wire so they sway slightly but don't tangle. Add a marigold garland runner across the table front, keeping it 10-12 inches tall and straight. Cover the floor with a protective sheet under your decorative cloth so the runner stays the clean focal point.
Try thisIf the room has ceiling fans, hang lanterns with extra slack so they don't get pulled into the fan blades.
Common mistakeDon't hang lanterns too low; they crowd the frame and turn into distractions in close-up photos.
6. DIY fabric backdrop with layered organza "sun rays"
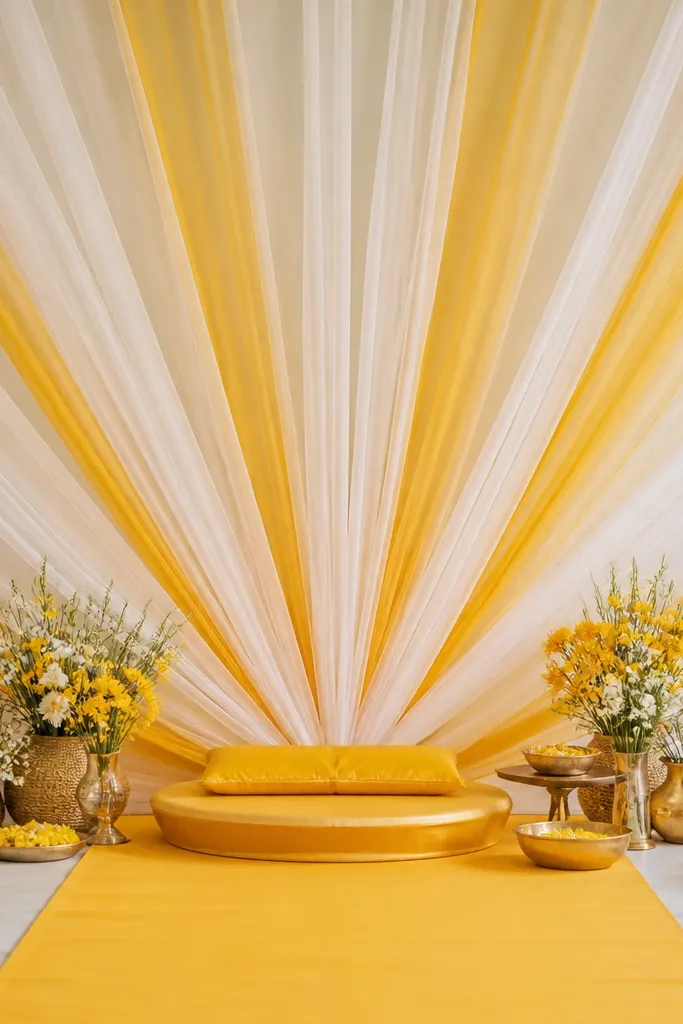
This one makes the most difference when you want a dramatic look without heavy flowers. Organza strips catch light and create that soft halo behind the main ritual space, so the after photos look more polished than the same setup with plain cloth. I use a soft yellow base and white organza strips so the rays are visible but not harsh. It flatters because the translucent layers don't block faces - people look brighter and the background stays airy. For both men and women, it looks good with traditional outfits because it frames the neckline and jewelry without competing.
Start by pinning a soft yellow base cloth to a frame or to two wall points, keeping it flat and wrinkle-free. Cut organza strips about 14-18 inches wide and 6-7 ft long, then fan them from the top center so the rays spread outward in a 70-80 degree arc. Layer 2-3 strips per "ray line" to avoid gaps and keep the look full from the front. Tie the ends at the top with ribbon so they hold shape, then let the bottom fall freely. On the floor, use a simple yellow runner and place the ritual items slightly forward so the rays sit behind them in photos.
Try thisUse starch spray on the organza strips before you hang them; it keeps the rays crisp for hours.
Common mistakeAvoid using too many dark colors in the backdrop; it makes the organza look dirty once turmeric touches anything nearby.
7. Marigold + baby's breath "clean white" haldi board
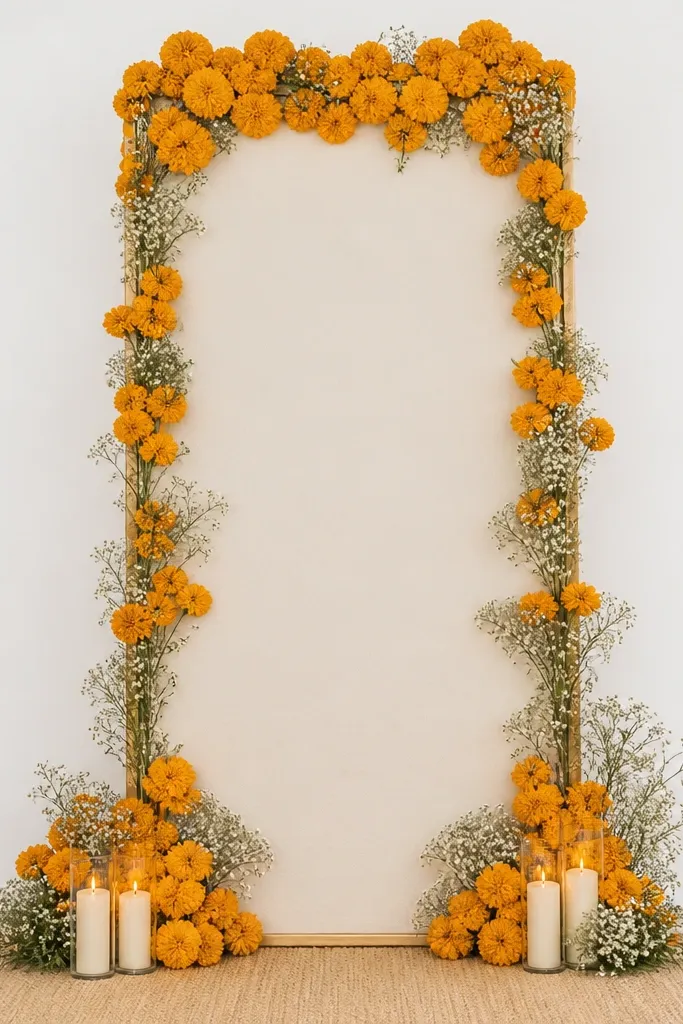
This setup is for people who want haldi to look crisp and photo-friendly, not messy. Baby's breath gives you tiny white dots that separate marigold clusters, so the whole thing reads clean even from far away. I stick to white baby's breath and deeper marigold orange so the contrast is clear. It flatters because the white breaks up the warm yellow and keeps faces from looking overly tinted. If your outfit has heavy gold embroidery, the white flowers keep the details sharp.
Start with a sturdy board or collapsible frame and cover it with plain white cloth so the background doesn't show. Arrange marigold clusters first in a vertical line - aim for 3-5 clusters depending on your height. Then fill gaps with baby's breath sprigs, pressing them lightly so they don't fall outward. Add one horizontal garland at mid height to create a second line for the eye. For the base, lay a protective sheet under a white cloth and keep the items on a tray so turmeric spills land on tray surfaces, not the floor.
Try thisSpray the baby's breath lightly with water 5-10 minutes before photos so it looks fresh and not shriveled.
Common mistakeDon't skip the white backer; without it, the board texture shows through and makes everything look cheap.
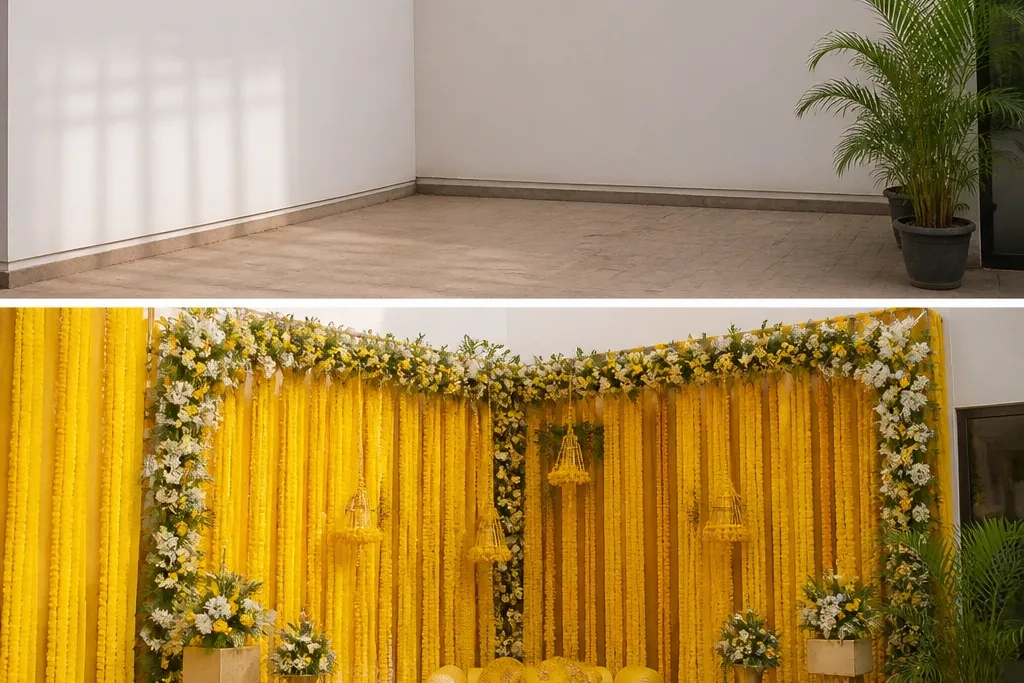
8. Rent floral arch + DIY floor "halo" of marigold petals
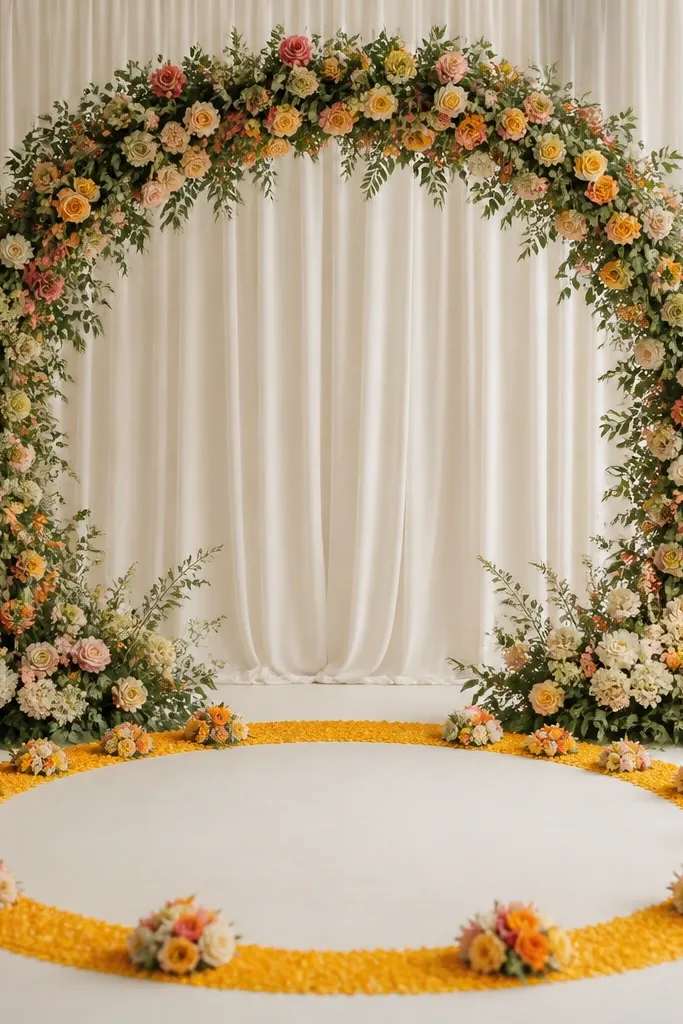
This is how you get that "before looks fine, after looks intentional" effect when you use a rented arch. The arch gives height and structure; the floor halo gives you a second focal point that looks amazing in wide shots. I use marigold petals and small clusters because petals fill gaps and look full even if the arch flowers are spaced. The halo also frames the ritual area so guests naturally stand in the right spot for photos. It works for all skin tones because the warm petals create a flattering glow without adding extra color clutter behind faces.
Place the rented arch first and keep the base centered where the haldi bowl and people will stand. Cover the floor with a plastic-backed sheet and then a thin decorative layer on top, so petals don't stain the real floor. Create a 3.5-4 ft diameter circle using petals, then place 12-18 small marigold clusters around the perimeter for texture. Add a smaller inner ring around the center spot where the main ritual happens. Finally, keep the arch lower edge clear of petals so nothing smears onto the flowers during movement.
Try thisTake a wide shot from 8-10 ft away before the ceremony - the halo should be visible as a full circle even with people moving.
Common mistakeAvoid scattering petals randomly; a clean circle reads premium, scattered petals read messy.