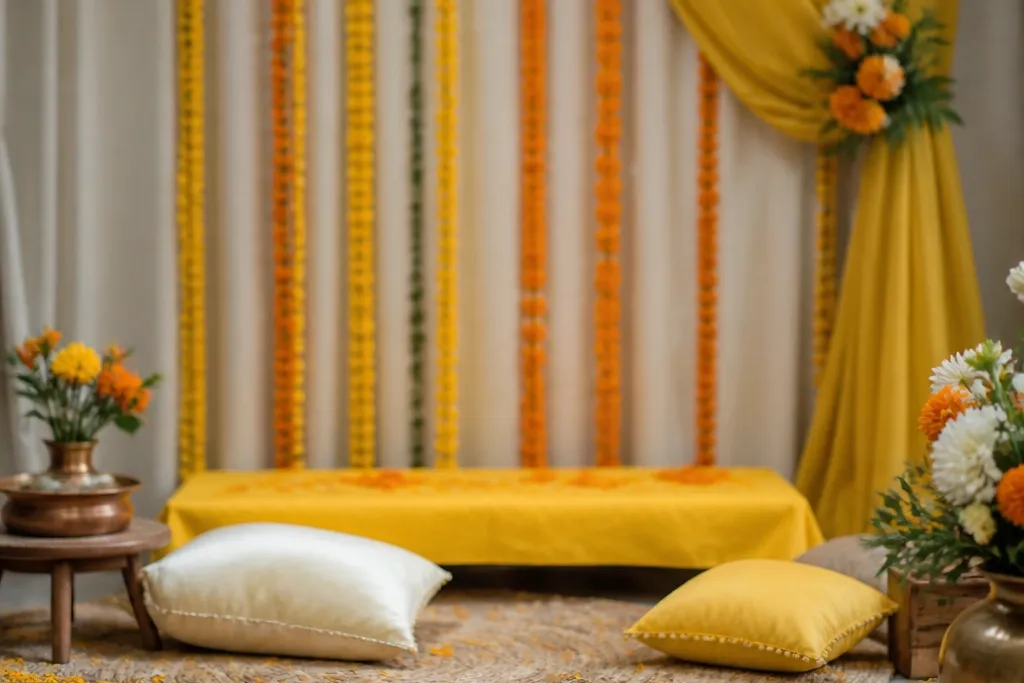
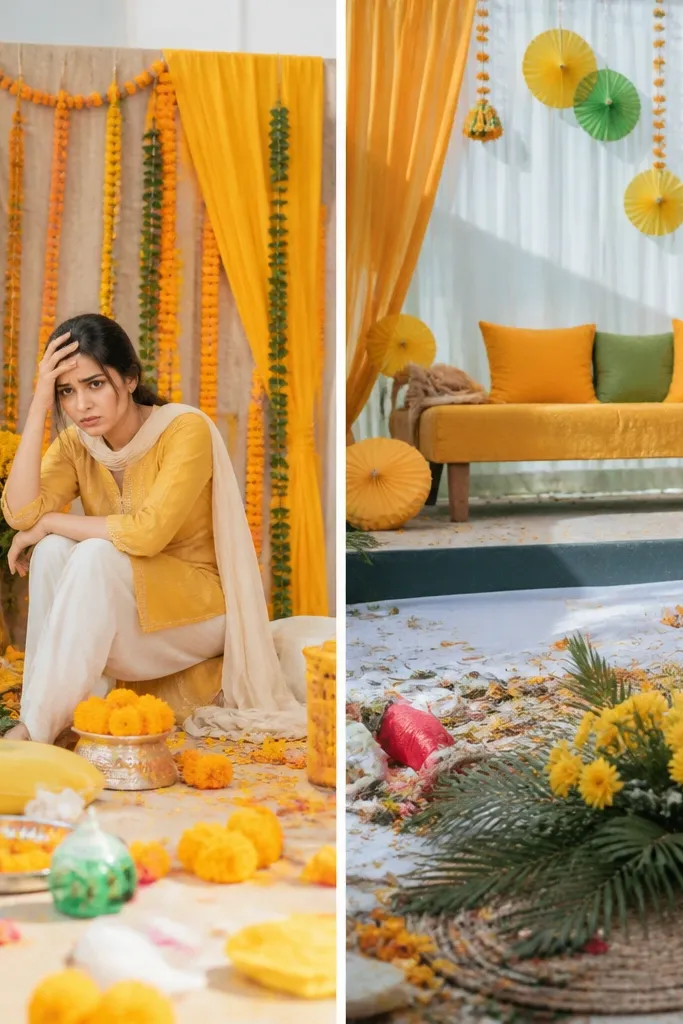
1. Anchor-color backdrop that doesn't swallow faces
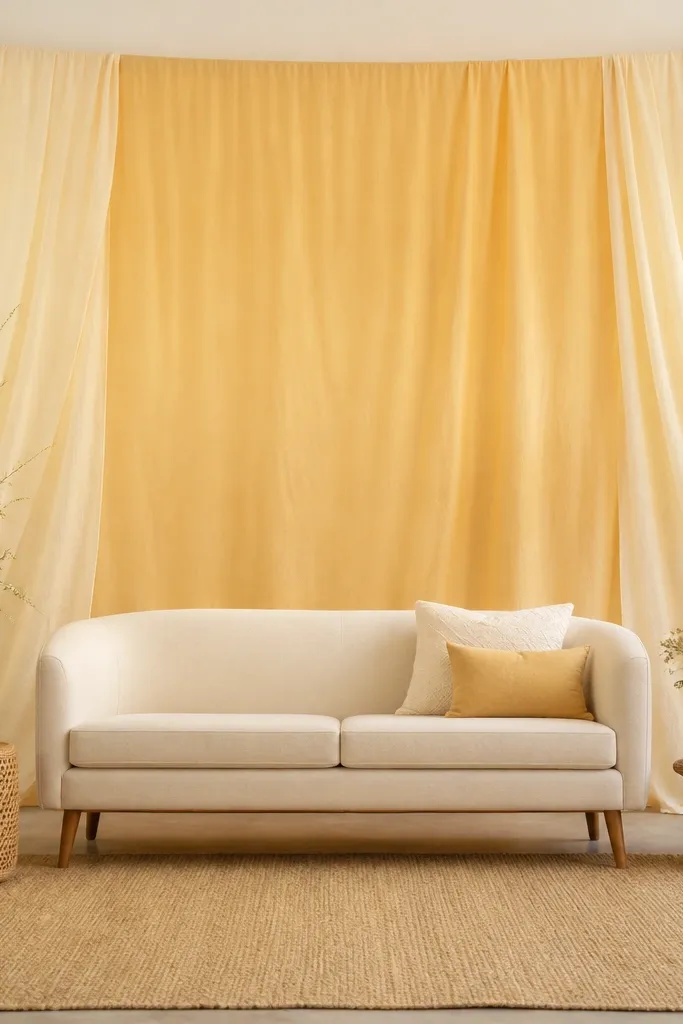
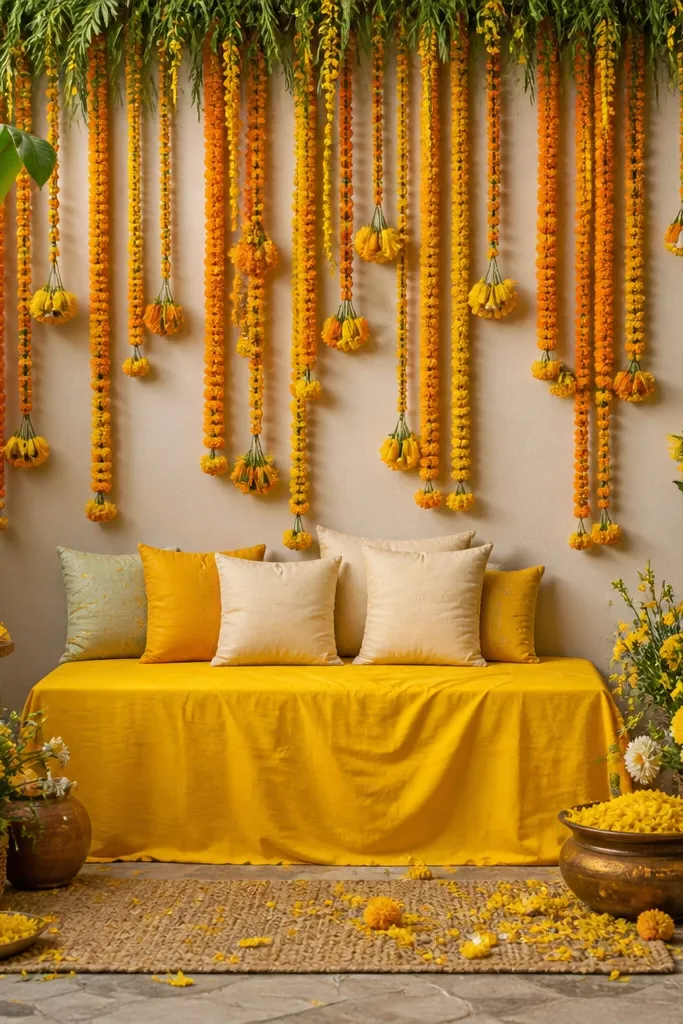
My go-to haldi backdrop is cream or off-white as the base, with a soft golden panel behind where the couple will sit. Cream keeps skin tones warm without turning them orange, which happens when the backdrop is too bright yellow. The golden center gives that haldi glow without making the whole background look flat. If you have a medium to deeper skin tone, this combo keeps contrast so faces look clear in photos. If you're fair-skinned, the cream base prevents the turmeric color from washing you out.
Start by draping a full-width cream fabric behind your seating zone so it covers the entire phone frame. Then pin or tie a second layer in soft golden - about 60% of the width - so the center looks richer than the sides. Keep the fabric taut from shoulder height to just above head level, around 6 to 7 feet total, so it doesn't billow. Finally, trim the edges so the bottom hem lines up with the seating height, not with the floor where it will wrinkle.
Try thisTest with your phone in portrait mode from 6 feet away. If faces look darker than the background, switch to a lighter base fabric.
2. Taut drape rule for no-wrinkle haldi photos
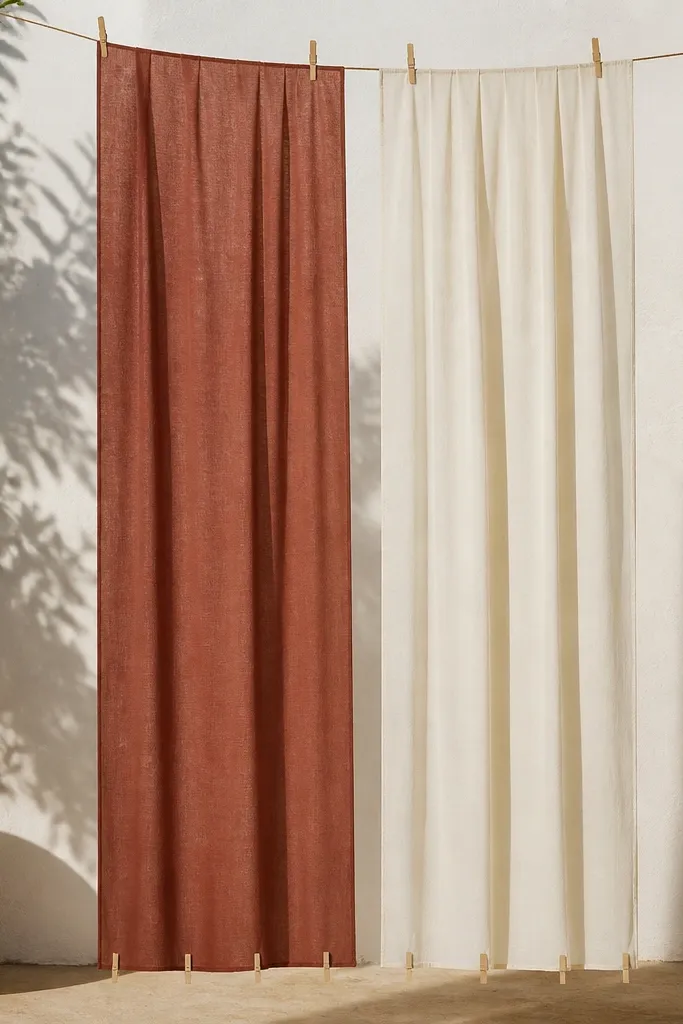
I used to let drapes hang "naturally" and it always looked fine in the room. In photos, those loose waves turn into random shadows that make the whole setup look messy. Haldi light is warm and bright, so wrinkles show up fast. A taut drape gives you clean lines behind faces and makes garlands look intentional. This works for every body type because it frames the upper body cleanly and doesn't create distracting background patterns.
Start by ironing or steaming each fabric panel before you hang it; even a light crease shows under haldi lighting. Then hang the fabric with tension - pull it tight at the top and secure using hooks or safety pins to a frame. Add one extra anchor point at the bottom using clothespins or small hooks so it doesn't flutter when people walk past. Finally, check from the camera angle and adjust the panel so the folds sit outside the couple's head area.
Try thisIf you're short on time, mist-steam only the visible front face of the fabric and pull it tight while it cools.
3. Light placement that makes turmeric look golden, not harsh

The biggest "wow" difference I got came from moving light away from the center and toward the backdrop. When light hits from above or straight on, it makes turmeric paste look chalky and skin look uneven. Side-aimed warm LEDs give a soft glow and keep shadows gentle on cheeks and forehead. This is the difference between haldi looking like a celebration and haldi looking like a bright mess. It also makes gold decor pop without turning everything yellow-green.
Place two warm LED lights at about 45 degrees to the backdrop, one left and one right, and aim them slightly behind the seating area. Keep the lights 4 to 6 feet away so the beam spreads across the backdrop instead of burning a small hotspot. Raise the left and right lights to about eye level of the seated person, then tilt down a little. Turn off the overhead room lights so the camera doesn't fight mixed color temperatures.
Try thisUse warm color temperature around 2700K-3000K for LEDs. If you don't know the setting, test with your phone - white sheet should look creamy, not blue.
4. Staggered height garland layout for depth
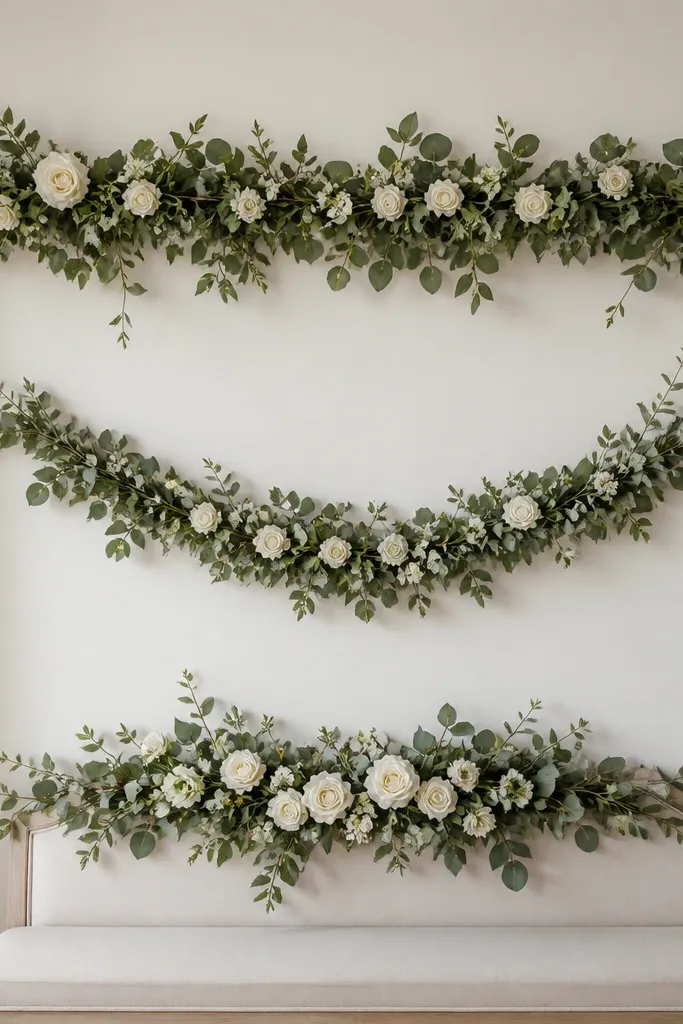
Flat garlands kill depth. I learned to stagger heights so the frame has foreground, midground, and background. For haldi, that means one garland near the top as a header, one in the middle as a halo behind the face, and one lower cluster near the seat so it looks full even when people sit. This makes photos look dimensional and keeps the background from looking empty. It flatters everyone because the visual focus lands around the face area without covering it.
Start by placing a header garland across the top edge of your backdrop, leaving 4 to 6 inches of space on both sides. Then hang a second garland so it sits around shoulder to chest height in the photo frame. Finally, add a small cluster garland near the seat back or chair top, about 8 to 10 inches above the backrest. Keep at least 2 to 3 inches of gap between layers so they don't tangle.
Try thisTie garlands to hooks or zip ties on the frame. Tape on fabric loosens after an hour of movement.
5. Jute and cotton texture mix that looks grounded
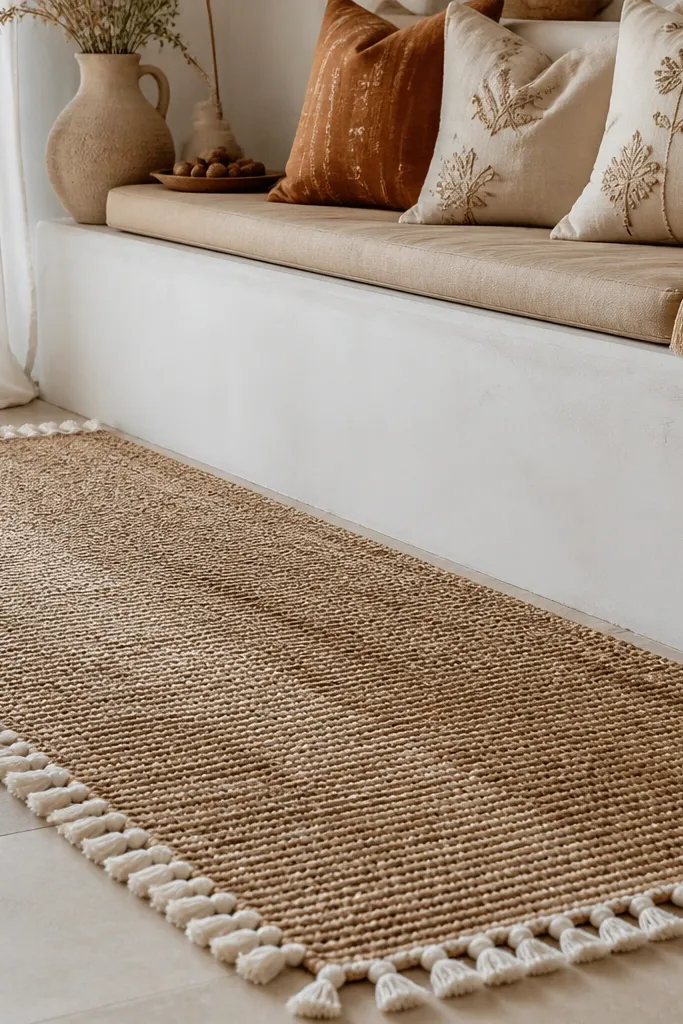
Haldi decor gets messy quickly if everything is glossy. My favorite texture combo is jute for the base and cotton tassels or cotton fabric for the soft layer. Jute looks sturdy and hides minor stains, which is a real issue with haldi paste. Cotton adds movement and softness without looking "plastic." This combo works for both men and women because it frames the outfit and doesn't compete with the bright turmeric color on skin.
Start by laying a jute runner under the main seating zone, about 24 to 30 inches wide so it shows in photos. Then add a cotton layer on top edges - think a cotton border about 6 inches wide - so it frames the runner. Secure the jute at corners with small pins or double-sided tape on the underside only. Finish with a tassel trim along the front edge of the seat platform, not the entire floor, so it doesn't look cluttered.
Try thisIf your jute is shedding, shake it outside and run a lint roller once before setup.
6. Seat-height setup that keeps haldi photos flattering
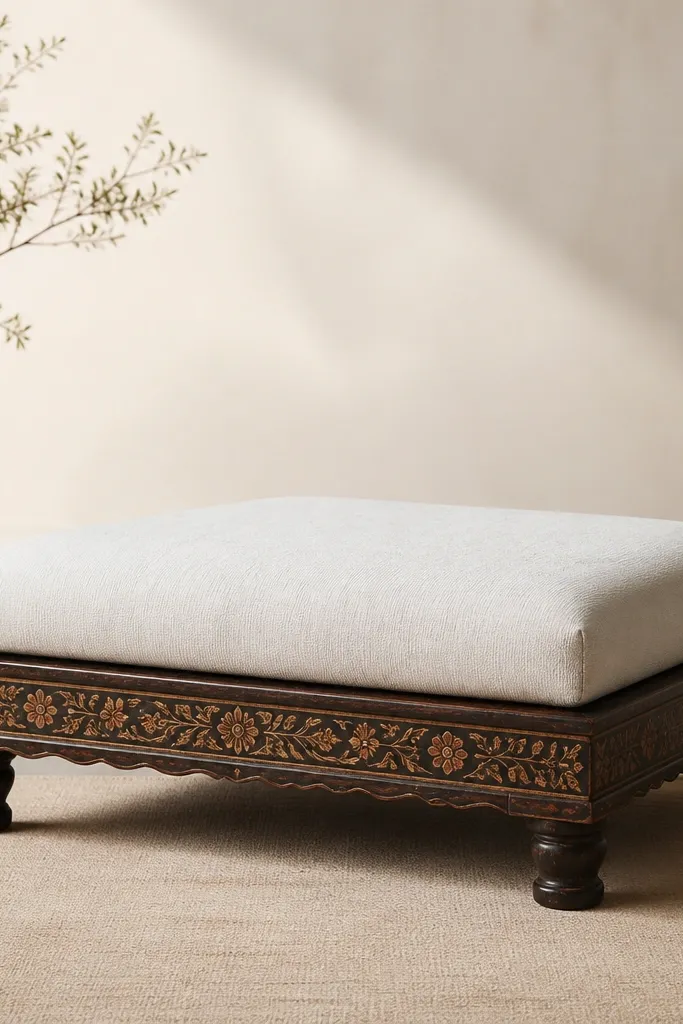
The seat height changes how the whole frame looks. When I sat too low, guests' bodies blocked the garlands and faces looked cropped. When the seat is slightly raised, faces sit in the center and outfits show properly. I've found that around 12 to 16 inches above the floor is a sweet spot for most indoor setups. It flatters different heights because the camera angle stays consistent and people can gather on both sides.
Start by choosing a cushion thickness around 4 to 6 inches so the seated person sits comfortably without slouching. Then raise the base platform to about 12 to 16 inches using a sturdy crate or foam box wrapped in fabric. Cover the platform with a smooth cloth so the edges don't wrinkle in photos. Finally, align the backrest height so the head sits about 1 to 2 feet below the top garland - you want space above the hair, not a garland touching it.
Try thisDo one test photo before guests arrive. Adjust the platform so the face sits in the top third of the frame.
7. Photo-path floor plan so guests don't ruin the look
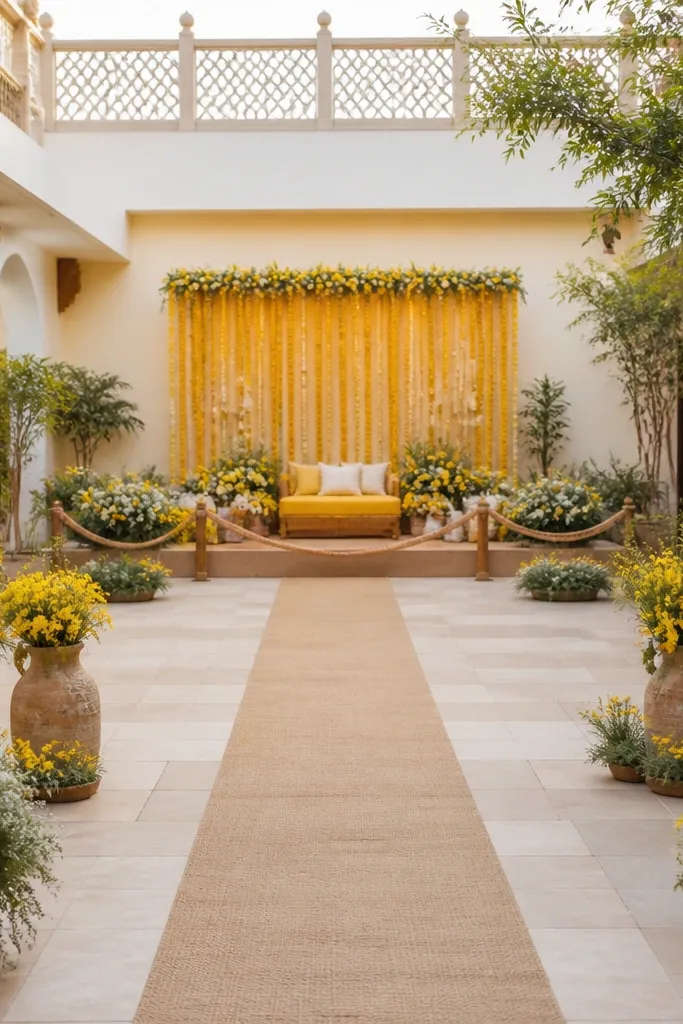
I used to decorate everywhere, then people walked through the decor and it looked "lived-in" in a bad way. For haldi, you need a safe path that keeps the main zone clean. This is why my setups always have a boundary line: guests can walk around it without stepping on garlands or drapes. It also keeps the camera frame clean because it reduces random feet and bags in the background. This works regardless of room size, as long as you create one clear route.
Start by mapping your entry route. Mark a walkway about 30 to 36 inches wide from the entrance to the seat area. Use a plain runner or tape line under a removable cloth so it doesn't show in photos. Then place your decorated boundary - jute edge, fabric strip, or a low basket line - around the main zone. Finally, keep cables, water buckets, and haldi bowls outside the boundary so the decorated area stays visually calm.
Try thisWalk the path in socks and shoes. If it feels tight, widen it by 6 inches before decoration goes up.
8. Turmeric bowl styling that looks clean, not cluttered
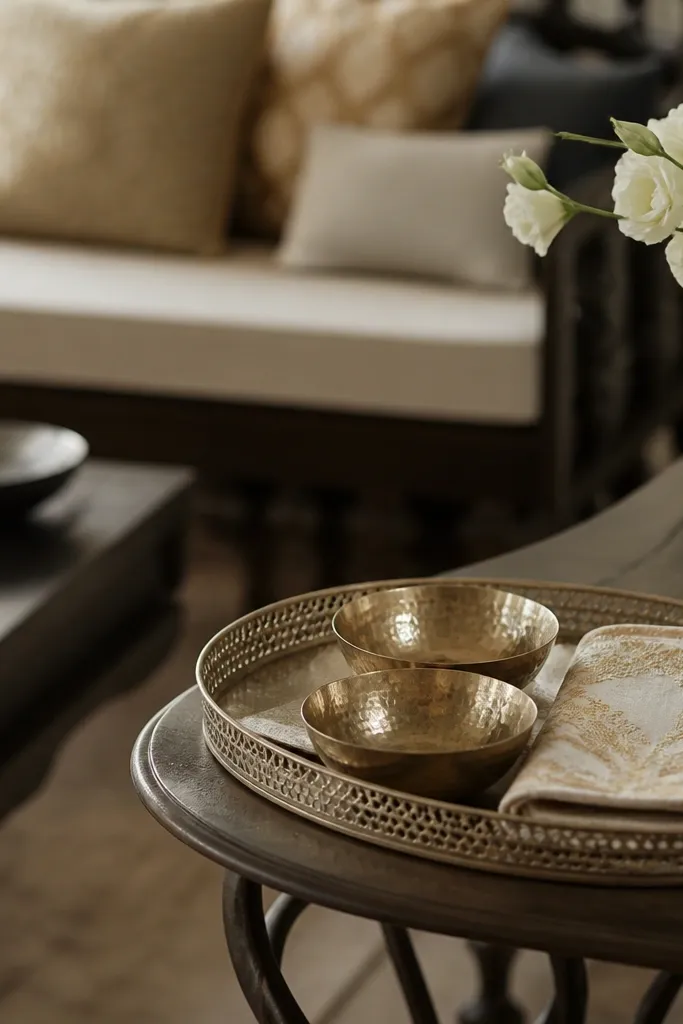
Haldi bowls are practical, but they can also make your decor look chaotic if they're placed randomly. I keep bowls on a tray with matching napkins so the scene looks intentional. Metal bowls catch light and look crisp against cream fabric, which keeps photos clean even if paste splashes. This styling works for both men and women because it doesn't compete with outfit colors. It also keeps turmeric stains contained.
Start by using two shallow metal bowls - one for paste and one for water - and place them on a tray covered with plain fabric. Choose cream or light gold napkins that match your backdrop. Put the tray on the side of the seat area, not in the center - about 3 to 4 feet from where the couple will sit. Keep the bowls at least 12 inches away from any fabric drapes so splashes don't hit the backdrop. Finally, add a small spoon or ladle and cover it with a cloth between rounds.
Try thisLine the tray with a plastic sheet under the fabric. It saves you from panic when paste leaks.
9. Banana leaf accents without the messy edges
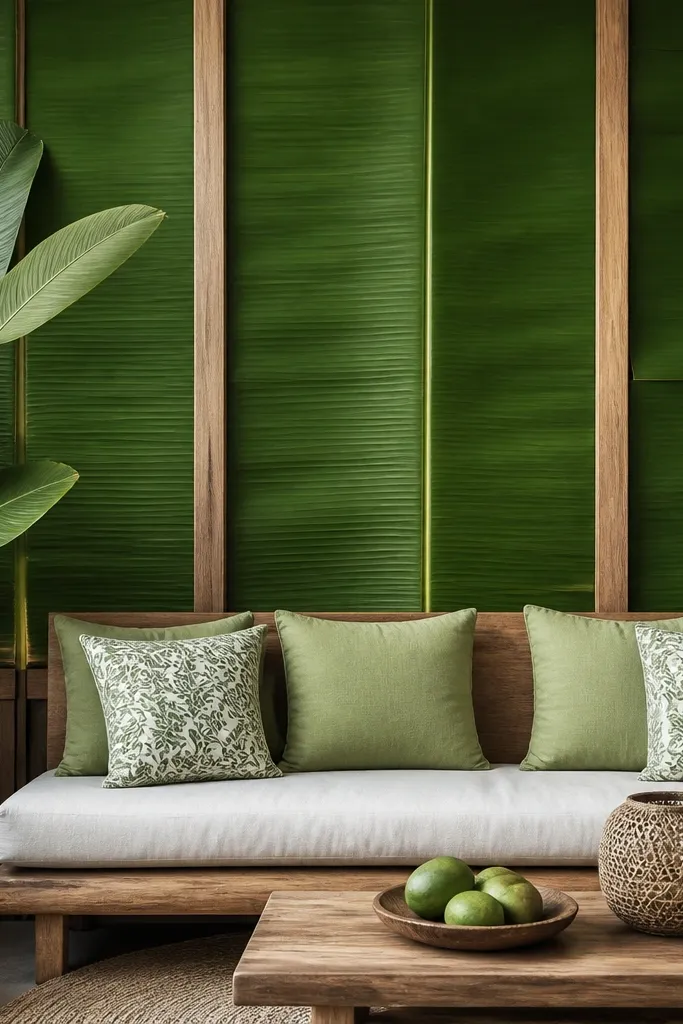
Banana leaf looks amazing in haldi because it adds a natural green tone that balances all the yellow. But if you leave messy edges and uneven leaves hanging, it looks chaotic fast. I use banana leaf as a panel behind or beside the seating area, not as a loose scatter. The green gives a fresh contrast that makes skin look lively in warm light. This works for every skin tone because green neutralizes yellow-orange dominance.
Start by washing and pat-drying leaves so they don't drip on fabric. Trim edges to get straight lines and remove any brown parts. Pin leaves flat to a frame or hang them in a panel behind the seat so the center looks dense and the sides fade slightly. Place one or two leaf clusters on the sides of the seat, at about shoulder height. Keep leaf edges 6 to 8 inches away from any drapes so they don't snag or tear.
Try thisSpray a light water mist on leaves right before guests arrive. Dry leaves look dull on camera.
10. Green foliage clusters for color balance in the frame
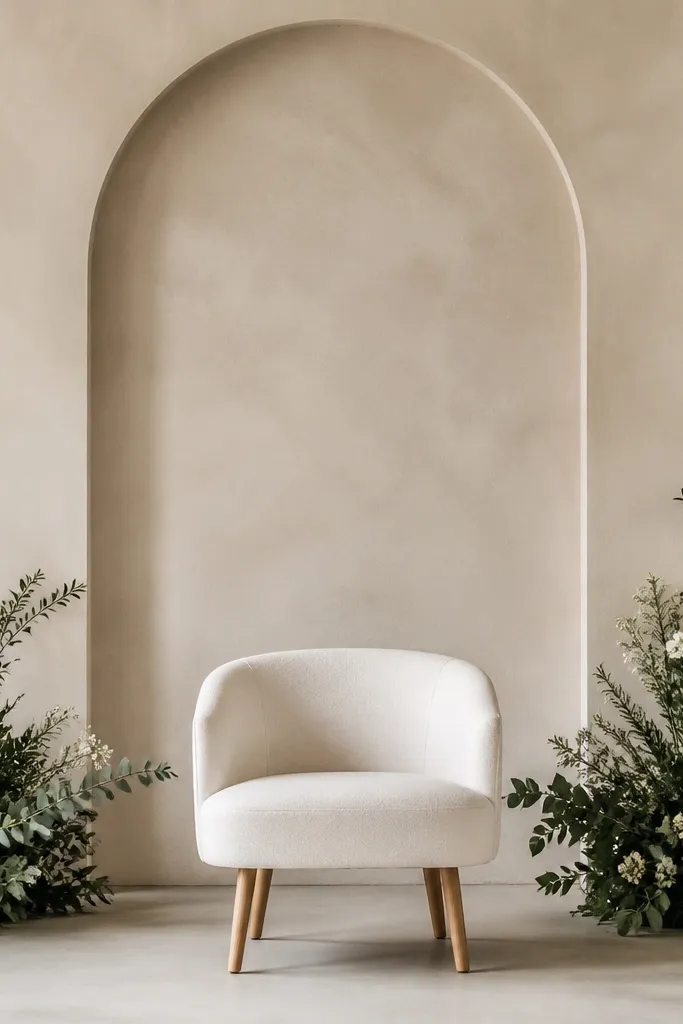
All-yellow haldi setups can look one-note. I add two green clusters at the bottom corners so the frame has a grounding color and the center stays bright. If you use faux greenery, pick leaves that look matte, not shiny - shiny leaves look plastic under flash. For fresh greenery, keep it away from direct haldi paste so it stays clean. This color balance helps both men and women outfits look more "put together" because the greens act like visual anchors.
Start by placing two greenery clusters at the bottom left and bottom right of the backdrop area. Position them about 10 to 12 inches away from the center so they don't cover the garlands. Angle them slightly inward to guide the eye toward the couple. Secure with zip ties on a hidden frame or floral wire in the base. Then add one small leaf sprig near the seat back for continuity.
Try thisIf greenery looks too dark, add one cream ribbon strip between the corner cluster and the bottom drape.
11. Color spacing trick: 70-20-10 for haldi sets
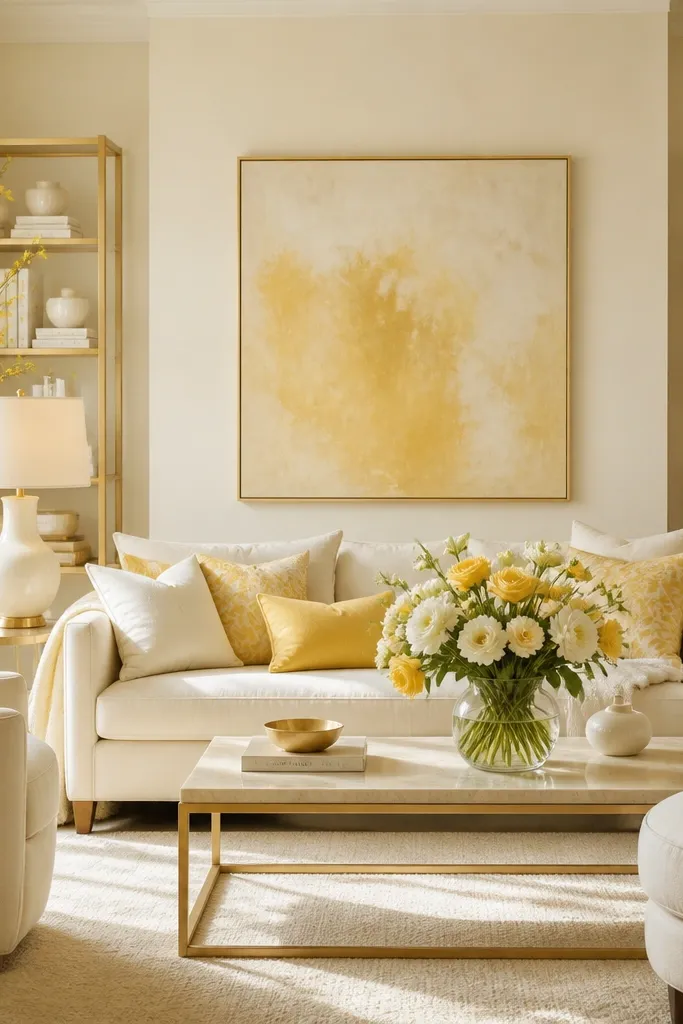
I stopped guessing and used a simple ratio. For haldi, 70% is your base (cream/off-white), 20% is your main warm color (soft gold/turmeric yellow), and 10% is your accent (bright yellow flowers or white blooms). This keeps the scene from looking like a pile of different shades. It also makes the garlands read clearly because they have contrast against the base. This ratio flatters outfits because it keeps the color focus on the person, not on decor.
Start by choosing one base fabric for backdrop and seat cover - aim for at least 7 feet wide if your room allows. Then add a golden panel or golden drape only in the central 3 feet area. Use bright flower accents sparingly - for example, one row of white marigold or small yellow blossoms at the top. Finish with a small accent color only once, like a single green ribbon or banana leaf cluster. Step back and check if the bright accents appear only in small spots.
Try thisIf your photo looks too yellow, remove one bright accent. If it looks washed, add one more golden layer near the face.
12. Tulle + tassel combo that looks airy on camera
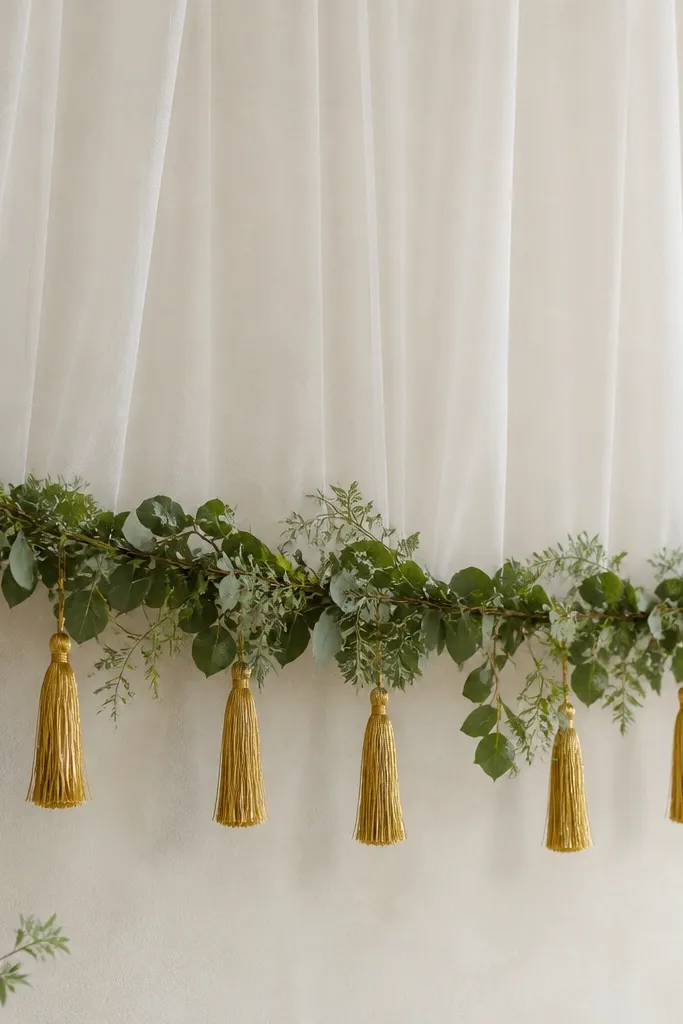
Tulle gives that soft, floating look, but only if you control the bunching. I use tulle behind the garland line so it creates a haze effect without covering faces. Tassels at the bottom add motion cues in photos because they catch light edges. Keep tassels in gold or cream so they blend with haldi warmth. This works for both men's and women's outfits because it adds softness without turning the whole scene into a wedding-only vibe.
Start by hanging a white or cream tulle sheet behind the seating area, spanning about 70% of the backdrop width. Leave it smooth - no big knots - and secure the top with pins. Then attach gold or turmeric-colored tassels along the bottom edge of the tulle, about 12 to 14 inches above the seat platform. Make sure tassels don't touch the floor so they don't look dirty. Finish by placing garlands on top of the tulle so the garland stays crisp.
Try thisUse a stiff tulle, not the super stretchy kind. Stiff tulle holds shape and looks clean in photos.
13. Floral frame around the seat, not a full wall
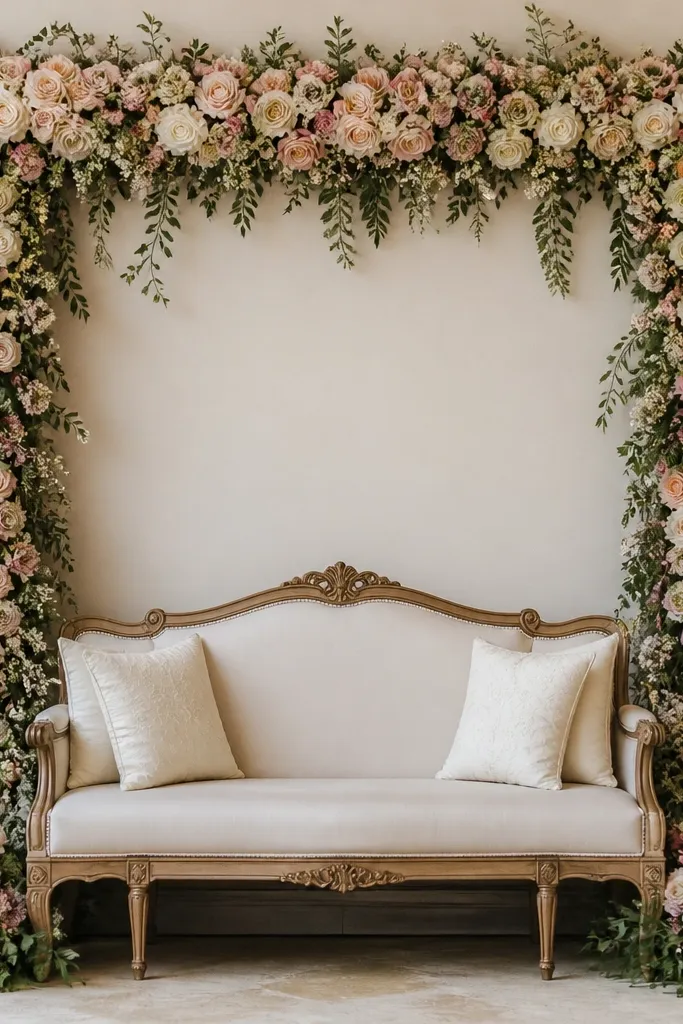
I used to plaster flowers across the entire backdrop. It made the setup look heavy and it hid the face area in group photos. A floral frame works better: it outlines the seating zone and leaves breathing space behind the head and shoulders. That negative space keeps faces readable, and your garlands don't turn into one noisy block. It also helps men's kurtas look clean because the background doesn't create competing patterns. Women's outfits look brighter because the floral border holds the eye.
Start by building a rectangular frame on the backdrop: top border at about 7 feet, side borders down to around chair back height. Then hang garlands only on the frame edges, leaving the center open. Add two denser clusters at the top corners and a lighter line across the bottom edge. Finally, check the camera angle and make sure the frame doesn't cut across the person's shoulders. If it does, lower the frame by 2 to 3 inches.
Try thisUse one flower size only - small blossoms or medium blossoms. Mixed sizes make the frame look busy.
14. Signs and name tags placed where phones point
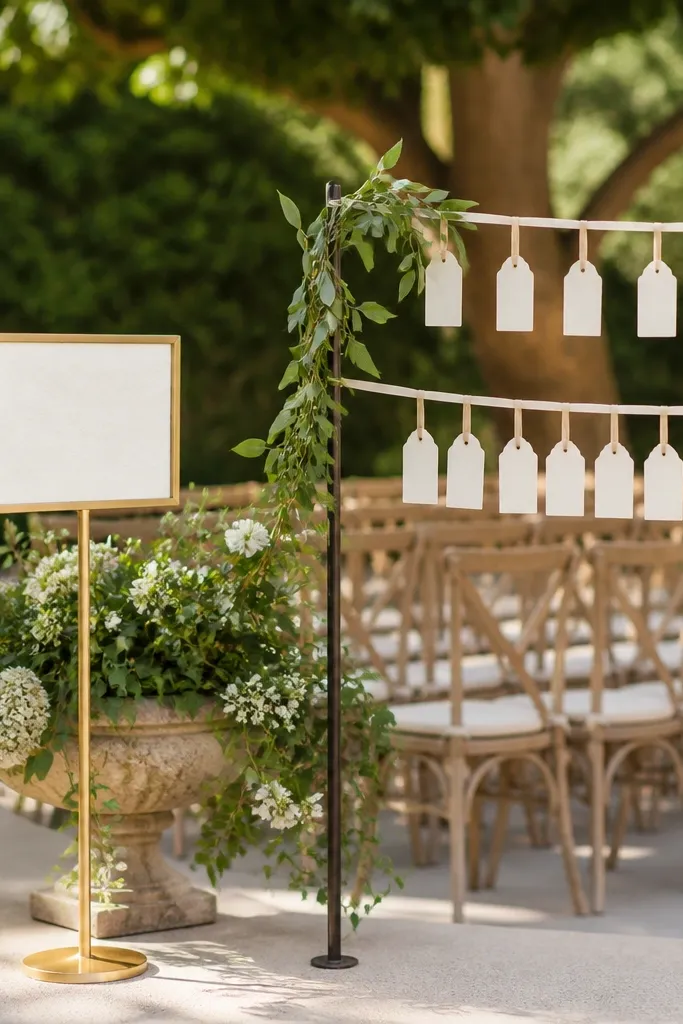
Signs look great, but placement matters because most people take photos from one side. I position my sign at the side of the backdrop where phones naturally tilt. Name tags at chest height look readable in selfies without covering garlands. Use simple fonts and avoid too much glitter - glitter catches light and becomes a blur in camera. This approach keeps the setup personal while still looking clean and not cluttered.
Start by placing your main sign on a stand 2 to 3 feet away from the seating so it doesn't overlap the garland line. Keep it at about 4 feet height from the floor for readability. Then hang small name tags on a ribbon line across the side - not across the center where faces are. Use plain backing cardstock or foam board with a matte finish. Finally, take one test photo from the angle where guests will stand and adjust the sign height if it cuts the head.
Try thisLaminate your sign matte. Gloss laminate causes glare and turns letters into streaks.
15. Avoid shiny plastic: choose matte holders for candles

I tried glossy acrylic candle holders once and they reflected everything - phone flash, overhead lights, even the haldi bowl. It made the scene look cheap in photos. For haldi, I use matte holders and warm LED candles so the glow looks cozy without glare. Matte surfaces keep attention on the center and on faces. This is especially helpful for women's outfits with embroidery because shiny holders fight with the sparkle of thread.
Start by using LED candles instead of real ones indoors around turmeric paste. Place them on a side table covered with cream cloth. Choose matte white, matte gold, or terracotta holders so the light spreads softly. Keep candles at least 3 feet away from any drapes to avoid heat and accidental contact. Finally, scatter three candles - one tall center and two shorter sides - so the arrangement looks balanced in the frame.
Try thisTurn candles on 10 minutes before photos. Warm glow settles and looks more even.
16. Fabric runner on the floor: keep it narrow and clean
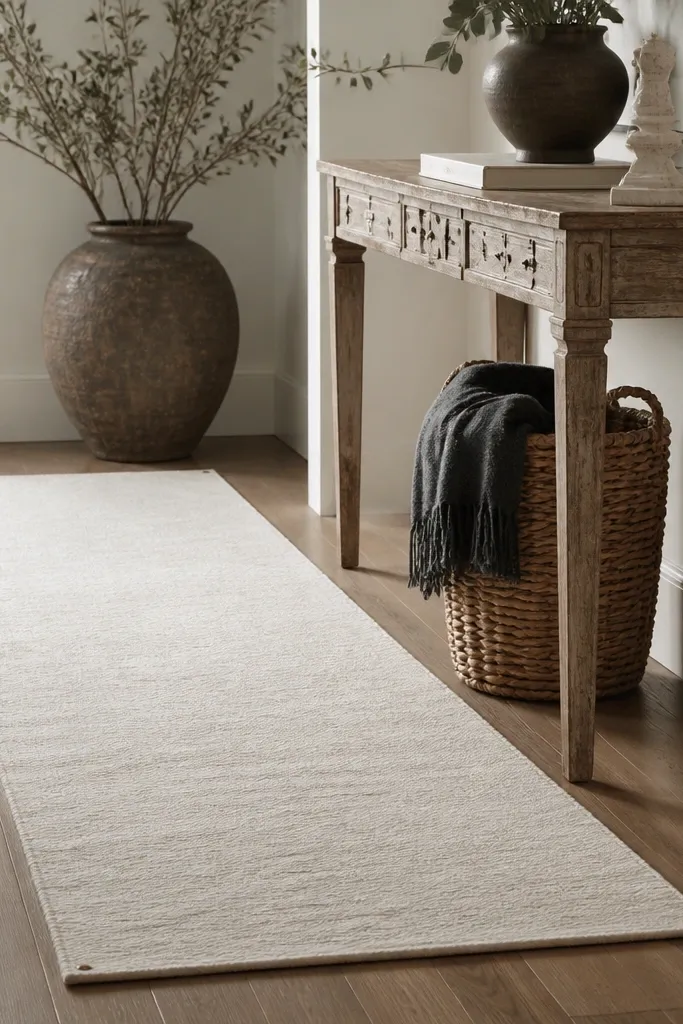
Floor runners can either make the whole setup look styled or make it look like a messy craft. I keep my runner narrow and straight so it frames the path without collecting haldi splashes. Cream fabric on the floor also ties the setup to the backdrop, which makes photos look cohesive. If you have medium to deep skin tones, the cream runner gives contrast that helps outfits pop. If you have lighter outfits, the cream base prevents the scene from looking too yellow.
Start by choosing a runner width around 18 to 24 inches for indoor spaces. Lay it so it aligns with the main seating axis, not at a diagonal unless your room is very wide. Pin or tape down the edges on the underside so it doesn't slide. Place the runner only where people will stand for photos, not across the entire room. Then keep any haldi paste bowls outside the runner boundary.
Try thisUse a fabric that tolerates small spills, like cotton-linen blend, and keep a small folded towel nearby for quick blotting.
17. Turmeric-safe covering for the backdrop edges
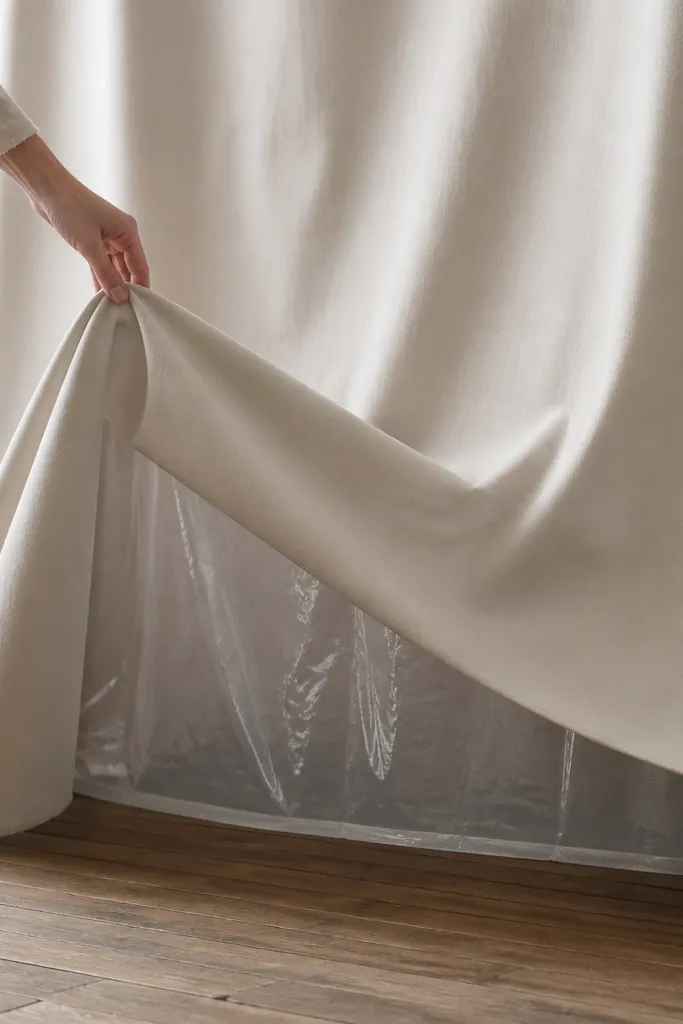
Backdrops get hit at the bottom first. I learned to protect the lower edge because turmeric paste and water splash upward when people sit and stand quickly. If you don't cover the edges, the fabric stains and looks dull by the time you take photos. A hidden protective layer keeps the front clean while still giving you a soft visual. It also makes the whole setup last longer if haldi continues for multiple rounds.
Start by cutting a clear plastic sheet or waterproof liner to the width of your backdrop. Place it behind the bottom hem area of your drape so it is invisible from the front. Then attach the fabric front over it with pins or clips so the edge looks smooth. Keep the protective layer 2 to 3 inches above the floor so it doesn't show wrinkles. Finally, use a removable cloth strip at the bottom that you can swap if it gets splashed.
Try thisIf you see any seam that's too visible, cover it with a narrow ribbon or tassel strip at the edge.
18. Garland tying method that stops sagging
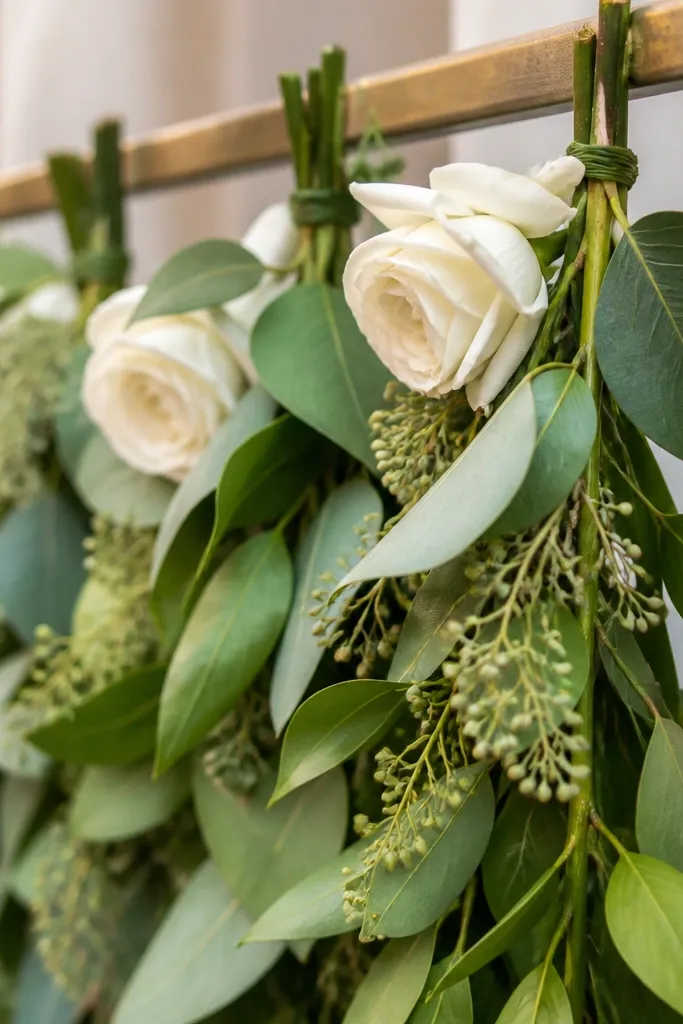
Tape is the fastest way I've seen garlands look good for 20 minutes and then droop. The fix is simple: tie garlands to a frame using zip ties or strong twine. When you tie at multiple points, the garland weight distributes and the line stays straight. That matters in haldi because people move around the seat and brush against decor. A stable garland looks neat and keeps the photo frame clean, especially around the face and hair line.
Start by identifying where the garland should sit - top, mid, and bottom lines. Then use zip ties around the garland stem bundle and attach to a hidden frame edge. Place ties every 8 to 10 inches so it doesn't sag in the center. Hide tie ends behind the garland itself or behind a leaf cluster. Finally, give the garland a gentle tug after tying to confirm it holds its line before guests arrive.
Try thisIf your garland is heavy, double the tie points and keep a small hook at the center to support the weight.
19. Color-safe seating covers for turmeric stains
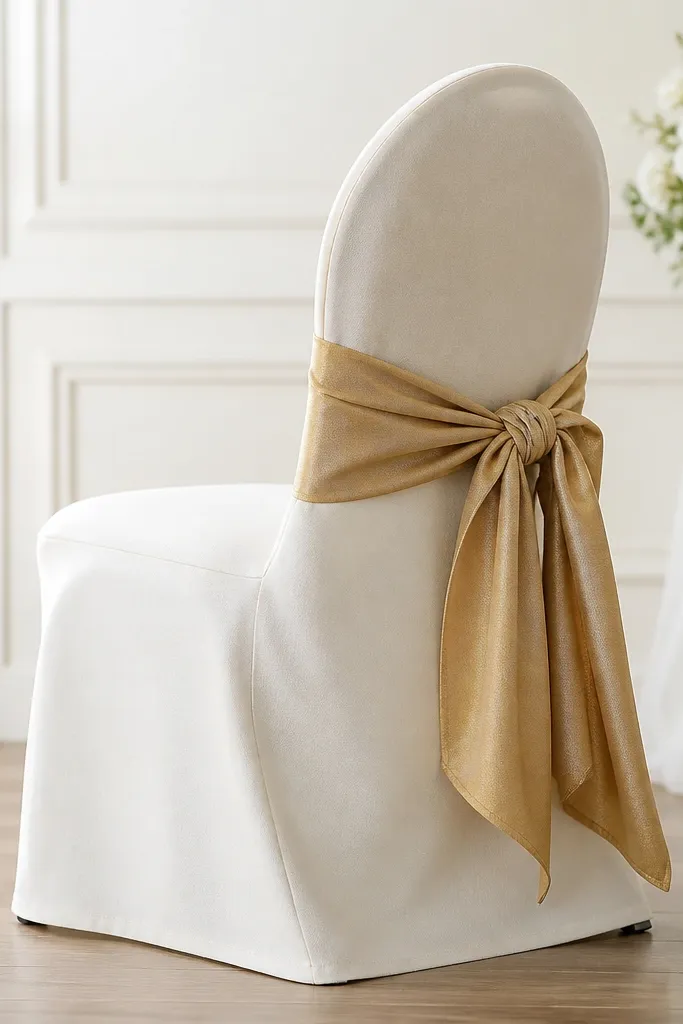
Seating covers take the most abuse during haldi. If you use thin fabric, it wrinkles and shows every paste mark. I use thick off-white slipcovers or cotton covers because they look smooth and forgiving. Add a removable gold sash on the side for decoration so you can swap it if it gets stained. This helps photos stay clean because the main seat stays bright even if the activity gets messy. It also keeps the outfit focus on the person rather than on stained fabric.
Start by choosing a seating cover that is one size larger than the seat so it drapes smoothly, not tight and stretched. Then add a sash - gold or soft yellow - around the side of the seat at about 10 inches above the seat base. Secure sash ends with hidden pins so they don't slip. Keep the cover edges tucked under the platform so they don't lift in air. Finally, place a small towel under the sash knot to catch any paste that drips.
Try thisKeep two identical covers. Swap quickly mid-event and your photos stay consistent.
20. One statement prop: big but controlled
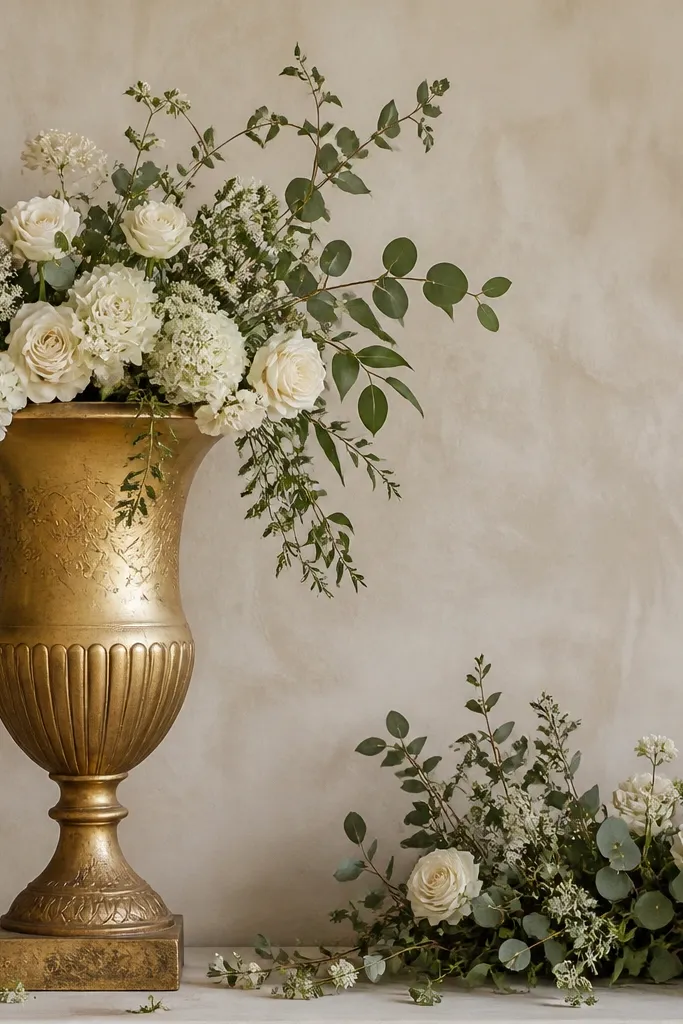
Small decor scattered everywhere makes haldi look cluttered. One statement prop gives you a focal point and makes the background feel designed. I like a tall decorated urn or a large vase with a simple floral arrangement in gold and cream. Keep it on one side so it doesn't crowd the center behind the couple. This works for both men and women because it adds height without covering faces. It also improves group photos because the frame has one clear "anchor" object.
Start by choosing a statement prop height around 30 to 40 inches so it shows clearly behind or beside the seat. Cover it in a light gold wrap or fabric strip if it's plain. Then add a small arrangement - 2 to 3 bunches of flowers - and tuck banana leaf or greenery at the base. Place it 2 to 3 feet from the seating so it doesn't dominate the frame. Finally, balance the other side with a smaller cluster or garland line so the composition feels even.
Try thisAvoid putting two statement props. One tall object reads cleaner in phone photos.