1. Warm-knit runner + lace edge table glow
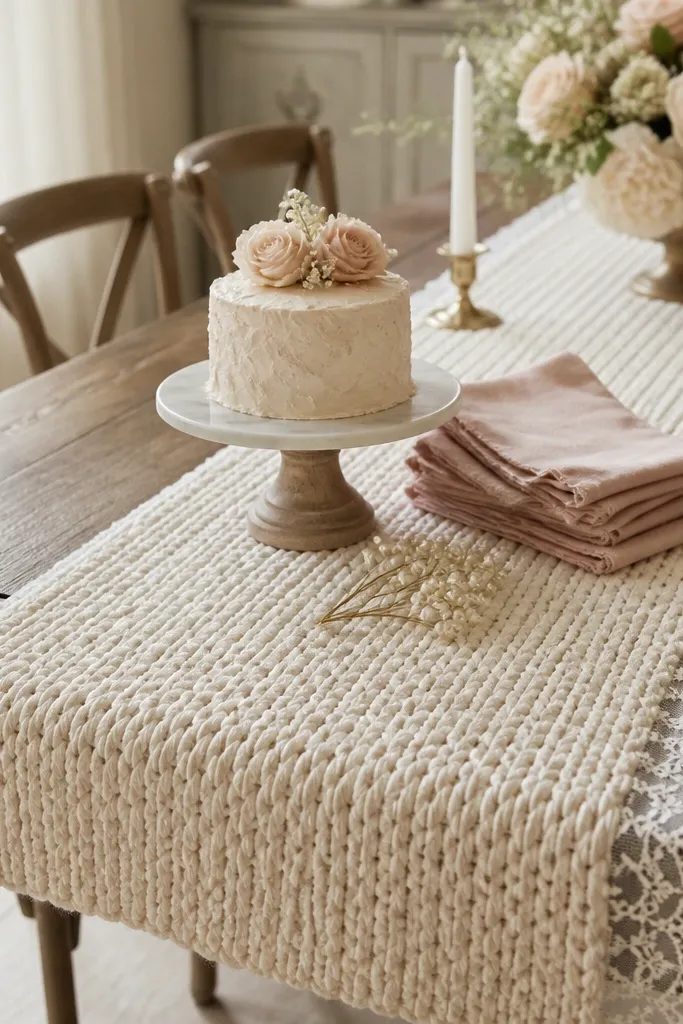
This setup works because knit reads cozy even when the room is bright. I use a cream faux-knit runner (the kind that looks like a thick sweater) and let it drape naturally with a 3-4 inch drop on both sides. The lace edge adds softness at the camera level without turning the whole table into a wedding aisle. It flatters most skin tones because warm white and blush don't overpower undertones the way stark white can.
Start by laying a plain warm-white tablecloth or fitted sheet first, then place the faux-knit runner centered so it looks intentional, not random. Add a lace strip along the front edge only - about 2-3 inches showing - so it frames the food instead of covering everything. Build height by putting a small cake stand or stacked books under a cupcake tray in the middle. Tie blush satin ribbon around the base of the stand, then finish with pearl picks or small faux pearls scattered in a tight cluster.
Try thisChoose a runner with a slightly uneven weave - it catches light in photos better than perfectly smooth fabric.
Common mistakeDon't use glossy satin fabric as the main table layer; it looks shiny and cold next to food.
2. Blush and champagne balloon cluster with pearl ribbon ties
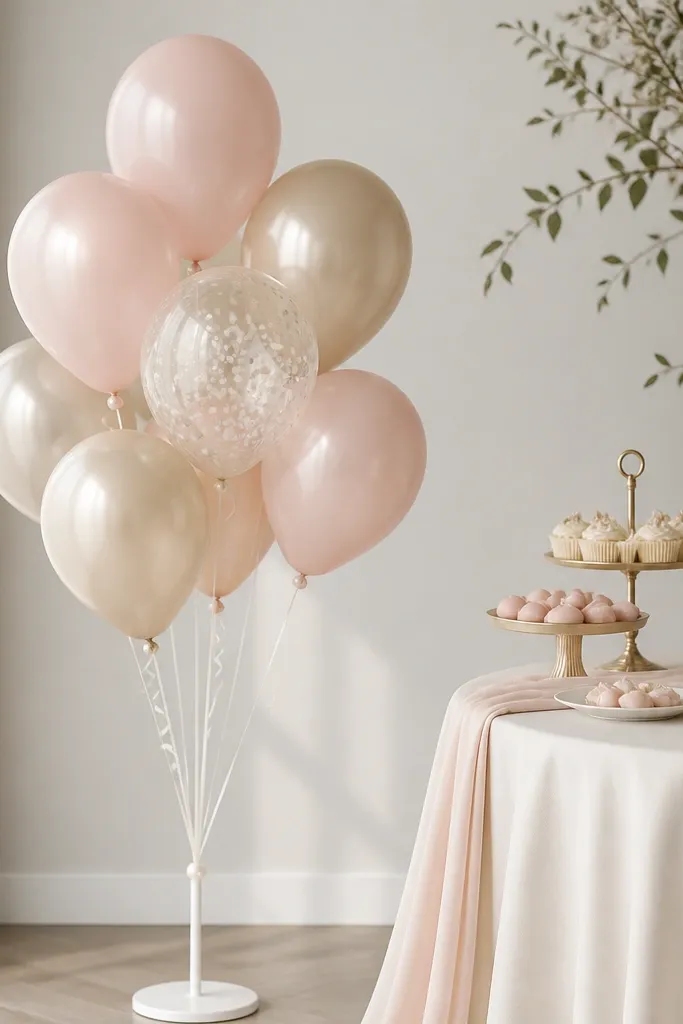
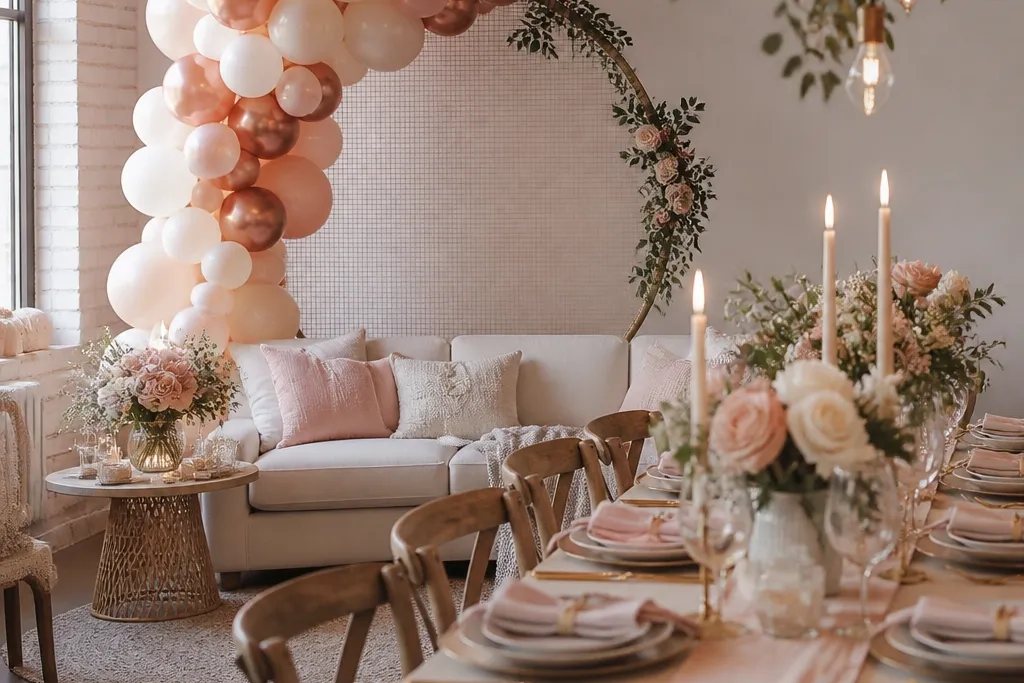
Balloon clusters look cozy when you pick muted tones and add a soft tie detail. The blush and champagne combo feels warm and bridal, and the clear balloon with tiny confetti keeps the scene from looking flat. Pearl ribbon ties make it look styled, not like a last-minute party store kit. This also flatters in photos because the balloons frame faces with warm highlights instead of harsh primary colors.
Start by inflating 6-10 balloons: 4 blush matte balloons, 3 champagne balloons, and 1 clear confetti balloon. Use balloon glue dots or a ribbon bundle to group them so the cluster stays tight. Wrap the necks with pearl-white ribbon in small loops, then trim the ends to about 2 inches. Place the cluster next to the table at about waist-to-chest height for guests, and keep the sign or dessert in the opposite side so the photo has balance.
Try thisMix matte and semi-matte finishes - matte hides scuffs and looks softer on camera.
Common mistakeSkip bright hot pink balloons; they steal attention from the bride-to-be.
3. Macrame-style backdrop panel with warm string lights
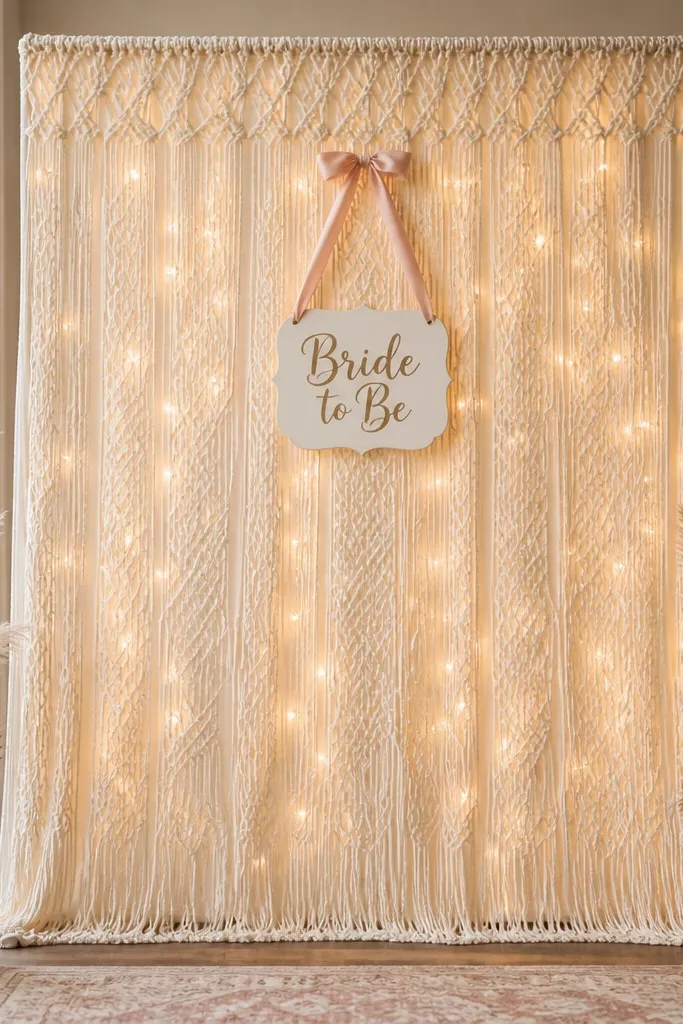
A macrame-style panel makes the space feel handmade without needing a full wall install. I like warm cream panels because they match knit, lace, and paper textures. Warm string lights add a gentle halo that makes skin look healthier in photos - especially at night when overhead lights are unflattering. It's a strong choice for a photo corner because people naturally step toward the glowing center.
Hang the panel on a backdrop stand or hooks so the top sits 6-8 inches above where your sign will be. Thread warm white mini lights behind the panel, then plug in and test before you commit the rest of the decor. Center a "Bride to Be" sign at about eye level for a standing guest (roughly 58 inches from the floor). Tie blush ribbon around the sign loops and add a few small faux pampas or dried wheat stems in the bottom corners.
Try thisUse warm white bulbs, not daylight white. The difference shows immediately in skin tones.
Common mistakeDon't place lights in front of the panel without spacing; it creates glare spots instead of a soft glow.
4. Paper rosette fringe wall in warm white and blush
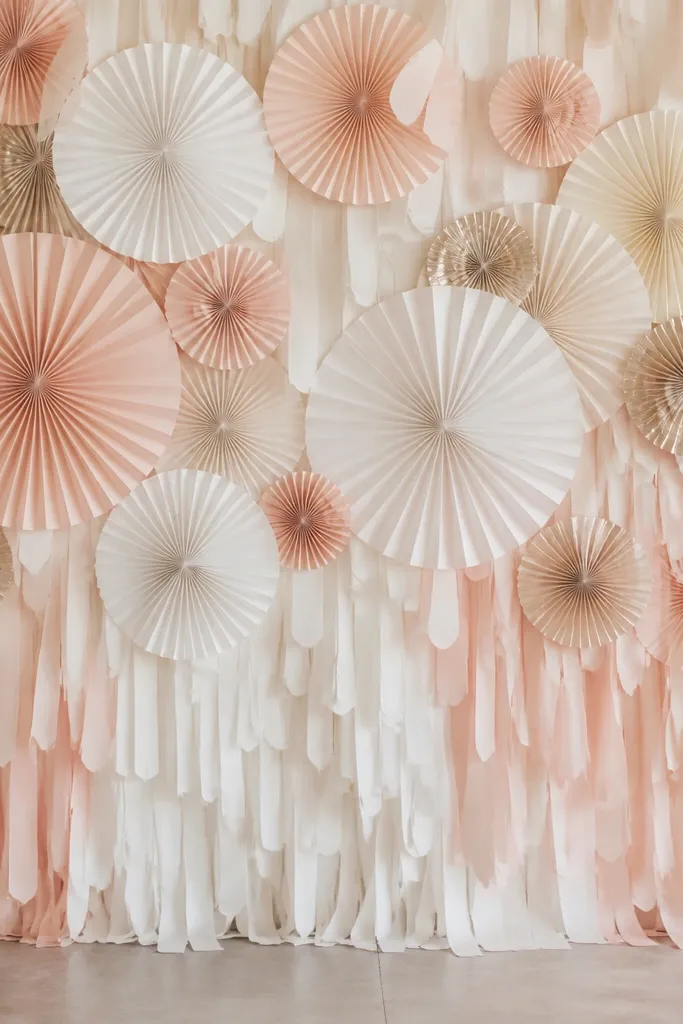
Paper rosette fringe is cozy because it looks airy but still gives the camera a lot to focus on. Warm white and blush keep it bridal, and the small size variations create depth without making the wall busy. I prefer paper textures here because they read matte and don't reflect harsh room lighting. This works best for daytime parties or spaces with big windows where you need visual softness.
Start by marking a vertical center line on the wall with painter's tape. Build the bottom row first: hang the largest rosettes along the center, then add smaller ones moving outward. Add fringe pieces between rosettes so there are gaps for light, not a solid sheet. Finish by sprinkling a few champagne-toned rosettes at eye level and place your "Bride to Be" sign centered above the densest cluster.
Try thisMix only two shades plus one accent tone. Too many colors make rosettes look like a generic party shop backdrop.
Common mistakeDon't stick all rosettes at equal height; uneven spacing makes it look handmade, even if you bought them.
5. Blush floral foam-free table clusters with silk stems
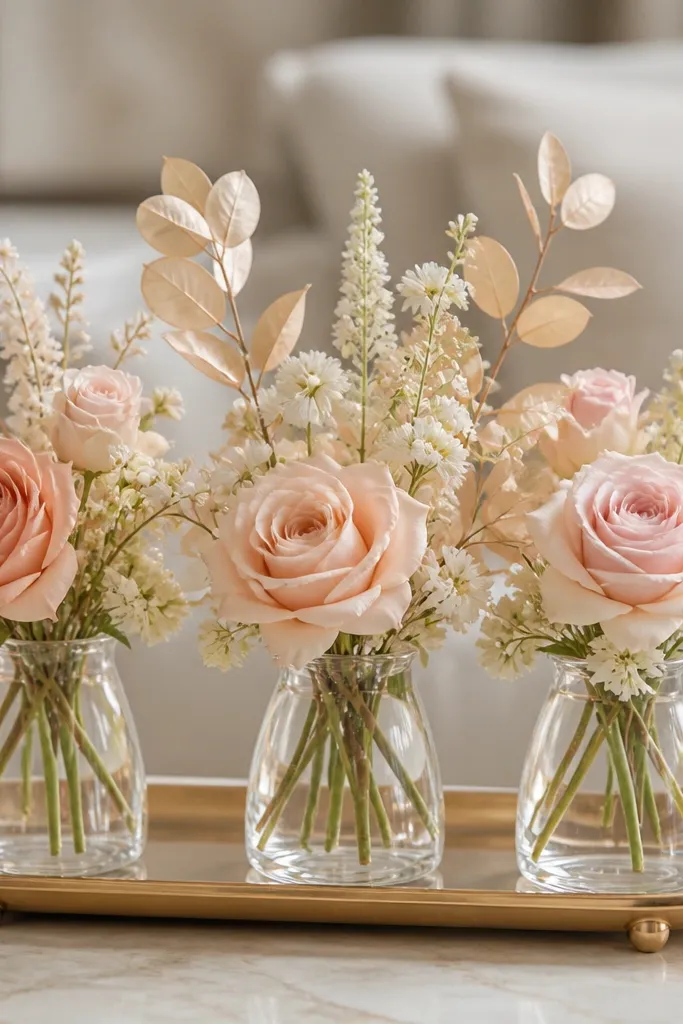
I'm picky about centerpieces, and foam-free clusters are my go-to for bride-to-be parties because they look relaxed and photograph well. Silk stems in blush and cream look soft and consistent, and you avoid the messy look of exposed foam. The trick is to keep the arrangement airy: fewer stems, more negative space. This flatters both warm and cool skin tones because the palette stays in the same warm-family range.
Start with 3-5 bud vases or small jars and a long tray. Fill each vase with a small amount of water or floral marbles if you want stability, then arrange 2-3 main stems per vase at different heights. Add cream filler (baby's breath-style silk or small faux leaves) and keep the top of each arrangement slightly uneven. Place a matching runner or doily under the tray, then scatter tiny pearls around the base of one vase for that bridal finish.
Try thisChoose silk stems with a matte finish. Glossy petals show harsh reflections and look plastic in flash photos.
Common mistakeDon't pack the vases tight; dense foam-looking centers read heavy and less cozy.
6. Velvet ribbon chair bows in warm blush
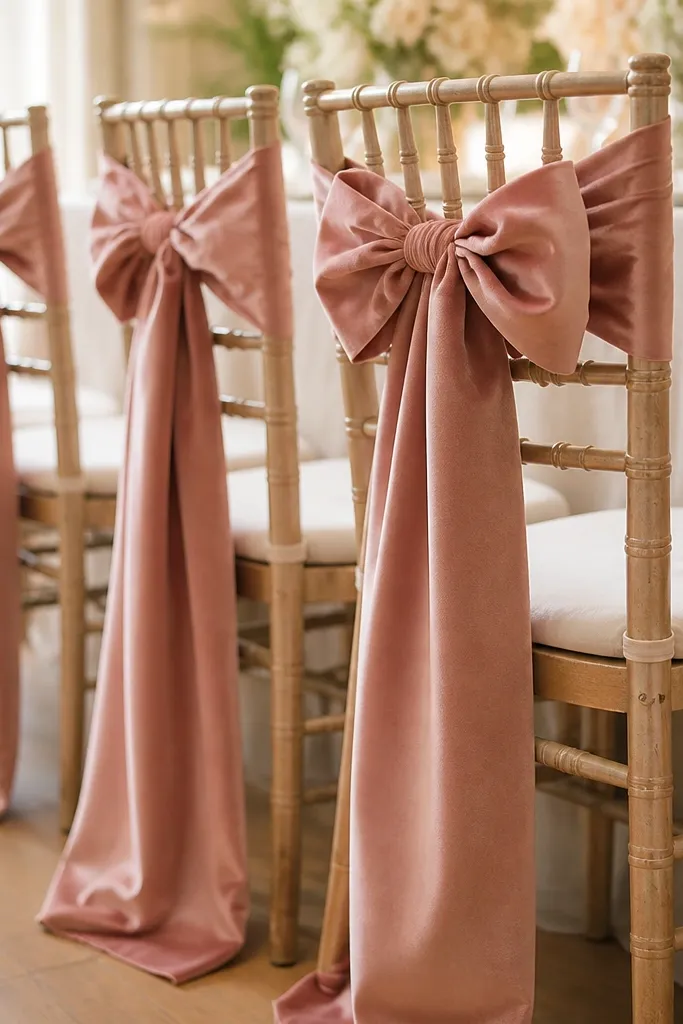
If your party has chairs, velvet bows instantly make it feel like a coordinated event. Warm blush velvet looks rich without being too shiny, and it softens the whole room. I tie bows in a consistent size so the photo background looks uniform from different angles. This also flatters because velvet absorbs light and avoids the harsh glare you get from shiny satin.
Start by cutting velvet ribbon into 24-30 inch lengths depending on chair height. Tie each bow at the center back of the chair, then pull the loops until they match your hand size - mine are about 5 inches wide per loop. Let the tails fall to about 2-3 inches above the seat. For extra cozy, add a small pearl clip or a single faux pearl strand on the bow knot.
Try thisUse a slightly thicker ribbon (about 1.5 inches) so the bow holds shape in photos.
Common mistakeDon't use thin satin ribbon; it slides and the bow looks limp.
7. Mini "bride to be" fabric bunting on a tension rod
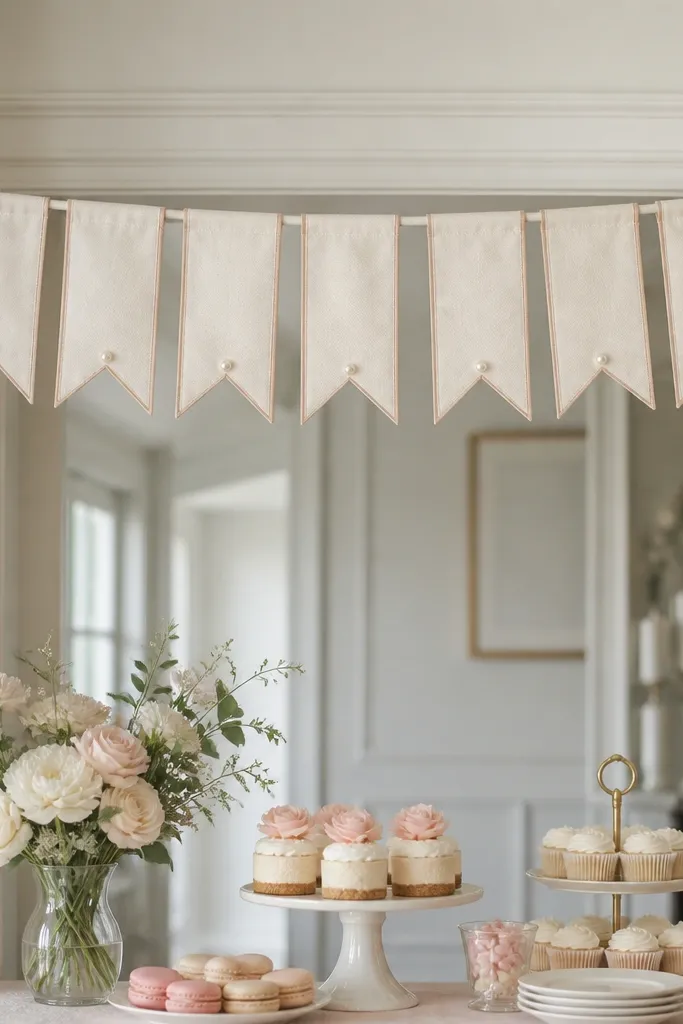
Fabric bunting beats paper when you want cozy softness and less curling. A tension rod makes it look styled even if you're renting or using a room with blank walls. Warm white pennants with blush lettering keep the vibe bridal, and the small scale feels thoughtful rather than overwhelming. It's great for hallways and doorways where guests pass by and the decor needs to read clearly from a short distance.
Start by measuring your doorway width or rod length and cut pennants in a consistent size, around 6 inches wide and 10-12 inches tall. Attach each pennant to the rod with small clips or sewn tabs, leaving 1-2 inches between them. Use blush iron-on vinyl or fabric paint for lettering so it stays matte. Add a tiny pearl dot or small satin stitch detail at the bottom corner of every other pennant so the pattern has rhythm.
Try thisKeep the lettering height consistent across pennants; it makes the whole string look professionally made.
Common mistakeDon't hang bunting too low; if it sits at shoulder height, photos look cluttered.
8. Champagne doily + acrylic cake stand layering
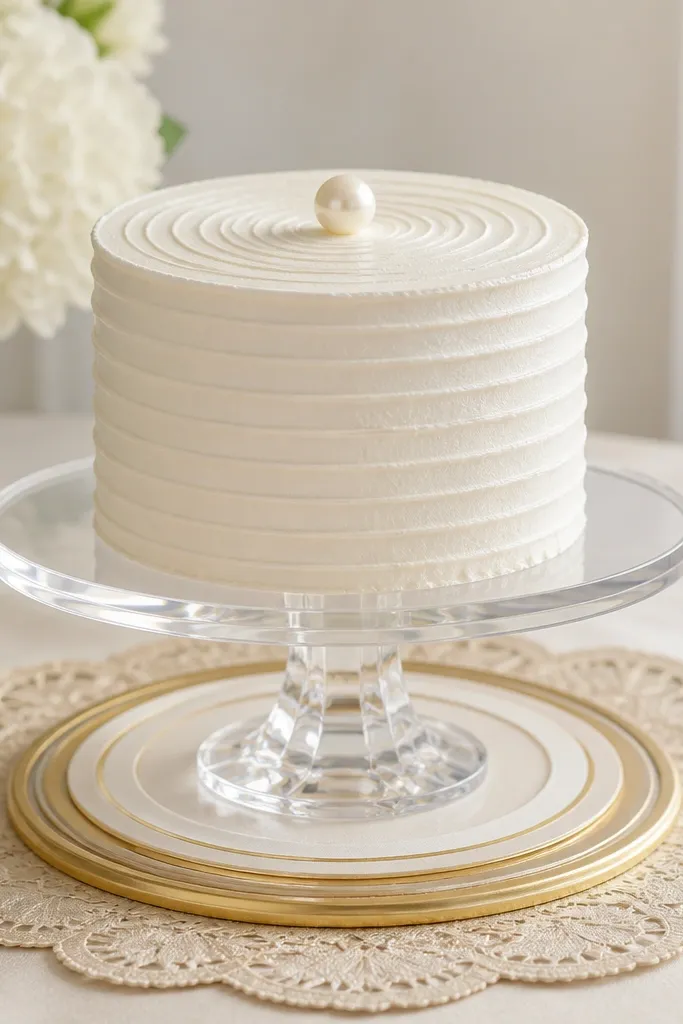
Layering doilies under a clear stand gives you that cozy, vintage feel without relying on lace everywhere. The acrylic top reflects light softly, and the doily catches it in a gentle pattern. This makes the dessert table look finished even if you only have one cake or a small tray. It works especially well for parties with warm lighting because the champagne tones look flattering and not yellow.
Start by placing a round champagne doily flat on the table. Put a warm white charger plate or placemat under it, then center your acrylic cake stand on top. Stack your cake or cupcakes so the stand is visible - keep at least 2 inches of doily showing around the base. Finish with a pearl cake topper or a small satin bow tied to the cake stand handle.
Try thisUse a doily with a tight lace pattern; big chunky lace can look heavy in close-up shots.
Common mistakeDon't cover the doily completely with trays; the base texture is the whole point.
9. Dried wheat and pampas in thrifted jars
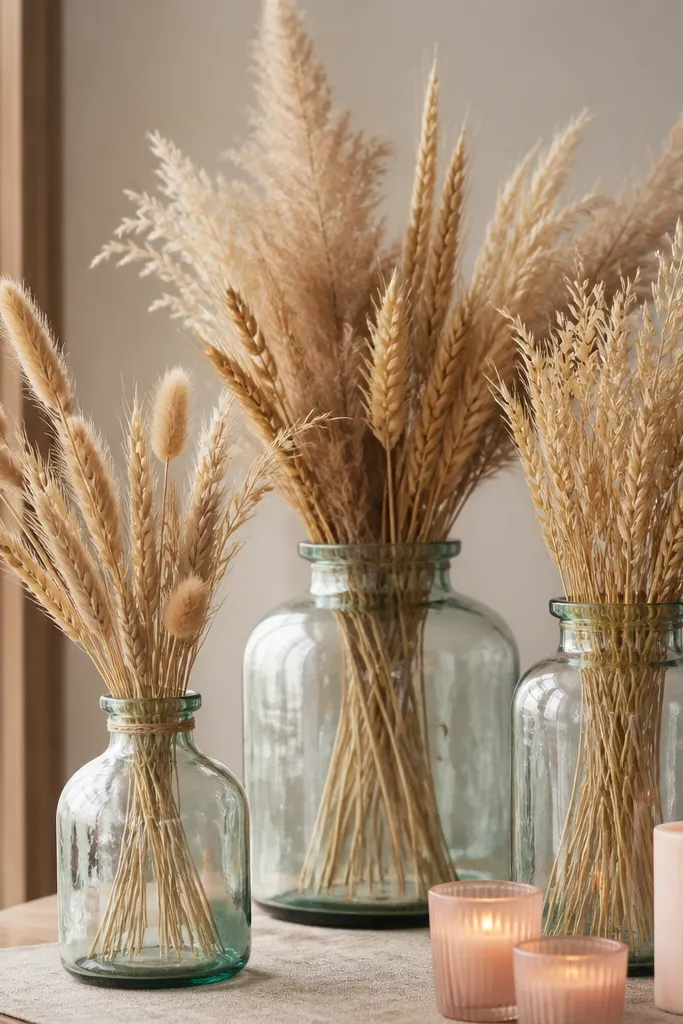
Dried wheat and pampas bring cozy "soft countryside" energy, and thrifted jars make it look personal. Keep the tones warm - creams, honey browns, and pale blush - and you get an effortless bridal vibe. This works well when you want something that looks good even before the flowers arrive. It flatters because the neutral fibers don't clash with skin tones and don't dominate the room.
Start by filling each jar with a small bundle of dried wheat or pampas, then trim stems so the top sits around 10-14 inches above the jar. Place the jars on a neutral runner, then cluster them in a line across the center of the table for a clean look. Add one small blush candle or a battery candle in the corner so the fibers show texture in low light. Tie a thin ribbon around the jar neck - warm blush for one, champagne for another.
Try thisSpray the stems lightly with unscented hair spray only if shedding is an issue. It helps fibers stay put during photos.
Common mistakeDon't use dyed neon pampas; it ruins the cozy color family instantly.
10. Felt flower garland along the dessert wall
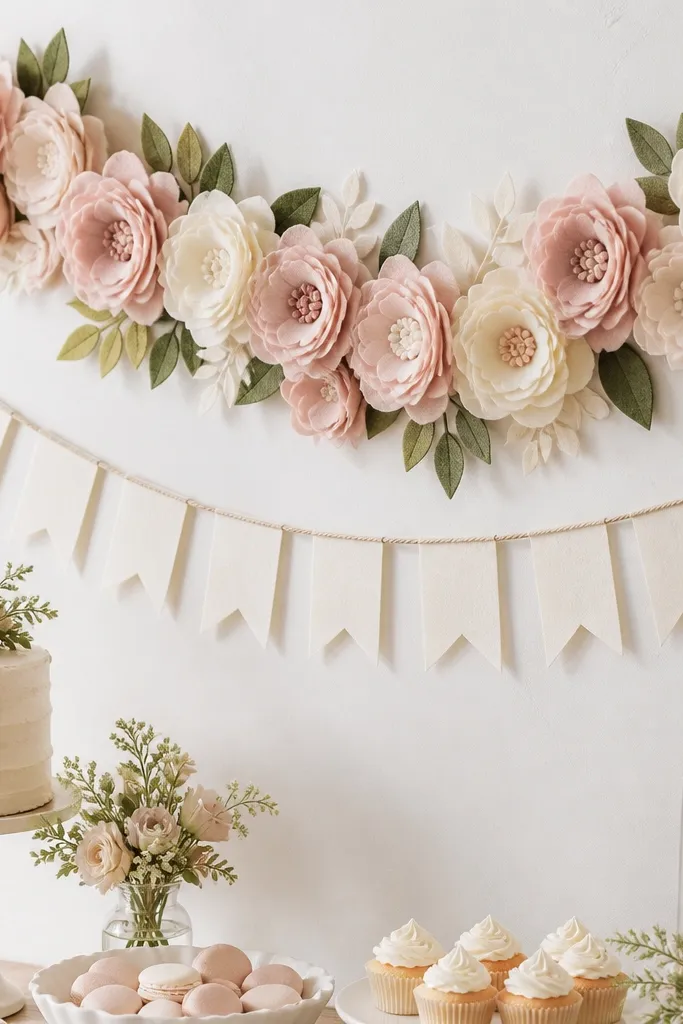
Felt flowers look cozy because they're soft and matte, and they don't shine like plastic. Layered petals create depth even from far away, so the backdrop still reads in wide shots. I like felt because it doesn't droop like some paper garlands and it survives a little bumping from guests. This is a great choice if you're doing a small party and want a handmade feel without the mess of fresh flowers.
Start by deciding the length of your dessert wall and cut felt petals in two sizes for each flower. Make each flower with a center circle and stack petals in a gentle spiral. Attach flowers to a thin twine line with small stitches or hot glue dots on the back. Hang the garland 6-12 inches above the table so it frames the food, then add a warm white banner sign in the center with blush lettering.
Try thisKeep leaf cutouts small and spaced out; too many leaves makes the garland look crowded.
Common mistakeDon't hang felt garlands right against a bright window; glare kills the soft texture.
11. Satin ribbon photo frame with warm white backing
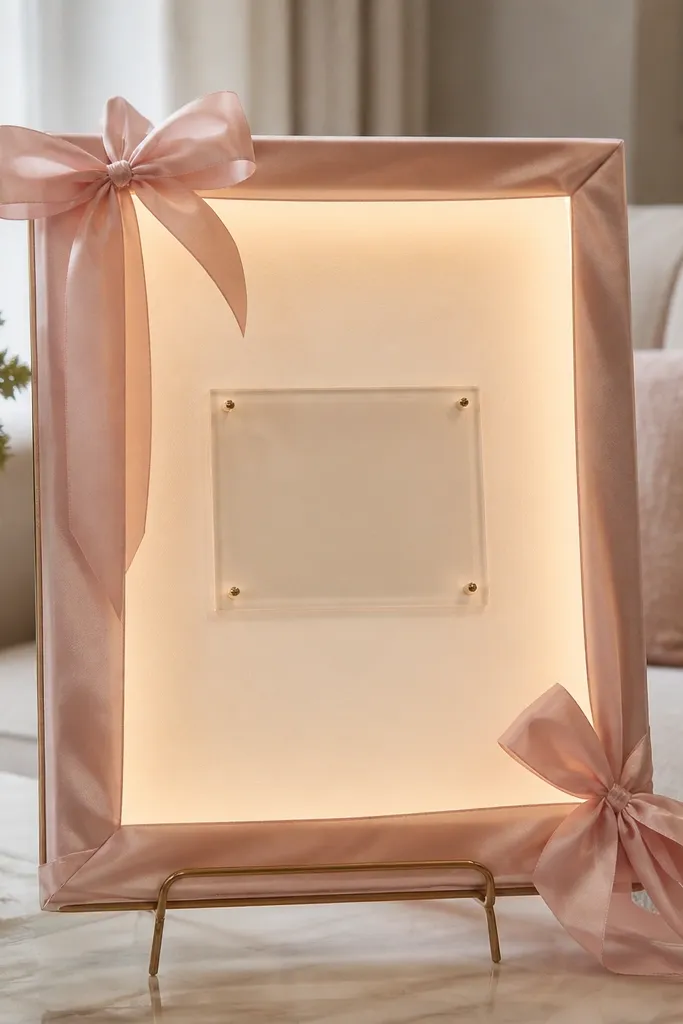
A ribbon photo frame gives you a clear focal point, and the backing keeps everything readable in pictures. Satin ribbon can look too shiny, but if you choose a matte-satin or heavier satin and use it in a thicker band, it looks elegant and cozy together. Warm white backing also hides wall texture that can make photos look messy. This is perfect for living rooms where you want guests to take photos without a full backdrop wall.
Start by getting a foam board or large poster board in warm white. Wrap blush satin ribbon around the edges in a layered border, leaving a clean center space for the sign. Center a "Bride to Be" acrylic or printed sign at eye level, then attach a few small pearl picks to the ribbon corners. Place the frame on a stand or sturdy box so it faces the main seating area, not the window.
Try thisUse double-sided tape behind the ribbon so you don't see tape edges from the front.
Common mistakeDon't use thin, slippery ribbon; it wrinkles and looks cheap fast.
12. Cozy candle cluster with blush votives and amber glass
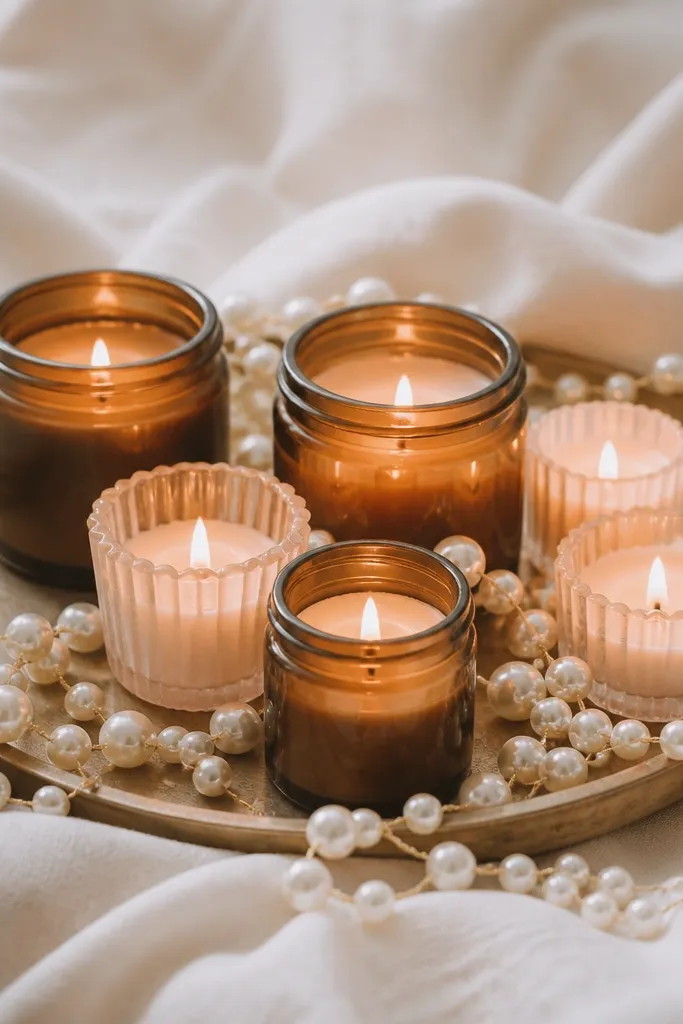
Candles make the room feel cozy instantly, but you need the right glasses for bride-to-be styling. Amber glass adds warmth without looking orange, and blush votives keep the theme bridal. A tray ties it together so it looks intentional, not scattered. This also helps photos because candlelight adds gentle contrast and softens harsh overhead lighting.
Start with a long tray and place a cream cloth or doily on top. Arrange 6-10 votives: mix amber glass holders and blush-colored cups, with taller ones in the back and shorter ones in front. Add a thin pearl garland along the tray edge, then place a small "Bride to Be" sign leaning on the tray's back center. If you're not using real candles, use battery candles with a flicker setting and warm bulbs.
Try thisPut candles on a separate tray from the food so the table doesn't look overcrowded.
Common mistakeDon't light candles in glass too close to balloons; heat and melting can happen.
13. Blush tulle + warm white pom garland over the candy table
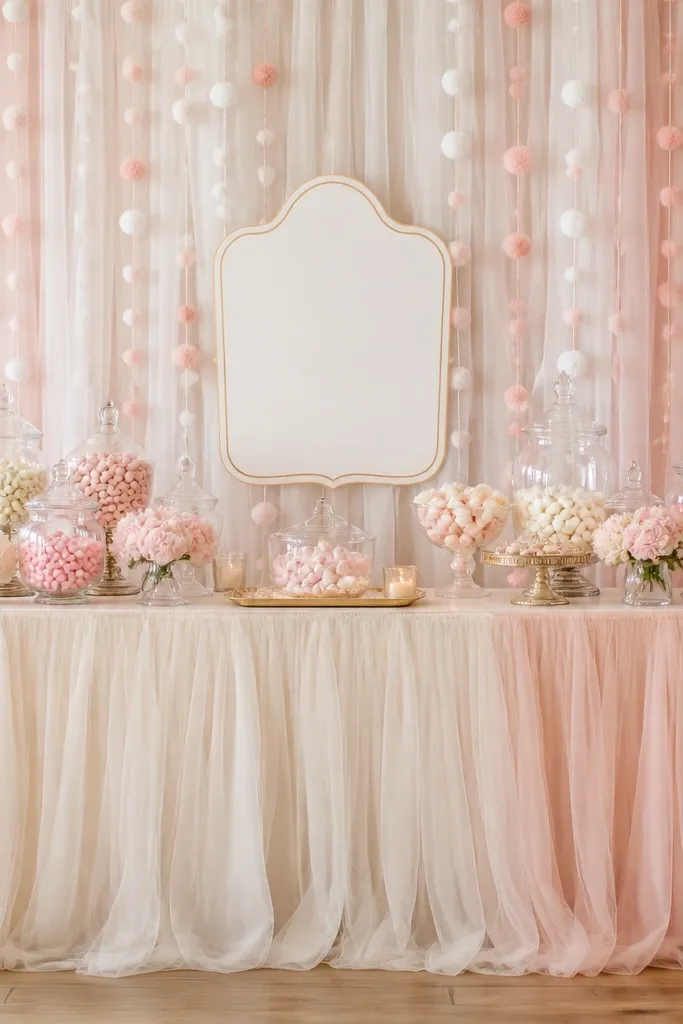
Tulle adds softness, and pom garlands add a playful texture that reads cozy on camera. I like warm white tulle because it looks creamy in photos and doesn't glare like bright white fabric. The candy table becomes the "event" without needing a huge backdrop wall. This works especially well for baby shower-adjacent styles, but it still reads bride-to-be when you keep the sign and palette consistent.
Start by hanging tulle panels behind the candy jars so they drape down 10-14 inches. Use 2-3 layers: warm white tulle on the outer sides and blush tulle in the center for depth. Add pom garland in a vertical line so it looks like it's cascading, not randomly scattered. Place the "Bride to Be" sign at the top center and keep jar labels in the same blush ink style so the whole setup looks designed.
Try thisTulle looks best when it has air - don't bunch it into tight knots.
Common mistakeDon't use sparkly glitter tulle; it reflects light and looks messy in flash.
14. Cream doily wall circle with blush ribbon bow center
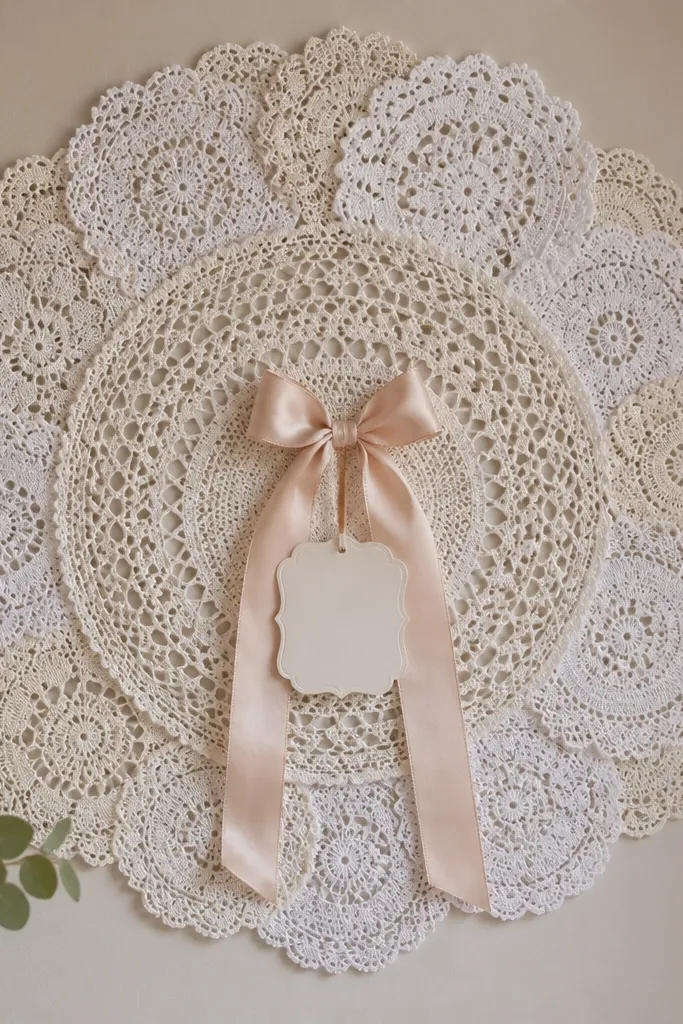
This is one of my favorite cozy tricks because it uses a single shape - a circle - to make the wall look styled fast. Warm cream doilies are matte, so they don't fight with lighting. The blush ribbon bow adds bridal focus and gives the eye a place to land. It's great for apartments or rental spaces where you can't drill a full backdrop but you still want a photo moment.
Start by hanging a large round doily on a hook or removable adhesive hook at the center of your photo area. Layer 3-4 smaller doilies around it with evenly spaced gaps, then secure the back with clear tape so it doesn't sag. Tie a blush ribbon bow and hang it at the exact center, then attach your sign beneath the bow. Add two small pearl picks on either side of the bow to balance the composition.
Try thisIf doilies are thin, double them by stacking two and securing the edges before hanging.
Common mistakeDon't choose pure white doilies; warm cream looks softer and more flattering.
15. Knit pom pom garland on a simple white curtain rail
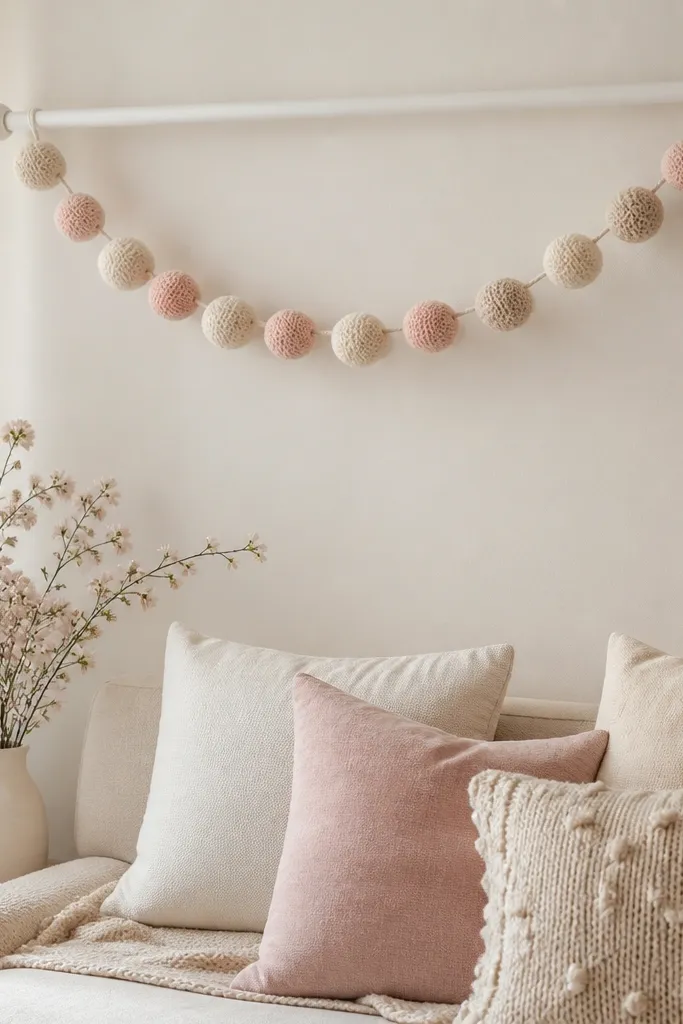
This is cozy without being fussy. Knit pom poms add tactile texture, and draping across a curtain rail makes it look like a designed "shelf" of decor. Keep the colors cream and blush so the garland doesn't compete with the people in the room. I like it for smaller spaces because it adds warmth vertically without taking floor space.
Start by installing a simple white curtain rod or using a tension rod across the wall section you want to decorate. Drape the knit pom garland across the rod so it hangs 6-10 inches down at the center. Space the pom clusters evenly, then tuck the ends so they don't flop. Add one small "Bride to Be" mini banner in the middle, and place matching cushions or a throw in warm cream nearby so the decor feels intentional.
Try thisUse a rod height that puts the center of the garland at around eye level for seated guests.
Common mistakeDon't let the garland touch the table or plates; it looks messy and knocks easily.
16. Mini place card holders with pearl string and name cards
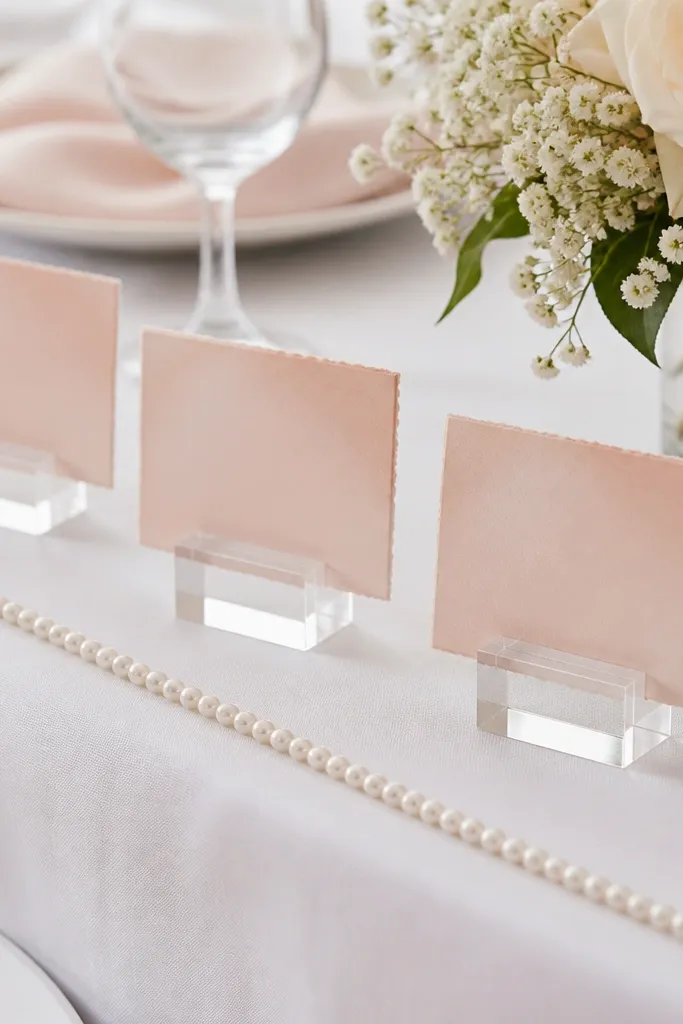
Place cards sound "formal," but they're cozy when you use soft materials and keep them small. Clear acrylic holders make the cards look clean in photos, and pearl string adds a bridal touch without adding bulk. I use this when the party is a mix of friends and family and seating matters a bit. It also helps the table look styled even if you don't have a big centerpiece budget.
Start by choosing small acrylic place card holders and cards in warm cream paper with blush ink. Write names in a consistent font style or handwriting you can repeat across the table. Lay a thin pearl string along the table edge in a gentle curve, then place card holders every 18-24 inches so it looks spaced. Put a small sign at the head of the table that says "Bride to Be" and keep the rest of the decor neutral around it.
Try thisPrint or write the cards on the same paper weight so they all match in color under warm lighting.
Common mistakeDon't scatter cards randomly; the table looks chaotic and less cozy.
17. Warm white balloon arch with fabric flower accents
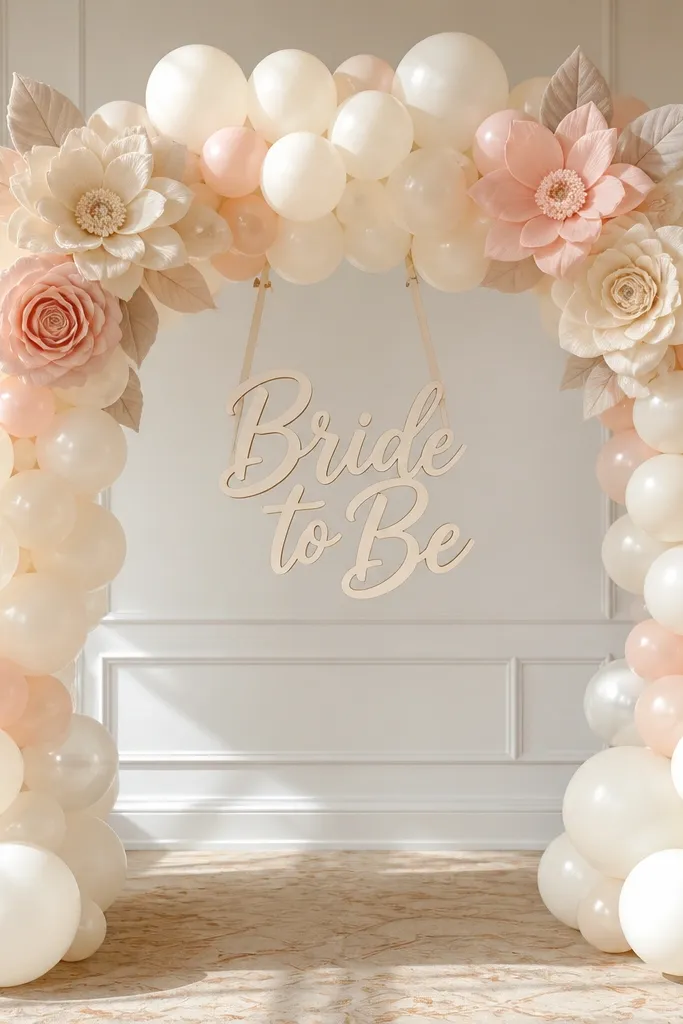
A balloon arch is the fastest way to make a party look like an event, and the cozy version is all about softer colors and fabric add-ons. Warm white balloons keep the arch from looking like a generic party backdrop. Fabric flowers add a tactile bridal finish that balloons alone can't deliver. This arch works for both indoor and covered outdoor spaces because it gives the camera a defined frame.
Start by building the arch base with a frame or anchor points, then inflate warm white balloons in two sizes. Add blush accents sparingly - about 10-20% of the total balloons - so the arch stays creamy. Attach felt or satin fabric flowers at the top corners and one in the center cluster. Hang your "Bride to Be" sign at the arch's center at chest-to-eye level for guests taking photos.
Try thisUse a mix of balloon finishes, like matte and pearl, to avoid a flat look under overhead lights.
Common mistakeDon't overfill the arch with one shade; it can look like a wall of plastic.
18. Bouquet-style balloon bouquet at the dessert table
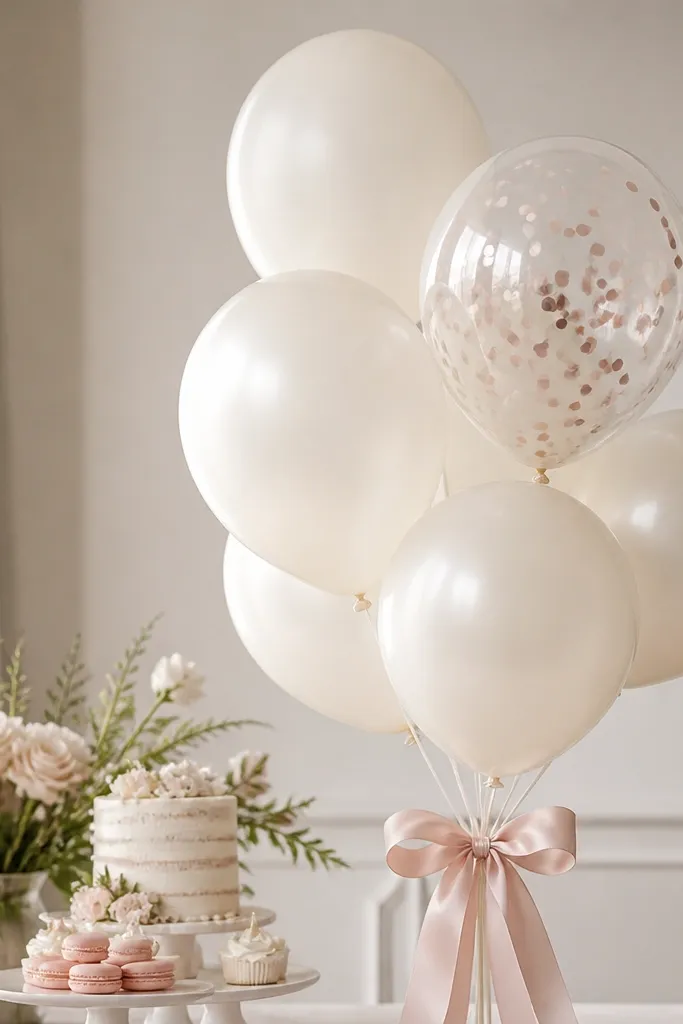
A bouquet-style balloon cluster reads like flowers, which makes it instantly more bridal and more cozy than a standard balloon bunch. I like this when your dessert table is already busy because the balloons add height and movement without covering the whole wall. Warm white and blush keep it soft and photo-friendly, and the confetti balloon gives sparkle without looking like a disco. It also flatters because the balloon colors sit near the dessert and don't fight with clothing colors.
Start with 8-12 balloons and tie them in a bouquet shape with a ribbon wrap at the stems. Use warm white balloons as the base, add 2-3 blush balloons, and include one clear confetti balloon. Tie the ribbon in a bow that matches the party palette, then place the bouquet in a weighted stand or vase so it doesn't tip. Position it at the dessert table corner so it creates a diagonal line across the frame when people take pictures.
Try thisWeight the base properly. A slightly leaning balloon bouquet ruins the whole "styled" look.
Common mistakeDon't choose balloons with bright metallic gold foil; it can look brassy next to warm white.
19. Candlelit "Bride" sign with thrifted window shutters
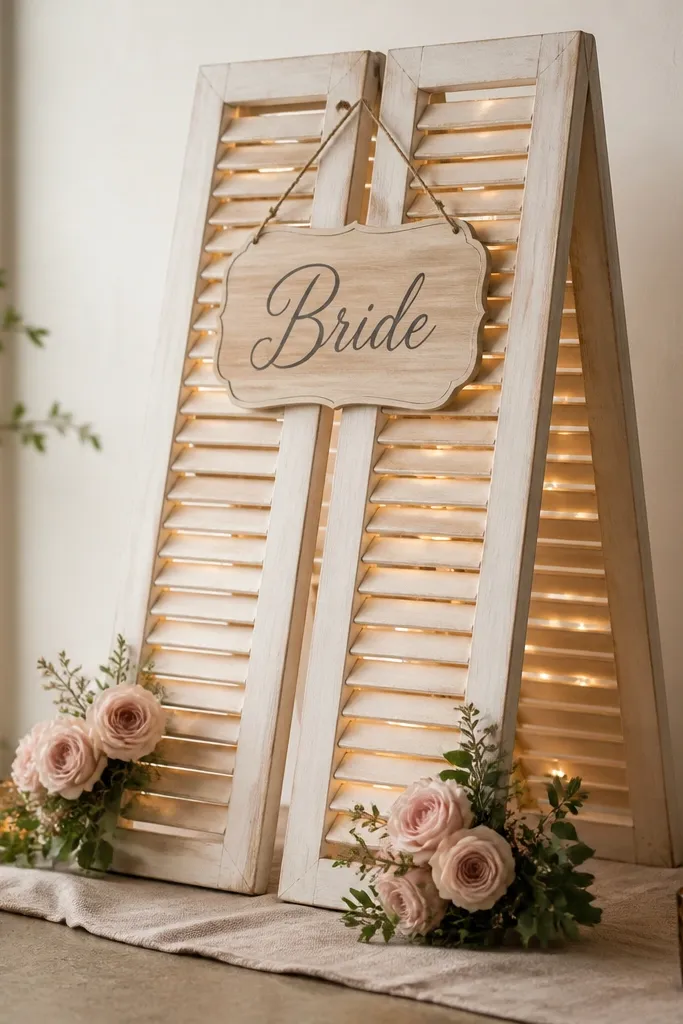
This is cozy bride to be decoration ideas that looks like you built it in an afternoon, because you did. The shutter frame gives you instant texture and height, so the sign doesn't look flat against the wall. Warm white lights behind the slats create soft stripes of glow, which reads romantic even in a busy room. Amber votives in front add a second temperature of light - the kind that makes blush tones look warmer on camera.
Find two matching shutters (or one shutter plus a matching panel) and set them in an A-frame with a small scrap of wood acting as the hinge stop. Tie warm white fairy lights to the inside edges using zip ties or thin wire, then hide the battery pack in a small cloth pouch or behind the bottom shutter. Letter "Bride" on thick cream cardstock, then mount it with foam tape so it sits a few millimeters off the shutter. Add two faux blush rose clusters at the bottom corners, and place amber glass votives on the floor or a low tray in front so the light bounces upward.
Try thisUse foam tape for the sign and keep the battery pack inside the A-frame so nothing dangles when guests walk by.
Common mistakeSkip using bright cool-white LEDs - the whole cozy effect dies when the light looks blue.
20. Warm knit garland canopy over the gift table
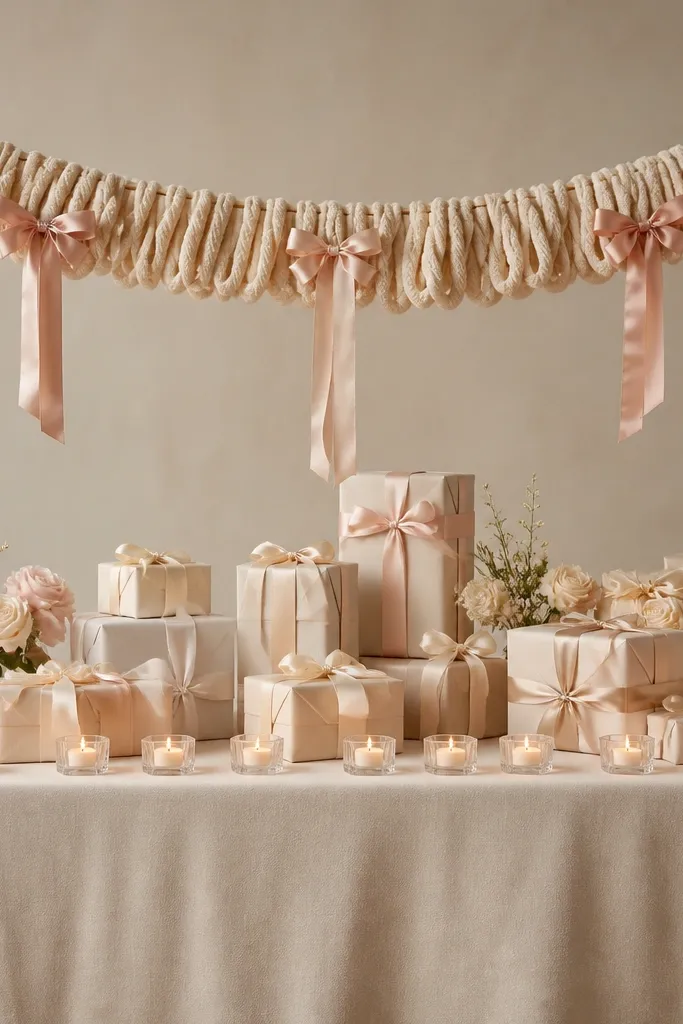
This decoration turns a plain gift table into a photo spot without needing a big backdrop. The knit texture makes the arch look soft and handmade, which fits a cozy bride to be theme better than paper or plastic. Because the canopy hangs low, it frames the top half of gift cards, name tags, and the guest book. The tea lights along the front edge add a gentle flicker that makes the yarn look warmer and more dimensional.
Cut a thin wire or flexible metal arch frame to the width of your gift table and secure it between two chair backs or two sturdy stands with zip ties. Tie thick warm knit yarn strips (about 10-12 inches each) to the wire using simple knots - keep the knots spaced 2-3 inches apart for an even curtain effect. Hang three satin bows at different heights so the canopy doesn't look uniform, then line the front edge of the table with clear acrylic tea light holders. Set tea lights one at a time and adjust their spacing until the flicker looks even from the side where photos happen.
Try thisMake the yarn strips slightly uneven lengths by 1-2 inches so the canopy looks natural instead of machine-straight.
Common mistakeDon't hang the canopy too high - if it clears the table by 18 inches or more, it stops framing the gifts and looks decorative but pointless.