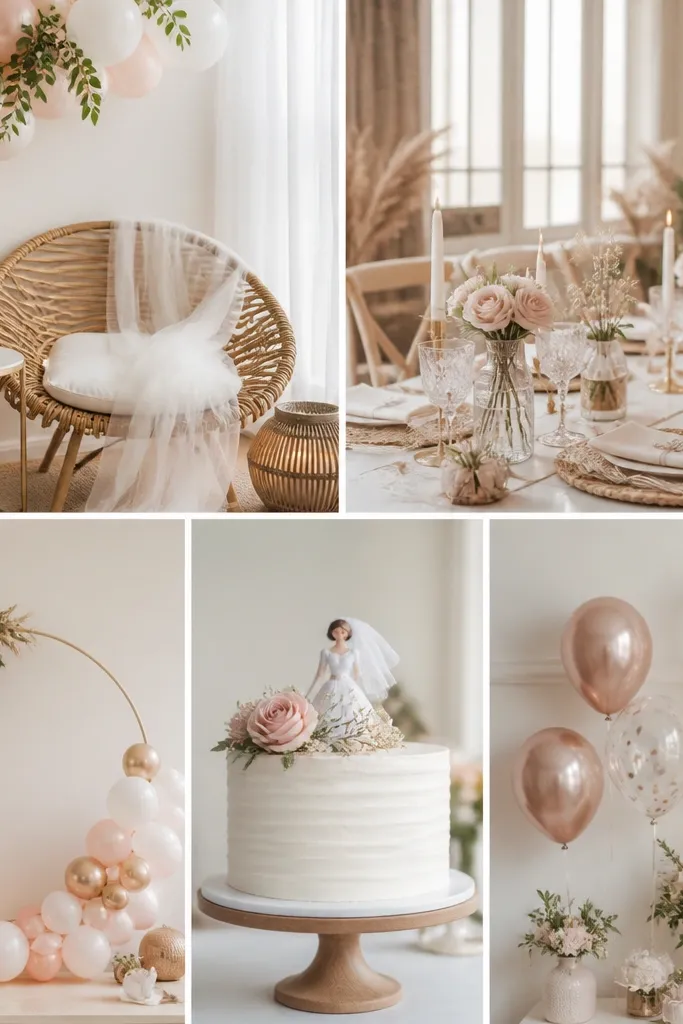
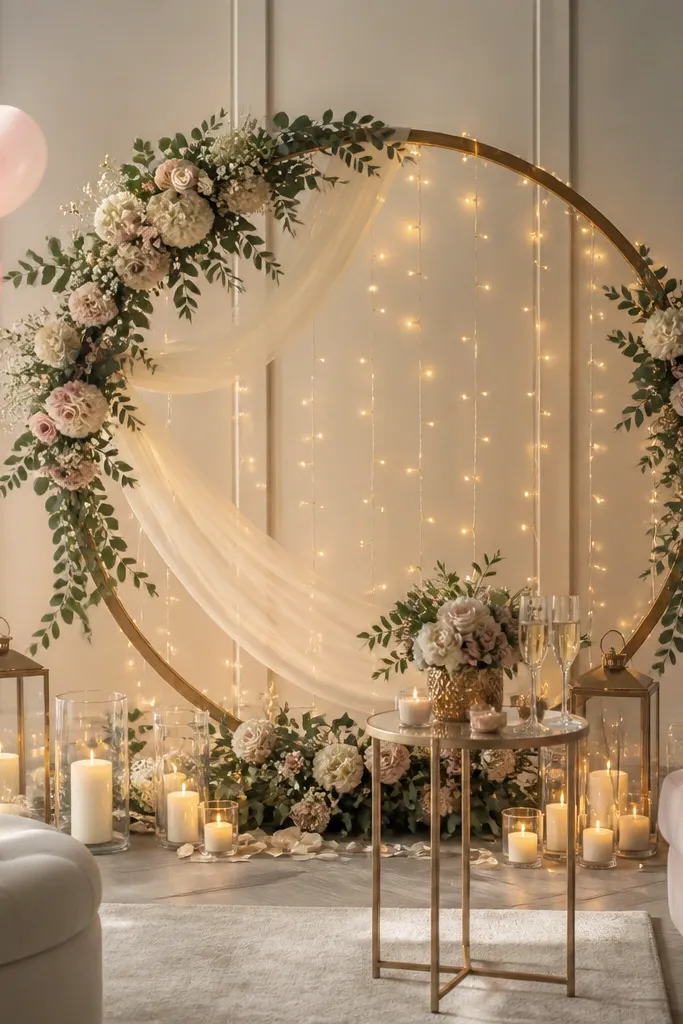
1. Tulle cloud backdrop with warm fairy light clusters
I did this for a baby shower turned bridal party night, and it photographed way better than any "string lights everywhere" plan. I used white tulle panels layered in uneven depths, then added warm white fairy lights in short clusters so the glow feels full instead of spotty. The tulle holds light like a diffuser, so you get a soft halo that doesn't glare. This is flattering for almost every skin tone because the light stays warm but not orange. If your event has lots of white balloons or a white dessert table, tulle helps the whites look creamy instead of washed out.
Start by hanging a simple backdrop frame or tension rod and pinning 3-5 tulle strips at different heights, with the bottom layer starting around chest height for photos. Then place fairy lights in 30-50 cm clusters - wrap each cluster around the tulle edge and secure with clear thread or small zip ties to the frame, not to the tulle itself. Keep the clusters slightly uneven so it looks airy, not grid-like. Finally, hide any battery pack or plug behind the frame leg and tape the cord to the back bar so it doesn't show in pictures.
Try thisTake one phone photo in the exact spot guests will stand and check the whites - if they look yellow-orange, switch to a slightly cooler warm setting or reduce brightness.
Common mistakeAvoid spreading one long strand tight across the whole backdrop - it creates bright patches and dark gaps that look cheap on camera.
2. Mirror-sheen balloon garland with mini LEDs
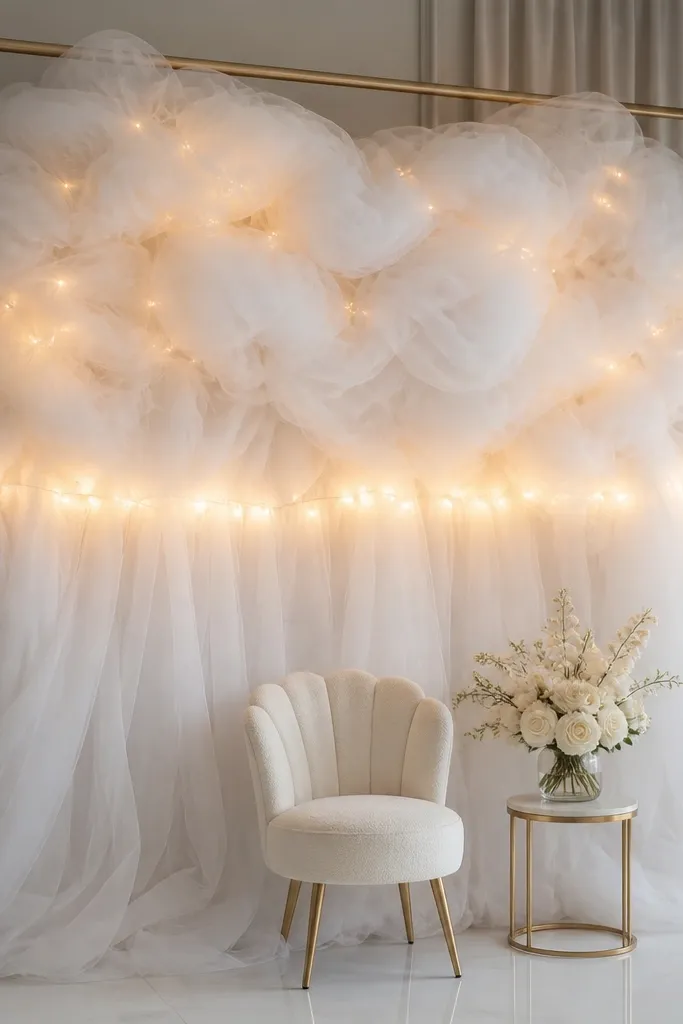
This is the look I use when the venue has a dull corner and you need instant sparkle without a huge installation. I build the garland with cream and champagne balloons plus a few pale pink ones, then tuck mini warm LEDs between the clusters. Balloons reflect light, so the effect looks fuller than it does with a single strand on the outside. It looks especially good on light-to-medium skin tones because the champagne glow flatters without turning faces orange. If your theme is "soft glam" or "brunch bridal," this one fits fast.
Start by inflating balloons to two sizes: mainly 10-12 inch for the cluster and a few 5-7 inch accents so you have gaps for the LEDs. Create the garland on the ground first - I lay it on cardboard and shape the arc to match your wall or doorway. Then weave mini warm LED strings between the balloon knots so the light source sits inside the garland, not on top of it. Zip-tie the base to a stand or weight, route the cord down the back, and cover it with a ribbon or a strip of satin fabric pinned to the base.
Try thisUse LEDs with a steady glow, not heavy twinkle - twinkle stutters look messy in group photos.
Common mistakeAvoid using blue-white LEDs - they make champagne balloons look gray and make skin look tired.
3. Photo table runner with battery puck lights
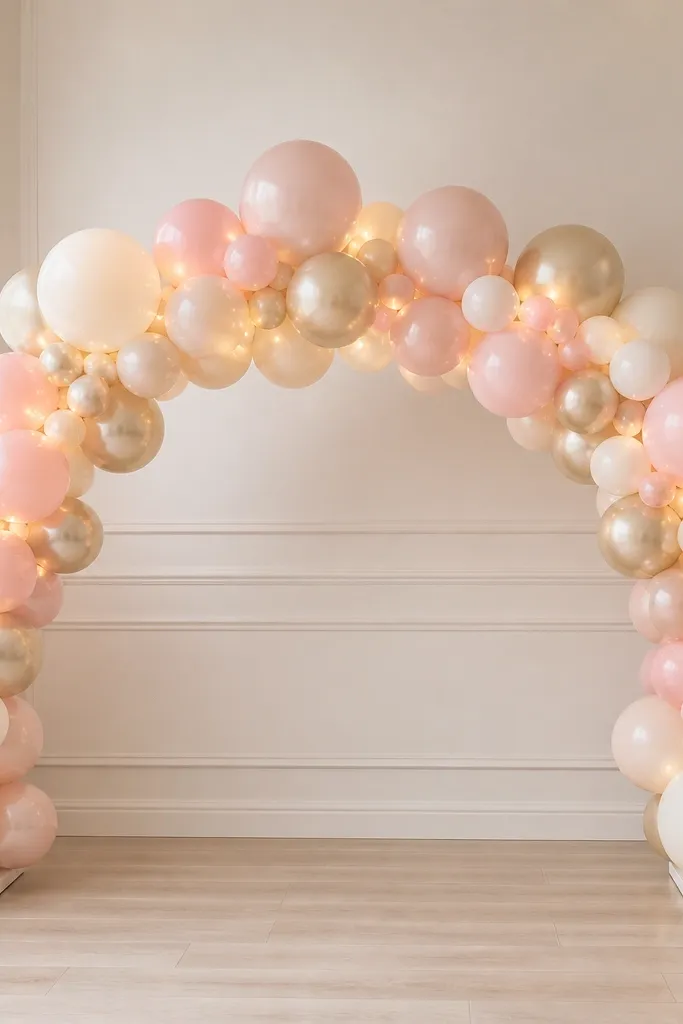
If you want bride to be decoration ideas with lights that don't steal attention from the cake or gifts, low "under-glow" is the move. I place battery puck lights under a sheer layer at the table edge so the light rises gently onto the runner. This makes the table look expensive and gives you that soft, cinematic look in photos. It's flattering for everyone because it lights faces from below a little, which looks natural in warm tones. It also works in small spaces where you can't build a full backdrop.
Start by laying a matte tablecloth or runner first - I like plain white or blush cotton so the light doesn't bounce back too hard. Then place puck lights along the underside, spacing them about 20-25 cm apart and securing them with double-sided fabric tape to the table edge. Add a sheer layer on top (organza or light tulle) so the light diffuses and doesn't create hard dots. Finally, route the battery pack to the back corner and hide it under a small fabric drape so it doesn't show in overhead shots.
Try thisTest the brightness by standing at guest height and checking how the runner looks in a phone camera before you cover everything.
Common mistakeAvoid placing puck lights directly on glossy satin - you'll see bright points instead of a smooth glow.
4. LED candle sleeve centerpiece along the aisle
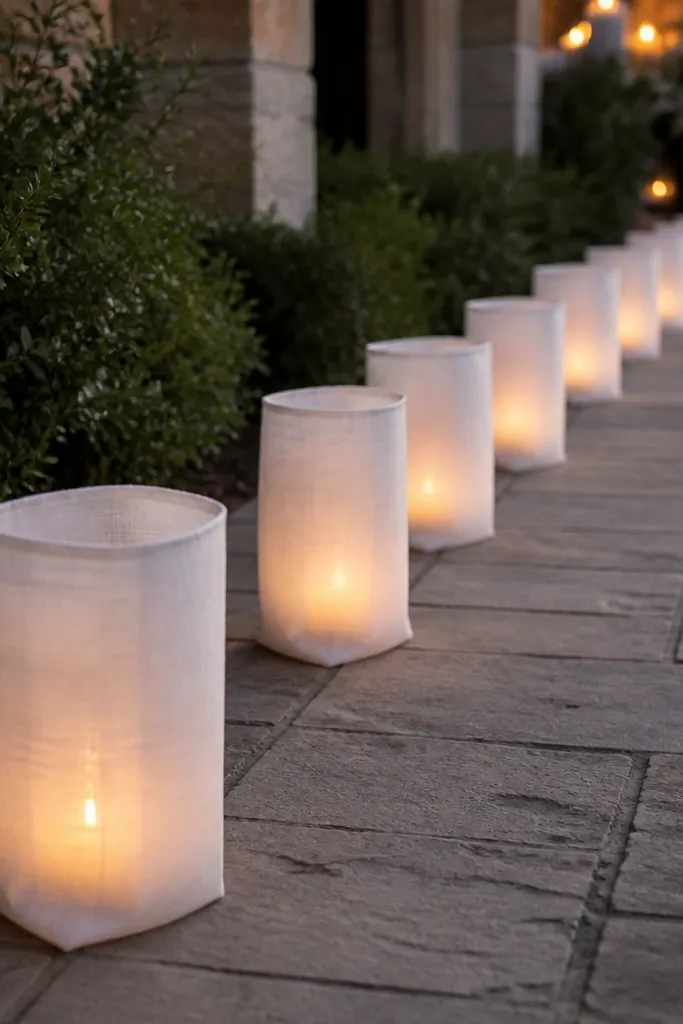
I used this when we had an outdoor evening and the aisle was too dark for photos. Instead of real candles, I used LED candles inside fabric sleeves so the glow stays warm and safe. The fabric wraps create a soft edge and prevent the light from looking like a toy. This works for almost any theme because the sleeves can match your palette: white, blush, or champagne. It flatters skin tones because it adds warm light without the harsh contrast that overhead lighting creates.
Start by measuring your aisle length and mark positions every 30-40 cm with painter's tape on the ground or a discreet chalk mark. Then slip LED candles into fabric sleeves (cotton or thick organza) and align the openings at the top so the glow spreads evenly. Place the sleeves in a straight line, then adjust each one until the tops look level from the camera angle. Finally, hide any battery switch or cord behind a nearby chair leg or under a small fabric panel at one end.
Try thisIf the venue has wind, choose LED candles with a steady mode - flicker can look random when the sleeves shift.
Common mistakeAvoid uneven spacing - five candles that drift closer together look sloppy in photos.
5. Paper fan wall with warm string lights behind
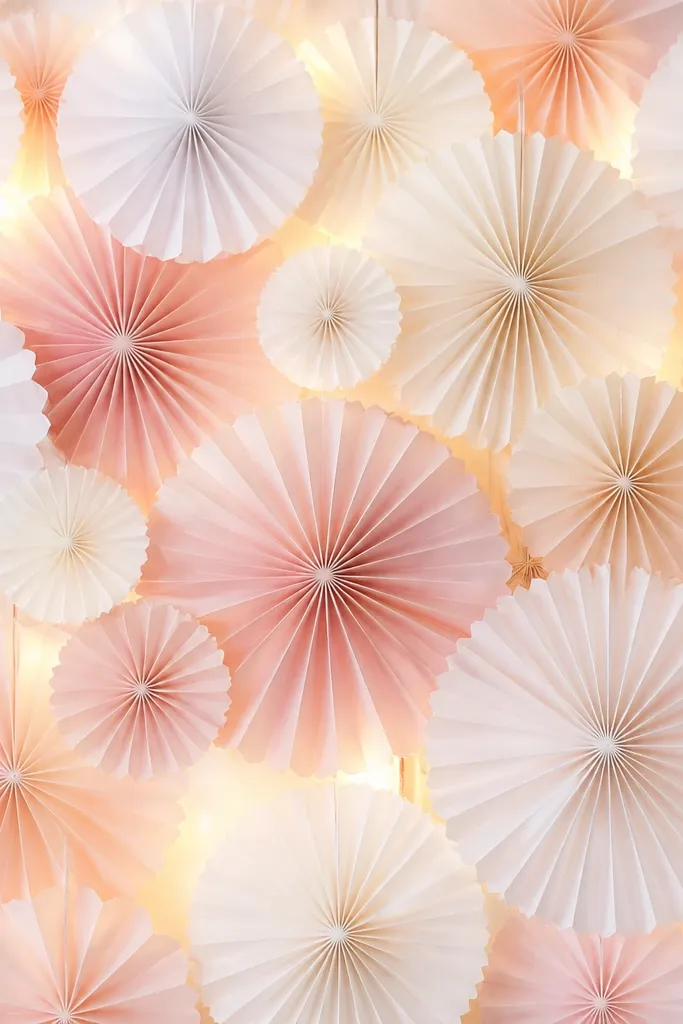
This is a budget-friendly bride to be decoration idea with lights that still looks high-end. Paper fans are matte and they create a nice backlit effect when you place a warm string light behind them. I used white fans with a few blush ones, and the glow makes the blush look like a soft blush rose instead of pink paint. It's flattering in close-ups because it adds warmth behind the subject, not glare in front. If your venue has bland walls and you want a photo wall without heavy décor, this is the one I'd repeat.
Start by arranging paper fans in rows, leaving small gaps between them so light can peek through. Then run a warm white mini string light behind the fan wall, weaving it through the gaps rather than laying it flat. Secure the string to the wall with removable hooks or painter's tape on the wall side, never tape directly to the fan paper. Finally, keep the brightest part of the string around the center of the wall where faces will be, and dim out toward the edges.
Try thisUse a phone flashlight to check the backlit effect before you fully mount the fans - you want glow, not full illumination.
Common mistakeAvoid using white-blue LEDs - they make paper look gray and kill the soft romantic look.
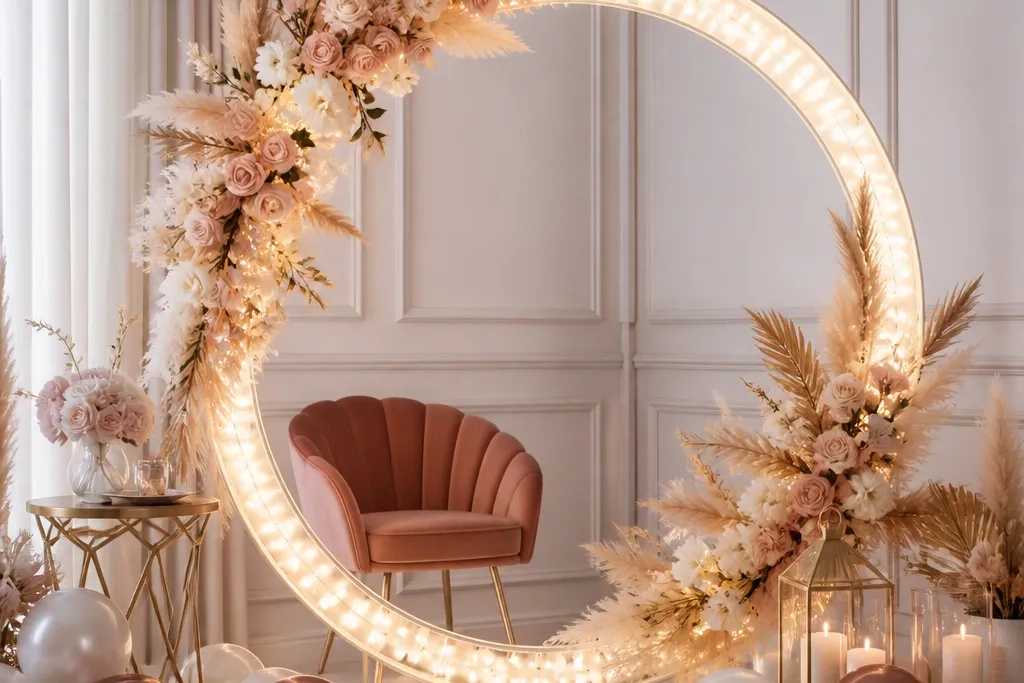
6. Geometric light line on a white balloon frame
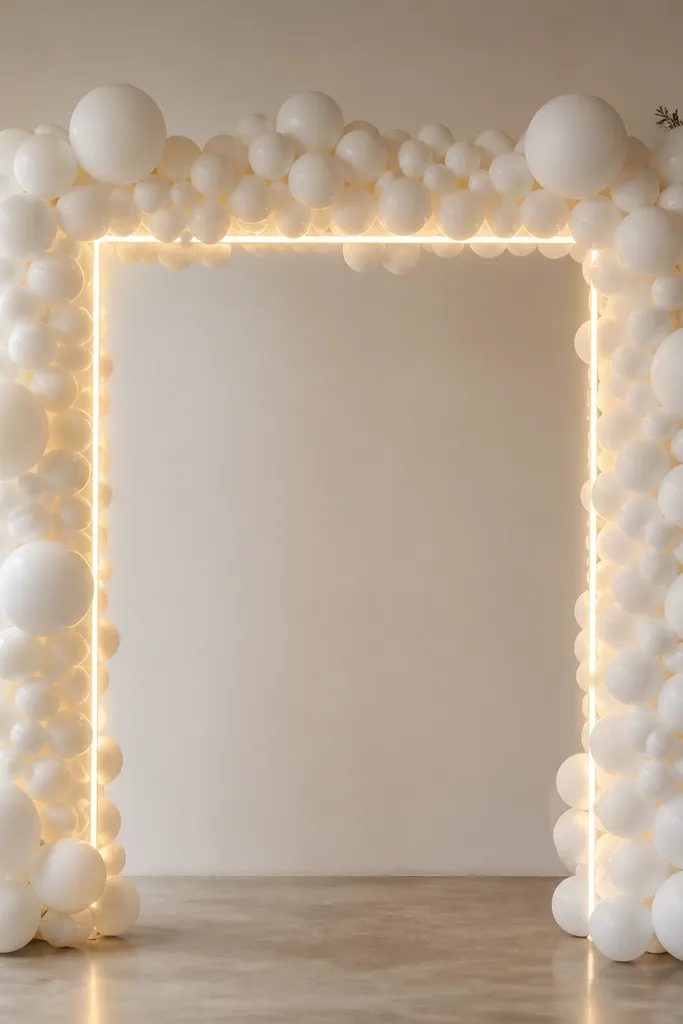
When I want something modern instead of fairy-light dreamy, I outline a balloon frame with warm LEDs. The key is crisp geometry: a rectangle or arch outline looks intentional, and the warm LEDs give it that "event brand" feel. I used white balloons as the frame base so the glow reads clean and doesn't compete with colored balloons. This is great for people who hate clutter in photos because the light pattern is simple and readable. It also works well for mixed skin tones since the warm light doesn't go neon.
Start by building your balloon frame using white balloons with a consistent size range so the outline doesn't look wobbly. Then attach warm LED rope lights or mini LED strings along the edges with small zip ties or clear clips to the frame base. Keep the rope light about 1-2 cm inside the balloon edge so it hides behind the balloon texture. Finally, route the power cord down the back of the frame and tape it to the stand so it disappears when someone walks past.
Try thisUse the same light spacing on both sides - mismatched spacing makes the frame look uneven even if the balloons look fine.
Common mistakeAvoid curling the LED rope around corners loosely - the light line will look messy instead of crisp.
7. Backlit fabric letters with warm LEDs
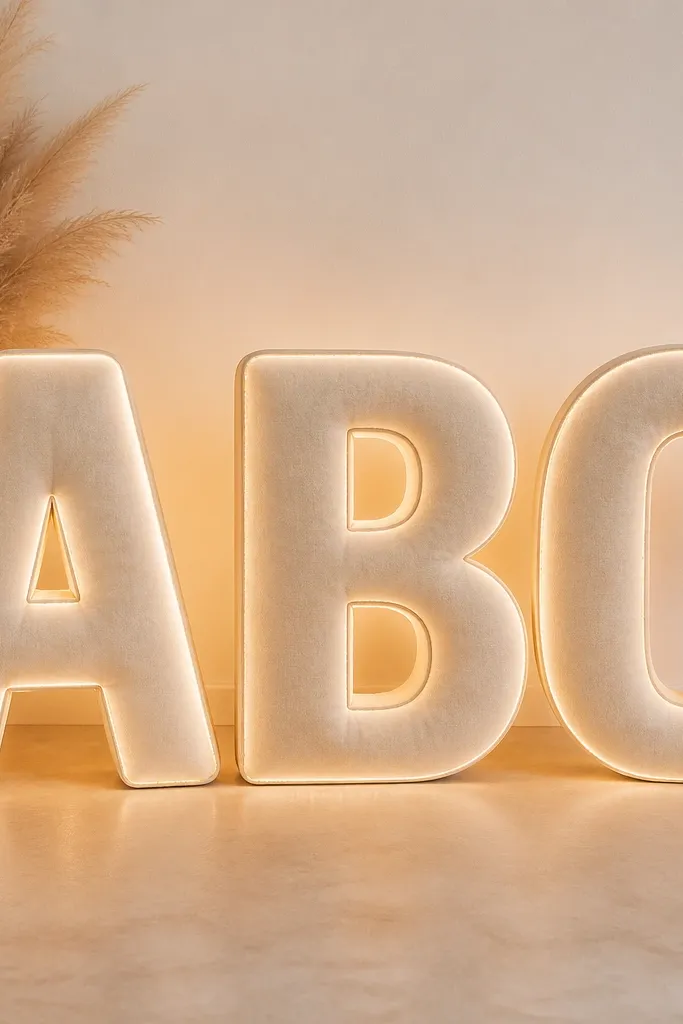
Fabric letters are one of the prettiest bride to be decoration ideas with lights because they look like signage. I used thick white felt or cotton canvas letters and placed warm LED strip lights around the inner perimeter. The felt diffuses the light and prevents hotspots, which is what usually makes DIY letters look cheap. This works especially well for medium and deep skin tones because warm backlighting adds glow without washing out facial features. If your theme is "cute but grown," this gives you that photo-wall impact without a big backdrop.
Start by choosing letters cut from felt or cotton canvas that have a solid thickness - thin craft foam makes the light look spotty. Then place warm LED strip lights around the inside edges using fabric-safe tape or small stitch points if you're comfortable. Keep the strip 1-2 cm away from the outer edge so you get an even glow around the silhouette. Finally, place the letters on a matte base (white crate, foam board, or weighted display stand) and route the battery pack to the back corner where it won't show.
Try thisPick a strip with a dimmer or multiple settings - you want a soft glow, not a bright sign.
Common mistakeAvoid placing the LED directly against thin fabric - you'll see bright dots through the letters.
8. Ceiling-hung tulle veil with micro fairy lights
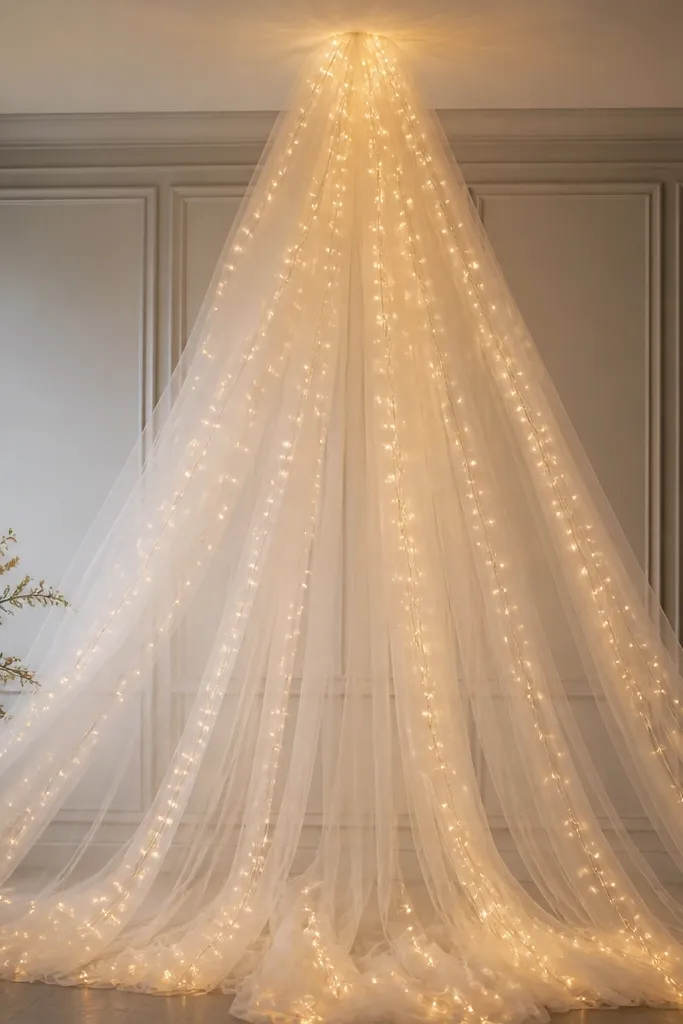
This one is for rooms with decent ceiling height and a photo moment that needs drama. I hang a long strip of tulle like a veil and sprinkle micro warm fairy lights through it - not wrapped tight, just lightly placed. The result feels airy and romantic, and it frames people in a flattering way because the light sits above and behind them. It's great for people who want a "bride entrance" vibe without building a full set. For camera clarity, micro lights look smoother than larger bulbs, especially in low light.
Start by measuring the ceiling height and deciding how low you want the veil to fall - I aim for 6-10 inches above head level for most group photos. Then attach tulle to two points (hooks or a light stand) with even tension so it doesn't twist. Add micro warm fairy lights by tucking the wire into the tulle folds every 10-15 cm, then secure with clear thread at a few anchor points. Finally, bring the power cord to one side and tape it along the ceiling line or behind a column so it disappears from the camera angle.
Try thisUse the dimmest setting. A bright veil looks like a bright spot behind heads, not a glow.
Common mistakeAvoid wrapping micro lights too tightly in one thick line - it turns into a glowing rope instead of a soft veil.
9. Table backdrop swag with warm string lights in a zigzag
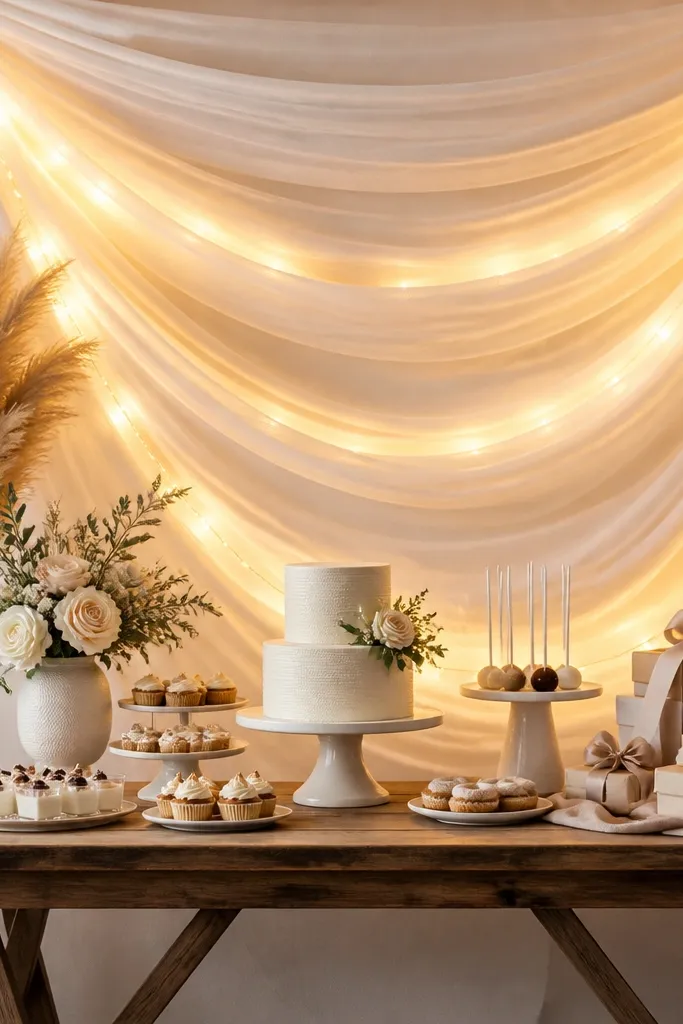
This is the arrangement I trust when I have a long table and I want the light to look even from one side of the room. I drape a fabric swag behind the table and lay warm string lights in a controlled zigzag, then tuck the wire into folds. The zigzag spreads brightness without making the lights look like a single line. It flatters the face because the light is behind the table surface and slightly above gift and cake height. Choose matte fabrics like cotton or thick satin that isn't too glossy and you'll get a smooth glow.
Start by draping fabric behind the table so it forms consistent folds, and pin it to a stand or backdrop bar. Then place warm string lights in a zigzag across the back panel, securing with small clips so the wire stays inside the folds. Keep the spacing consistent - about 8-10 cm between light runs - so the glow doesn't drift. Finally, hide the plug or battery pack under the table skirt and use a Velcro cable tie to keep the cord from sagging into the front of the setup.
Try thisCheck from the side angle where people line up. If the glow looks uneven from one direction, adjust the zigzag spacing before you add extra décor.
Common mistakeAvoid putting the light under the table skirt where it shines straight up - it creates glare on plates and looks messy in photos.