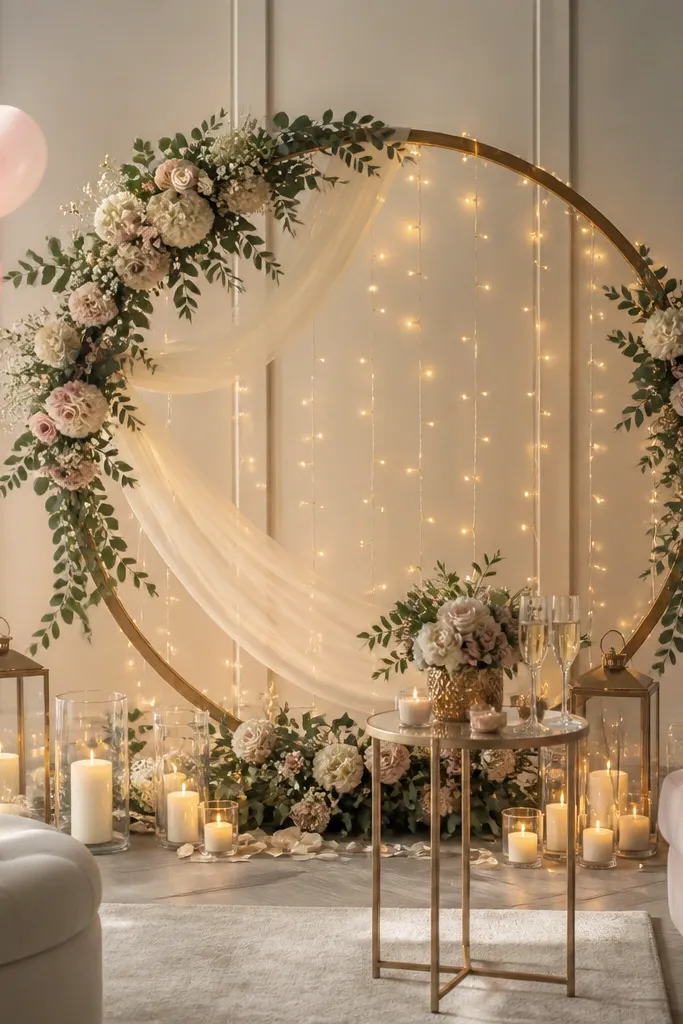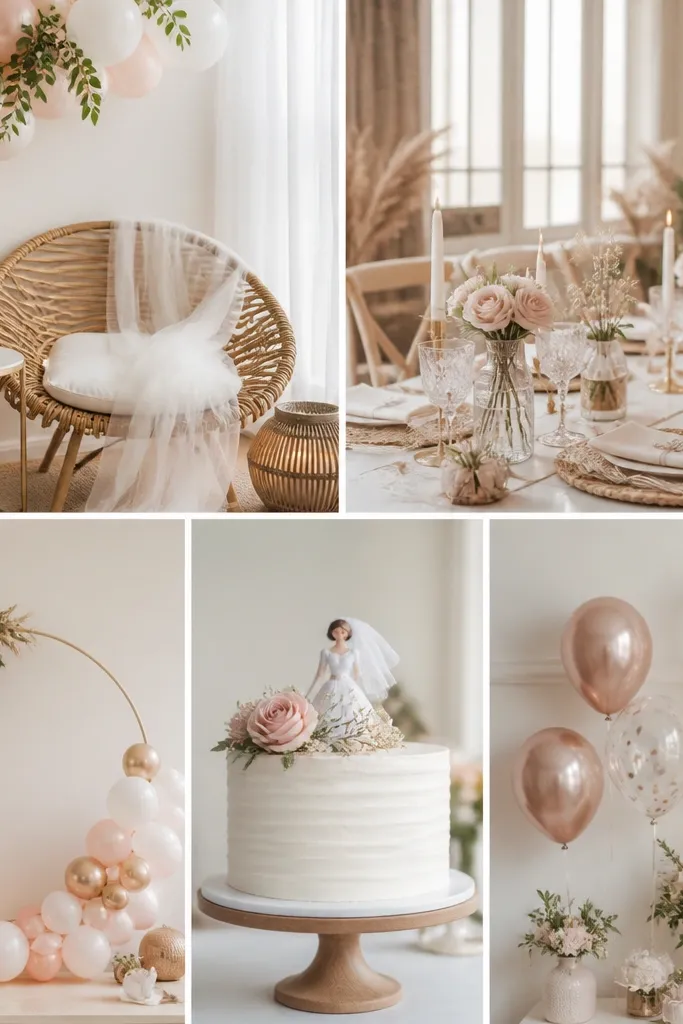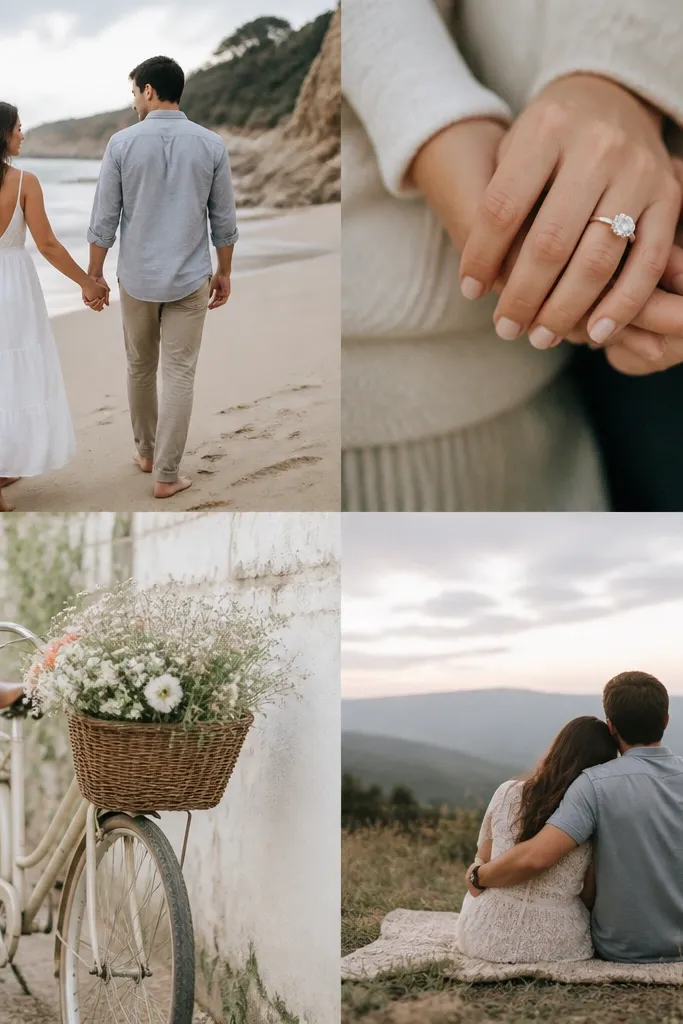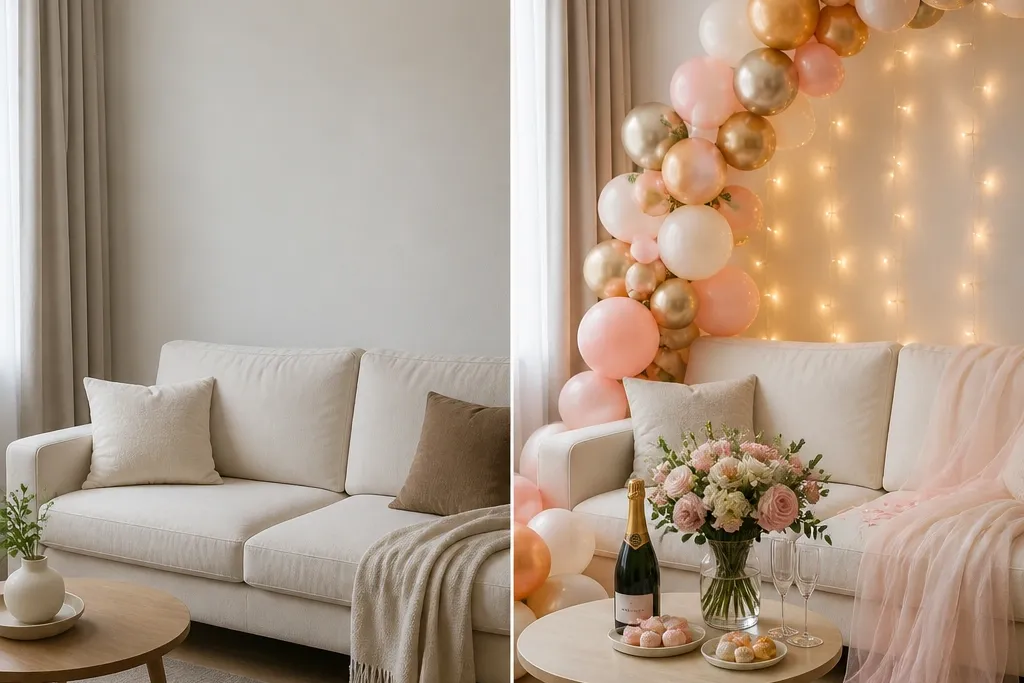
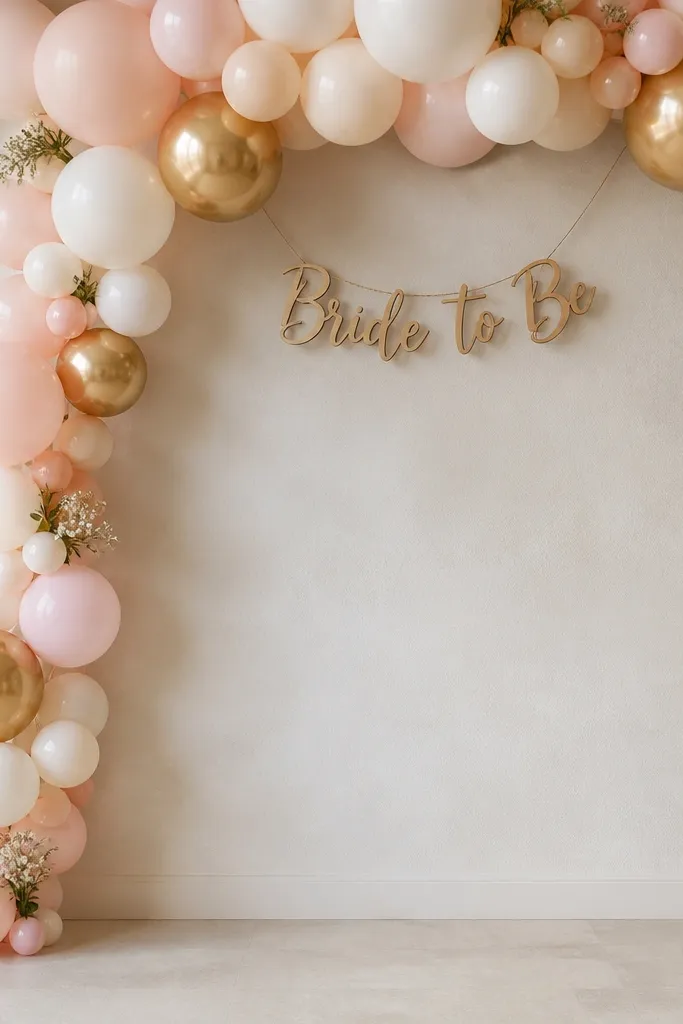
1. Matte balloon arch in blush + champagne with gold "Bride to Be"
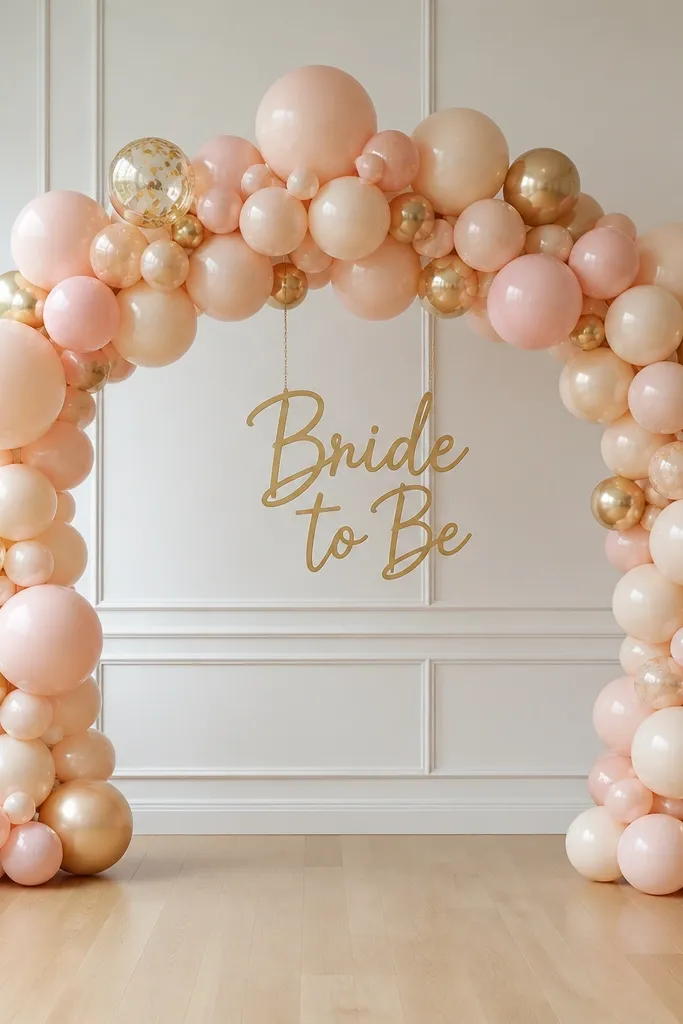
I like this look when the bride's dress has warm undertones - blush bridesmaid tones, champagne satin, or cream lace - because the matte finish stops the balloons from looking like cheap party supplies. The blush reads romantic in daylight, and the champagne keeps it from turning pink-only. I also choose a gold sign because it gives a photo anchor that matches jewelry and hair accessories. This works best for shower photos where people stand close to the backdrop and the camera catches faces and hands near the sign.
Start by building the arch base first, then fill the top with the densest clusters so the arch reads as a single shape, not a bunch of separate balloons. Use 5-7 inch matte balloons for most of the body, then add a few 11-12 inch balloons at the center for height. Hang the "Bride to Be" sign at about 48-52 inches from the floor so it sits at eye level for most guests. Finish with a ribbon tail in blush satin that drapes 8-12 inches down from the sign so it frames the center. Add a small scatter of gold balloons at the top corners - just enough to catch warm indoor light.
Try thisIf your venue has overhead lights, skip glossy balloons. Matte balloons make the whole arch look intentional in photos.
Common mistakeDon't leave the bottom half sparse - guests' bodies block the lower area and the arch will look unfinished.
2. Champagne balloon garland on a plain wall with a clear acrylic sign
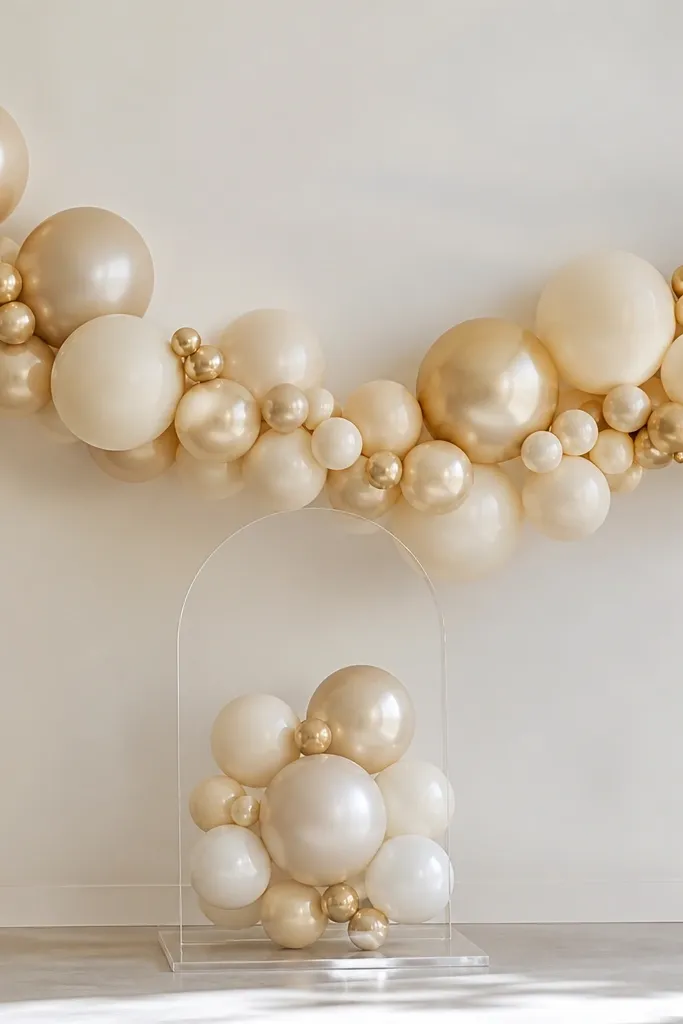
This is the setup I use when the venue already has good decor and you don't want to fight it. The balloon palette is neutral enough to blend with wood tones, white walls, and simple table linens, and the clear acrylic sign keeps the focus on the bride while still giving a "designed" look. It photographs clean because the sign doesn't block faces the way a big foam board would. It also works for both before and after events if you keep the garland width the same and swap only the sign style.
Measure your wall width and set the garland height at around 52-60 inches so it's visible behind heads. Build the garland in sections: make a cluster of 6-8 small balloons, then connect to the next cluster with a balloon strip so the wave stays smooth. Place the clear acrylic sign slightly forward of the balloon line, using small command hooks or stand-offs so it doesn't sag. Add 2-3 larger balloons every 12-18 inches to create depth, then fill gaps with tiny gold confetti balloons. Tie a thin champagne ribbon bow under the sign, leaving the ends about 6 inches.
Try thisUse a balloon strip anchor or strong fishing line so the garland holds its curve without stretching.
Common mistakeDon't hang the garland too low - it turns into a background blur and doesn't frame the bride in photos.
3. Balloon cluster corner with a "toasts & vows" mini sign
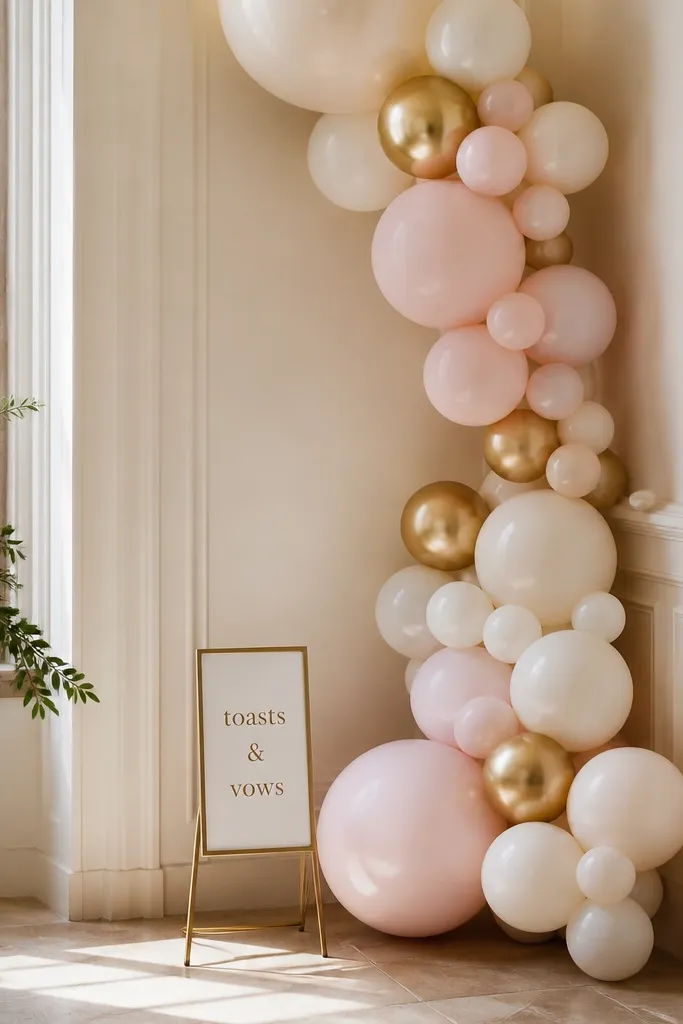
This is a smart "before and after bride to be decoration ideas" move when your venue has limited wall space. A corner cluster gives you a photo spot without taking over the room, and it's easy to re-create in the same place across both events. I like the "toasts & vows" mini sign because it reads like a theme rather than generic decoration. The cream and pale pink palette stays flattering on different skin tones, and the smaller scale suits candid shots at the bar or gift table.
Pick the corner where guests naturally gather, then place the sign stand first so you know the exact cluster height to match. Build 4 clusters: two at eye level (about 56-60 inches), one at shoulder height (around 46-50 inches), and one slightly lower for hands-in-photo moments. Use 5-inch balloons as your filler and 9-10 inch balloons as your anchors. Add a single ribbon strip in blush that hangs from the top cluster to soften the look. Finish by tucking the cluster edges inward so the corner looks intentional rather than like balloons spilled there.
Try thisTake one photo from the bride's height before you add the last balloon - you'll see instantly if one cluster blocks the sign.
Common mistakeDon't overfill the corner. Too many balloons make the sign unreadable and look chaotic.
4. Floral photo-table panel with ribbon-wrapped bud vases
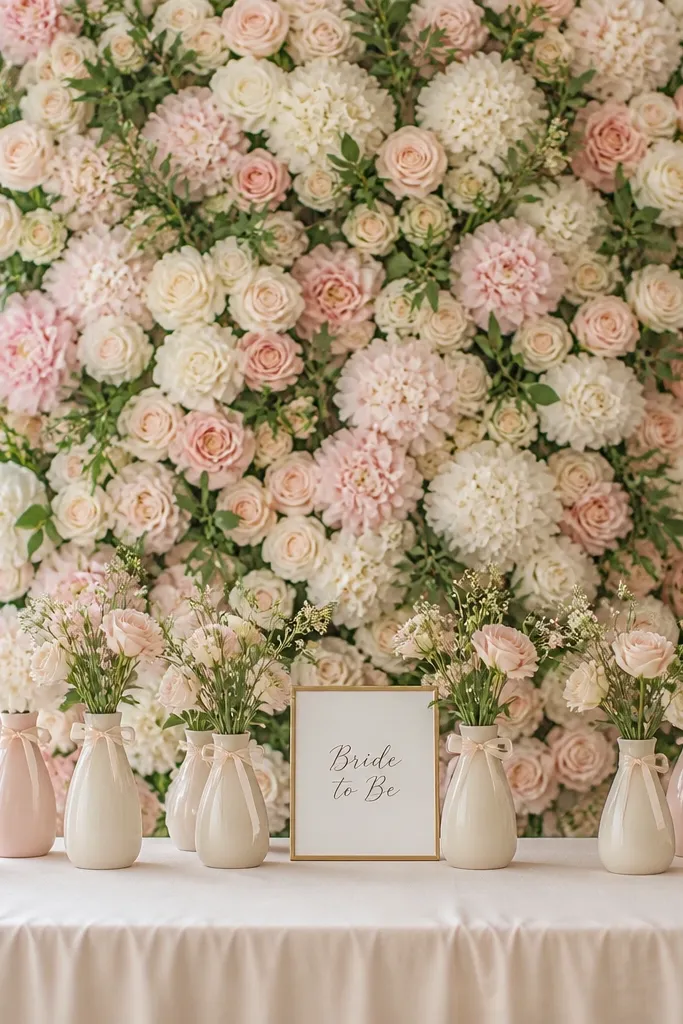
This look is for the bride who wants her photos to feel soft, not party-synthetic. Ribbon-wrapped bud vases give you that "styled table" vibe without needing a full flower wall. The white and blush tones flatter almost every undertone, and the green leaves keep it from looking flat on camera. I use this when the party is smaller and guests gather around the table - the flowers show up in close-ups and hands-in-frame moments.
Start by setting up the photo table and placing the panel directly behind it. Arrange 7-9 bud vases in a staggered line: taller vases at the ends, shorter in the center so the bride's face stays unobstructed. Wrap each vase with a thin satin ribbon and keep the bow at the same height across all vases for a tidy look. Use a consistent flower family - white blooms with blush accents - and repeat the same stem types in each vase so the panel doesn't feel random. Add a small "Bride to Be" sign on a weighted base at the center front, about 10-12 inches from the panel.
Try thisIf you're using silk flowers, dust the leaves lightly with a clean makeup brush so they don't look plasticky under flash.
Common mistakeDon't mix too many flower types. Three main bloom shapes are enough.
5. Real-touch floral garland across a mantle with a balloon "after" swap
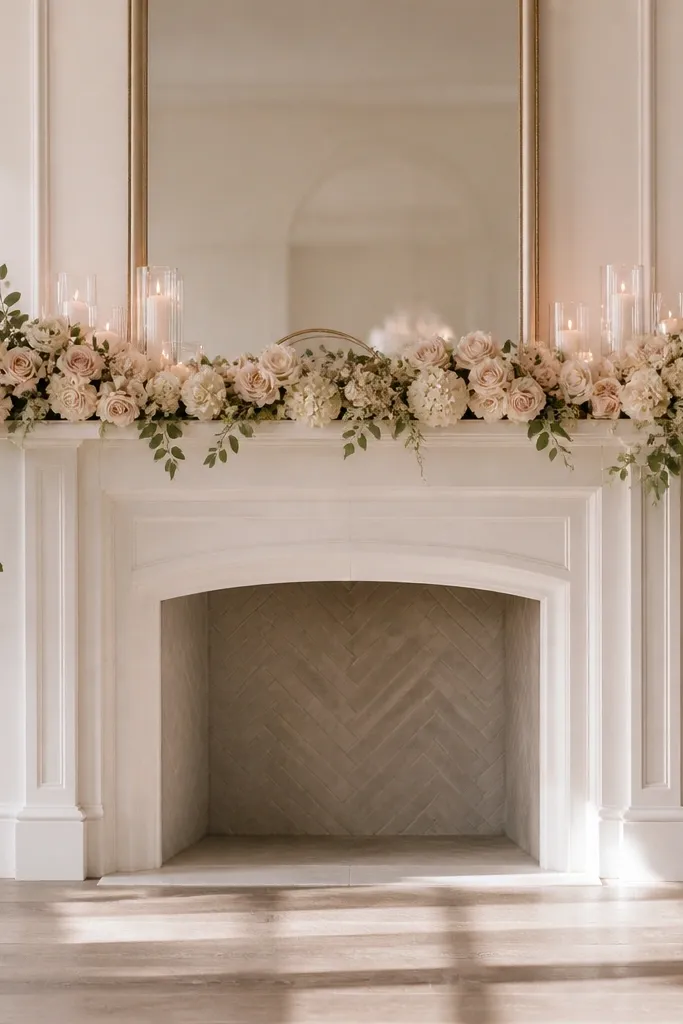
This is my favorite strategy for before and after bride to be decoration ideas because you keep the mantle style consistent while changing the hero texture. For the shower, the real-touch floral garland looks lush and romantic, and it hides any uneven wall paint or minor scuffs. For the later party, you remove the garland and hang a balloon garland in the same spot. That swap keeps the room layout and camera framing the same, so the photos feel like a planned progression instead of two separate decor jobs.
For the floral version, lay the garland across the mantle and pin it with clear floral tape at 4-6 spots so it doesn't sag. Add 2-3 small candle holders spaced evenly and keep the candles at the same height so the line looks straight. Place the bride-to-be sign centered with the bottom edge about 6 inches above the mantle surface. For the balloon after version, remove the garland and install a balloon garland strip across the mantle using command hooks or adhesive strips rated for walls. Add 2-3 larger balloons on the ends and keep the center area open for the sign so faces stay visible.
Try thisMeasure the mantle width and cut your garland so the ends land at the same points as the balloon garland will later.
Common mistakeDon't stack candles too high in the shower version - you'll block the floral and make the sign disappear.
6. Balloon ring backdrop around a dessert table with gold confetti accents
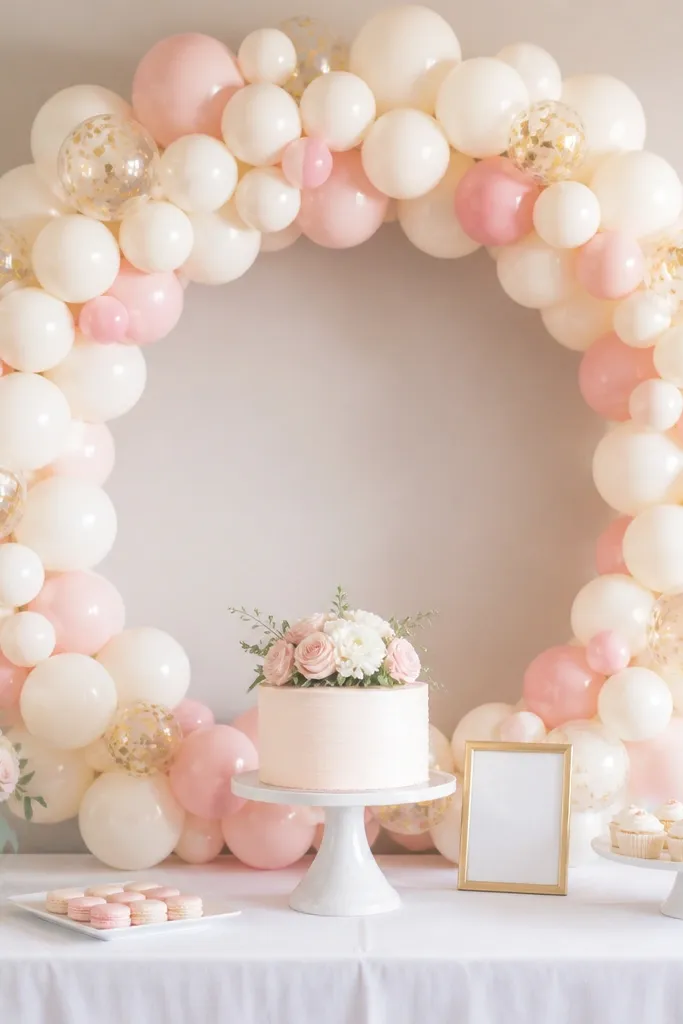
This is a practical balloon option when you want a defined photo frame without building an arch. The ring shape makes it easy to place the cake and sign in the center, which creates clear composition in before and after bride to be decoration ideas. The confetti accents add sparkle in flash photos and look great under string lights. I use this when the bride's dessert table is the star and you want the decor to frame it rather than compete.
Start by setting the dessert table height and place the cake stand first, so the ring center matches the cake top. Build a balloon ring with a base ring or sturdy frame, then fill with 5-7 inch balloons for the main body. Add 2-3 larger 11-12 inch balloons at the top and bottom so the ring feels dimensional. Keep the ring opening centered and leave a clear gap behind the cake sign so text stays readable. Tie a thin gold ribbon through the ring at two points to add a "finished" detail.
Try thisUse a white or cream tablecloth under the ring. It makes balloons look cleaner and hides minor spills.
Common mistakeDon't use too many bright colors. Let the confetti and gold do the attention work.
7. Floral wall using a foam grid with silk stems and a center "Bride to Be" cutout
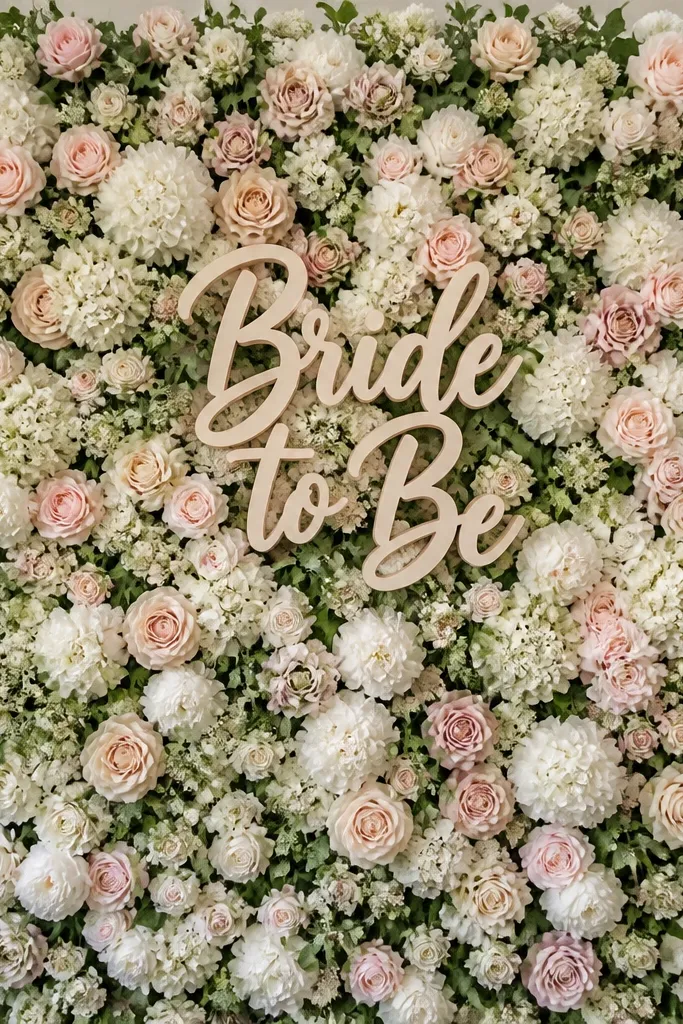
If you want the before and after bride to be decoration ideas to look like two different "big reveals," this floral wall is the heavy hitter. It reads premium because the grid stays invisible and the flowers create a smooth surface. I like white and blush with green leaves because it matches hair accessories and makeup tones, and it doesn't clash with most venue colors. This works best for venues with enough space behind the photo spot, because the wall needs room to sit flat and unblocked.
Start by building the foam grid on a sturdy frame and test it against the wall location. Insert stems from the back and push them close together so you don't see grid lines; aim for full coverage at the center first. Place the "Bride to Be" cutout at eye level and anchor it to the frame so it doesn't wobble. Add a slight color gradient: more white toward the edges, a touch more blush at the center so the sign pops. For finishing, add a few greenery clusters around the bottom corners to make it look grounded, then step back and check from the camera position.
Try thisSpray a light mist of water on silk leaves right before the event. It reduces that dry, matte plastic look.
Common mistakeDon't leave big gaps. One visible grid section makes the whole wall look cheap in photos.
8. Balloon + faux floral hybrid backdrop with one repeated ribbon color
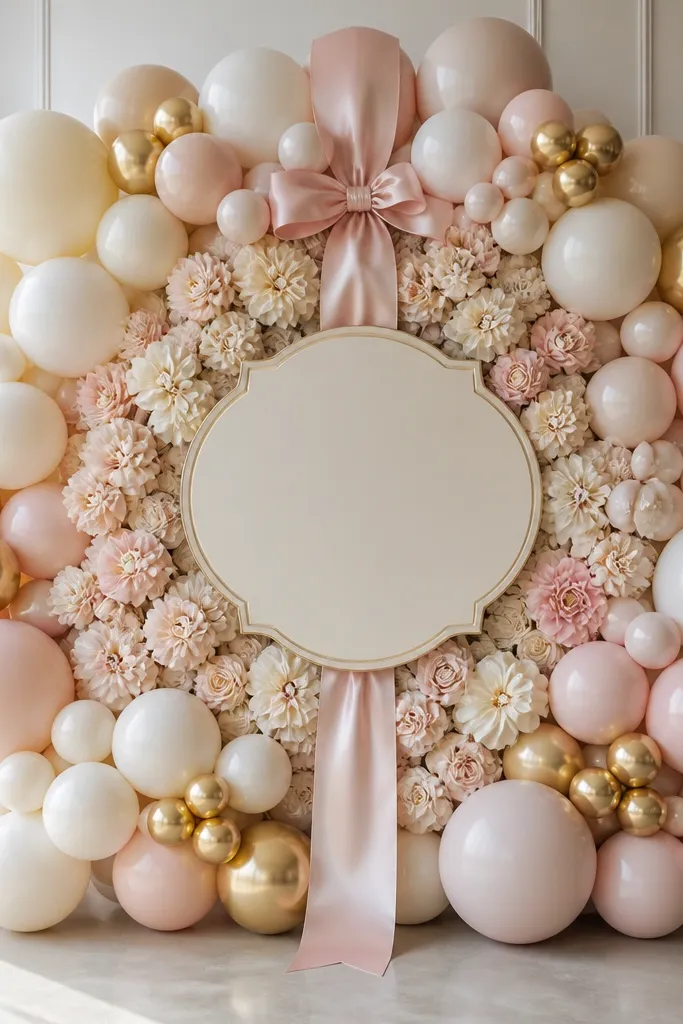
This hybrid is the best solution when you want balloons but also crave that floral softness. The balloons create the "event" feeling in wide shots, and the faux flowers keep the center from looking hollow. Repeating one ribbon color across both materials ties everything together, especially when you do a before version with full balloons and an after version with more flowers. I've used this for both showers and engagement parties when the bride wants the decor to look expensive but still fun.
Build the balloon shape first - either a half-arch or a rectangle cluster - so you know the outer dimensions. Fill the center with faux flower bunches, starting with larger blooms at the top and working down to smaller ones at the edges. Add the sign in the exact middle and anchor it to a base so it doesn't tilt. Thread a satin ribbon vertically behind the sign and let it fall 10-14 inches down. Tie a small ribbon loop at the top corners to make the backdrop look intentional from every angle.
Try thisPick ribbon in a color that matches the bride's bouquet or nail polish shade. That tiny match reads as "styled" instantly.
Common mistakeDon't mix ribbon textures (matte + shiny) in the same backdrop. It looks mismatched on camera.
9. Floral aisle runner with bud vases in two heights
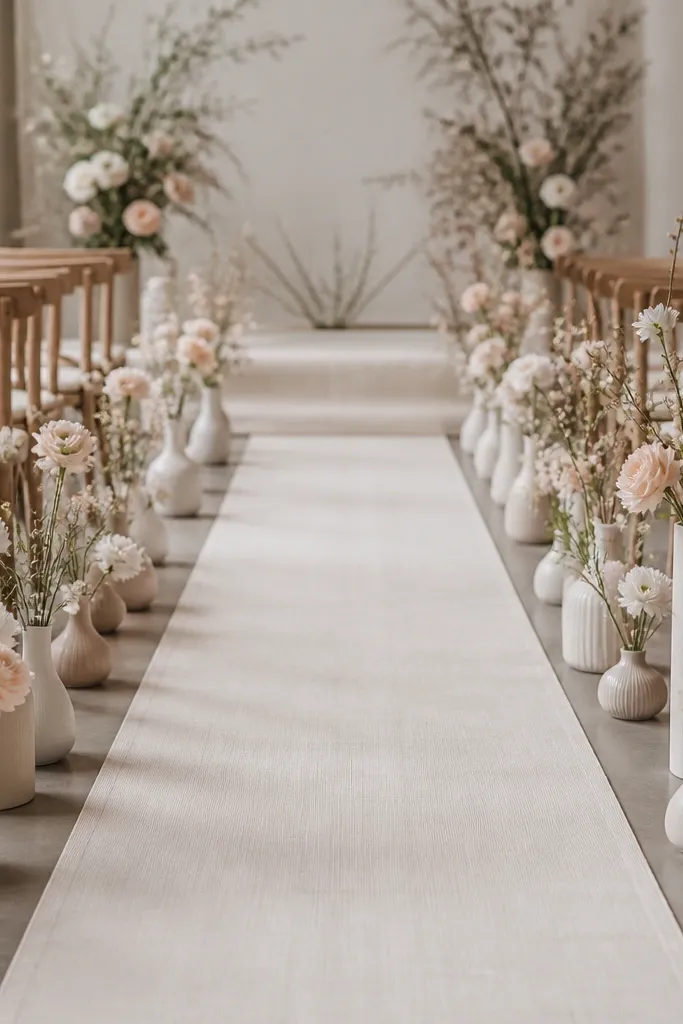
This is for shower setups where people walk through, take photos at the aisle, and gather near the front. The two-height vase rhythm looks styled without needing a massive budget for a full floral wall. I like this in bright venues because the ceramic vases and fresh-looking blooms show clearly. The soft white and blush palette also flatters different skin tones under daylight, and it keeps the bride's outfit as the main focus.
Lay a neutral runner (cream or light taupe) and mark equal spacing with a measuring tape so both sides match. Place taller vases at the center section where the bride will stand for photos, and shorter vases toward the ends. Use bud vases about 6-8 inches tall for the short ones and 10-12 inches for the tall ones. Fill with 3-5 stems per vase, keeping the bloom heads at consistent height across the line. Add tiny greenery sprigs at the base of each vase so the arrangement looks full even from a distance.
Try thisUse floral foam or water tubes inside each vase for silk stems - it holds the angle so flowers don't droop by hour two.
Common mistakeDon't crowd the aisle with too many vases. A clean rhythm looks better than a dense line.
10. Balloon floor clusters with a "gift table" sign and ribbon ties
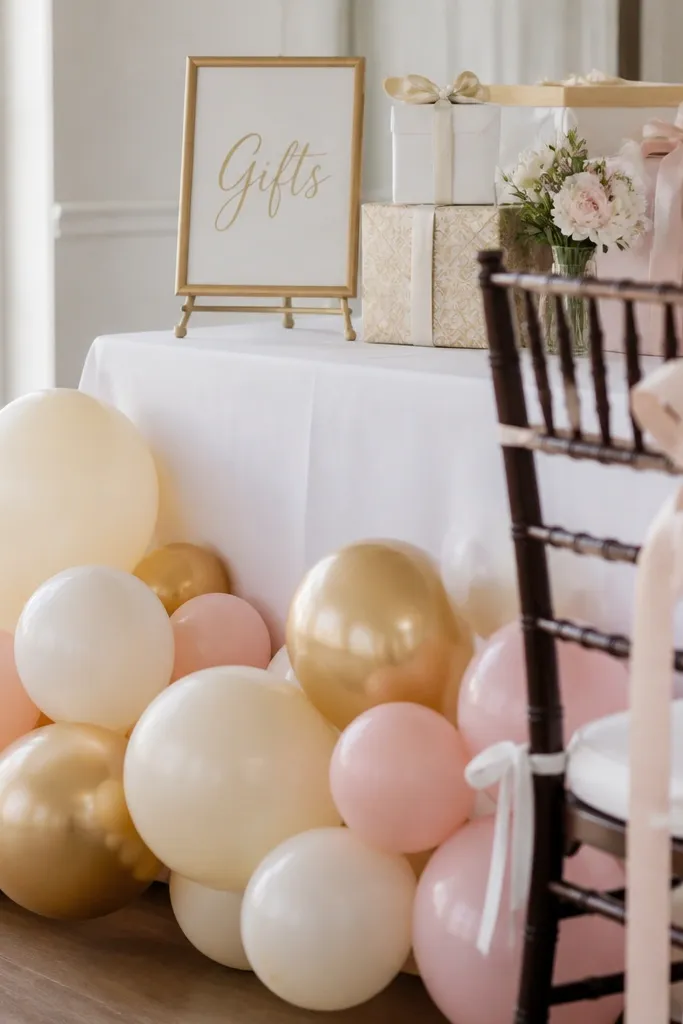
Floor clusters are the unsung hero when you need decor that doesn't block sightlines. They look good in candid photos where guests are seated, and they make the gift table feel like an intentional zone. This is also a smart before-and-after option because you can keep the sign and table layout the same, then switch the balloon palette or add faux floral sprigs on top later. I like this for mixed seating rooms because it doesn't overwhelm the center of the space.
Anchor 3 clusters per side of the gift table, keeping them low - balloon bottoms should sit 6-10 inches above the floor so the cluster reads as part of the table styling. Use 5-inch balloons as the main filler and add 9-10 inch balloons only at the outer edges. Tie a thin ribbon around each cluster's anchor point, then let the ribbon ends hang straight down for a clean look. Place the "Gifts" sign at the table front edge and angle it slightly toward the entrance. If you're doing an after version, add 4-6 faux flower sprigs tucked into the ribbon ties on top of the balloons.
Try thisUse heavier balloon weights than you think you need. The cluster should stay put when guests bump chairs.
Common mistakeDon't use string to attach clusters to chair backs - it tangles fast and looks messy in photos.
11. Floral centerpiece stack with cake stands and a soft gradient
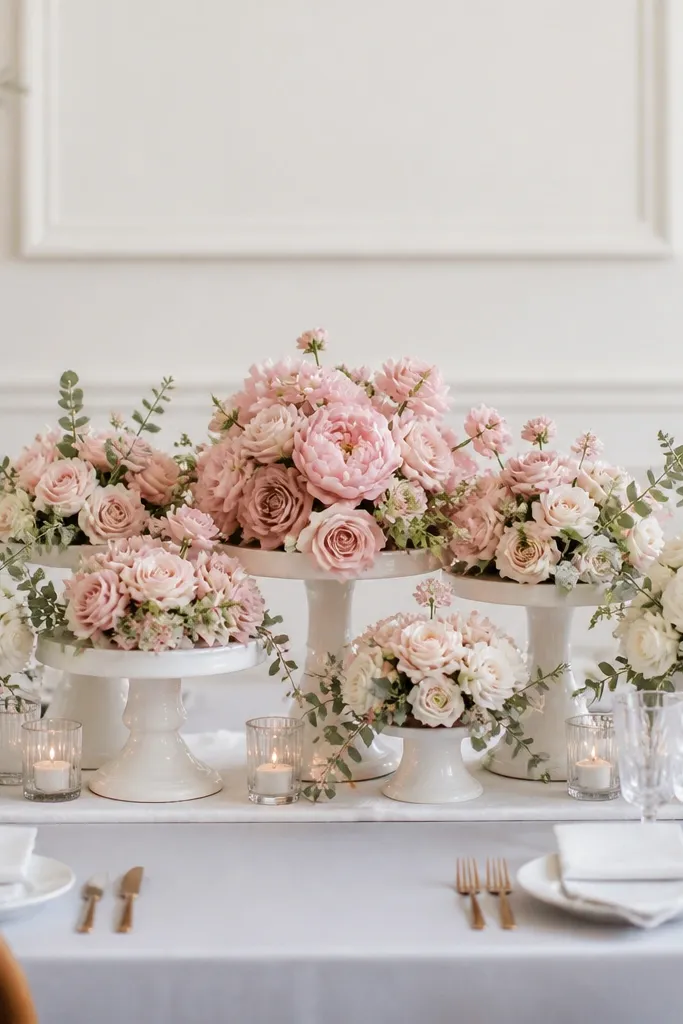
If your before and after bride to be decoration ideas need to look good from across the room and close up, a centerpiece stack does that. Cake stands give you height without clutter, and the gradient makes the arrangement look designed instead of random stems in a vase. I use this when the bride's table is where the group gathers for photos - the centerpiece becomes the background texture behind faces. The white-blush-green combo also pairs well with both warm and cool lighting.
Start by choosing a long table runner in cream or light beige and center your tallest cake stand first. Build a gradient: deeper blush blooms in the center stand, lighter white toward the top and outer stands. Use 3 layers of height - one tall stand, one medium, one low - and keep stem heads spaced so they don't touch the tablecloth. Fill the cake stands with a mix of greenery and small blooms, then add a few longer stems that lean outward. Finish by adding a ribbon strip around the base of the middle stand, keeping it the same width across both events.
Try thisCut stems at slightly different lengths and then re-check from the guest seating angle, not from standing height.
Common mistakeDon't fill the cake stand with too much water or floral foam mess. Keep it clean and stable so it doesn't look sloppy by hour two.
12. Balloon ceiling-to-wall photo moment with a hanging "Bride to Be"
This is for venues where the floor is busy and you still want a dramatic photo. A ceiling-to-wall balloon moment creates a vertical frame that pulls eyes up to the sign and keeps your backdrop from looking flat. It also works nicely for after events because you can swap the sign style (Bride to Be for shower, then something like her new title or a date for later). I've used this when the room has strong natural light, because the vertical line shows up clearly in photos.
Hang a strong anchor point above the photo zone and plan your sign height so the bottom sits around 54-60 inches from the floor. Attach balloon clusters in a vertical sequence: larger balloons at the top and medium balloons down the center, then small filler at the bottom. Add 2-3 gold accents near the sign for sparkle without clutter. Keep the rest of the wall clean so the sign remains readable. Tie a thin ribbon to the sign and let it hang 8-10 inches to soften the vertical line.
Try thisTest your lighting by taking a quick phone photo from where the bride will stand. If the balloons glare, switch to matte balloons.
Common mistakeDon't let balloons cover the sign edges. If the sign text gets partially blocked, it reads sloppy.
13. Floral bud vase clusters on a long buffet with matching ribbon labels
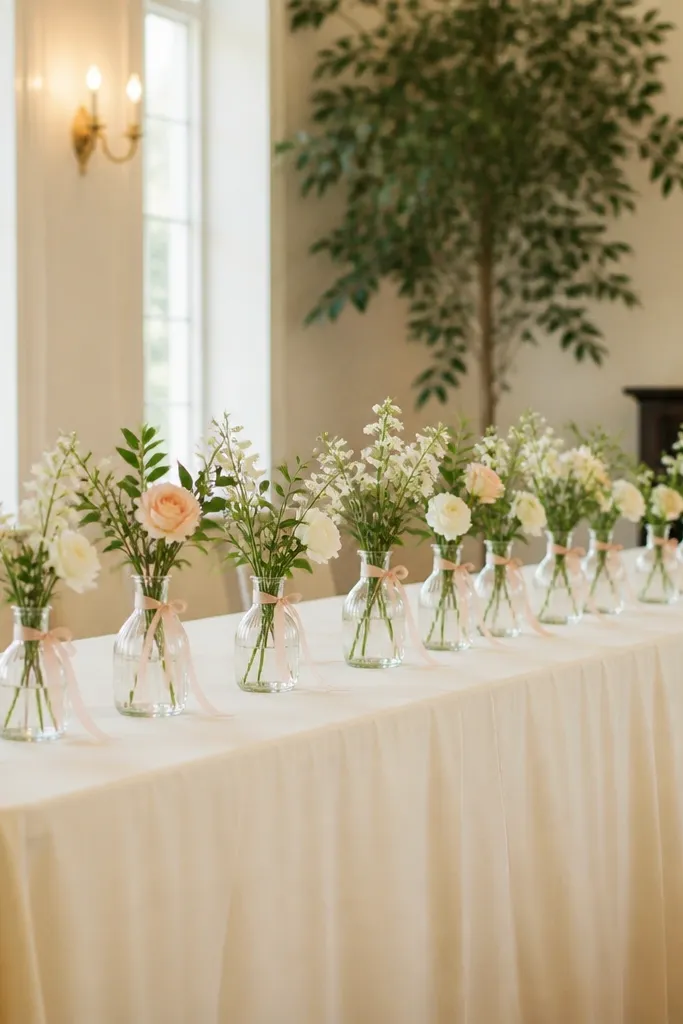
This look gives you layered charm without building a huge wall. The ribbon labels make it feel like a theme and they also help guests understand where to look in photos - they naturally frame the center of the table. I like it for showers with food stations because it keeps the table styled but not crowded. The white and blush palette stays flattering on camera and doesn't fight with colorful desserts. It's also easy to replicate for an after event by swapping the ribbon color or label wording.
Start by placing the buffet table where guests will naturally pass, then set a line of bud vases along the front edge. Use the same vase shape for all of them, and keep bloom heads aligned at about the same height. Tie a small ribbon label on each vase neck and keep label sizes consistent so the photos don't look messy. Use 4-6 stems per vase and include greenery in every single arrangement so the table looks full. For a before and after swap, keep the vase layout identical and change only the ribbon color and one flower accent.
Try thisWrite labels in a simple font on cardstock and seal with a clear tape layer so they don't curl from humidity.
Common mistakeDon't add labels on top of stems. It makes the arrangement look cluttered.
14. Balloon "step and repeat" rectangle with alternating panel colors
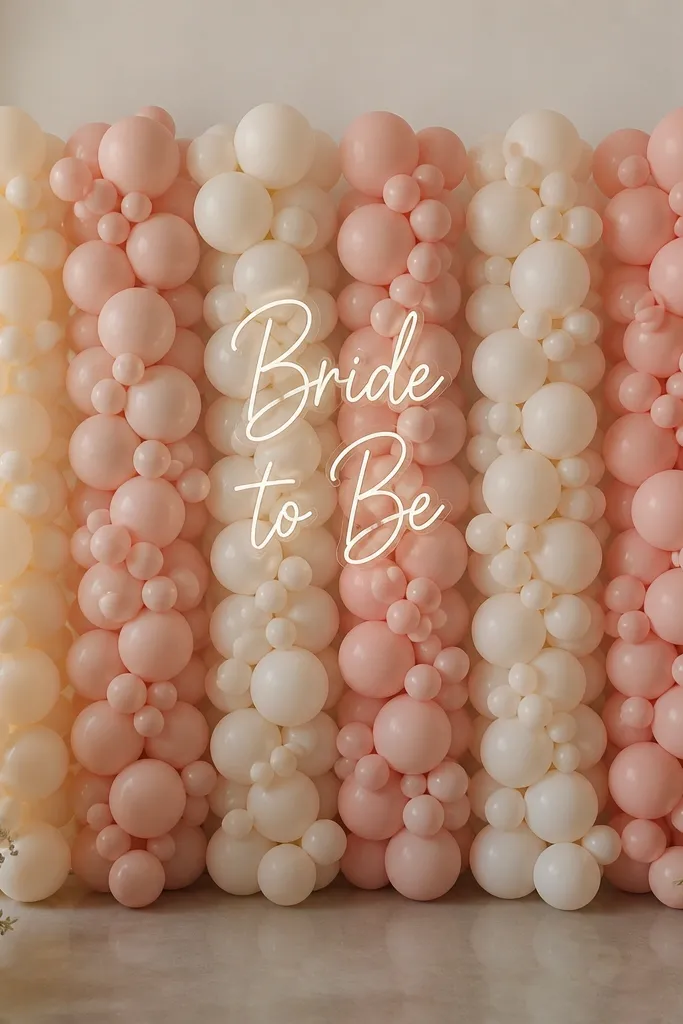
This is the best balloon layout when you want a repeatable photo wall that still feels designed. The rectangle shape is camera-friendly because it creates clear edges for framing, and alternating balloon columns add structure without needing a full arch. I like it for both before and after events because you can swap the center sign and keep the rectangle consistent - it looks like one set of branding. This works especially well in home photo corners and small event spaces.
Build the rectangle frame using a balloon strip method or a lightweight frame so it stays straight. Fill columns in alternating colors: cream on one side and blush on the other, then add gold confetti balloons only at the corners. Place the sign center and keep the sign bottom at about 48-50 inches so it sits above guests' heads. Add a few larger balloons behind the sign for depth, but keep the edges clean so the rectangle stays defined. Finish with two small ribbon loops on the top corners for a polished feel.
Try thisUse a tripod or prop phone stand and test the framing once. Rectangles reveal crooked builds faster than arches.
Common mistakeDon't freehand the shape without a frame - balloon rectangles twist and look uneven in photos.
15. Floral balloon swap at the gift table: faux flowers on top, balloons on sides
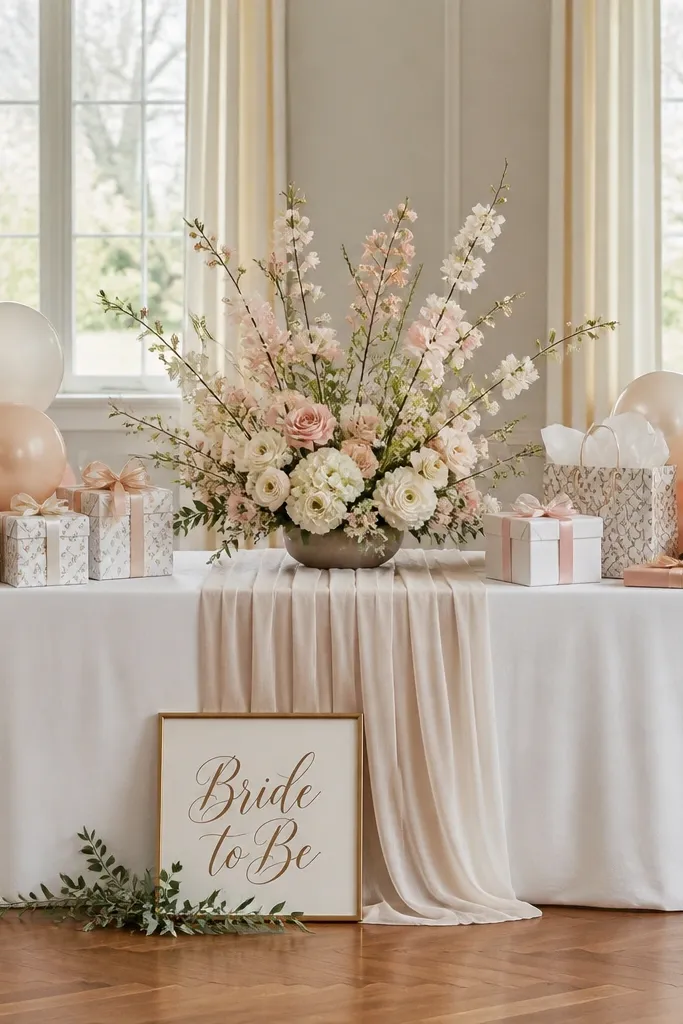
This is the before and after approach I recommend when you want one table to tell the story twice. The before version can be mostly balloons for a party vibe, then the after version becomes more floral so it feels softer and more intimate. The faux flowers on top create that "bride" softness close to faces, and the balloons on the sides keep the energy up without blocking the display. I've seen this work especially well when the bride wears a veil or hairpiece, because the floral texture looks natural near hair and photos.
For the after version, start by placing the gift table runner and building the center floral base first using a low tray or wide vase. Arrange faux stems so they rise 12-18 inches above the table, with the tallest part toward the center. Add balloon clusters at both sides at about 44-48 inches from the floor, keeping them lower than the floral height. Place the "Bride to Be" sign at the table front center and keep it unobstructed. Tie a matching ribbon around the floral base and let it drape slightly toward the sign so the whole table looks connected.
Try thisMatch ribbon color to the bride's bouquet wrap or the wedding palette. That one match makes the hybrid look intentional.
Common mistakeDon't make the balloons taller than the floral. If balloons dominate, the floral "after" loses its soft effect.