1. Clear tape "invisible" signage that turned cloudy in flash
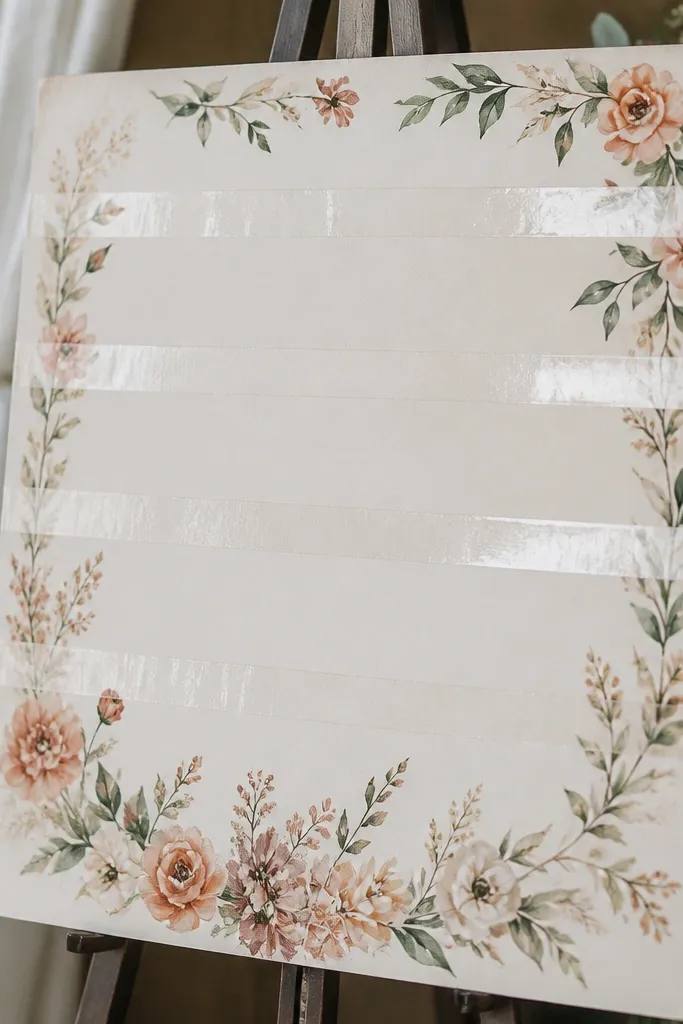
I tried to make a welcome sign look clean by taping down printed labels with "invisible" clear tape. Under venue lighting and flash, the tape edges turned cloudy, and the sign looked like it had a plastic bandage instead of crisp lettering. The problem is that many tapes have micro-texture that scatters light, especially when they sit over glossy ink. If you're aiming for a polished look, use a finish that stays optically clear, like mounting adhesive designed for photos, or skip surface tape entirely and mount the whole panel.
Start by printing on matte cardstock (I used 110 lb matte) so the ink doesn't reflect. Then mount the finished paper to a rigid backing - foam board or a 1/8-inch acrylic sheet - using double-sided tape meant for crafts, placed behind the letters area rather than across the face. Finally, cover the whole front with a matte-laminate sheet or spray a matte sealer meant for paper, keeping the nozzle 10 to 12 inches away for even coverage. If you need to attach embellishments, glue them on the back side so no tape shows along the lettering edges.
Try thisDo a flash test: take a photo with your phone flash at arm's length before you leave home.
Common mistakeDon't run tape across the face of lettering if the venue uses bright overhead lights or you'll have flash photography.
2. Hot glue strings on lace that looked like spider legs
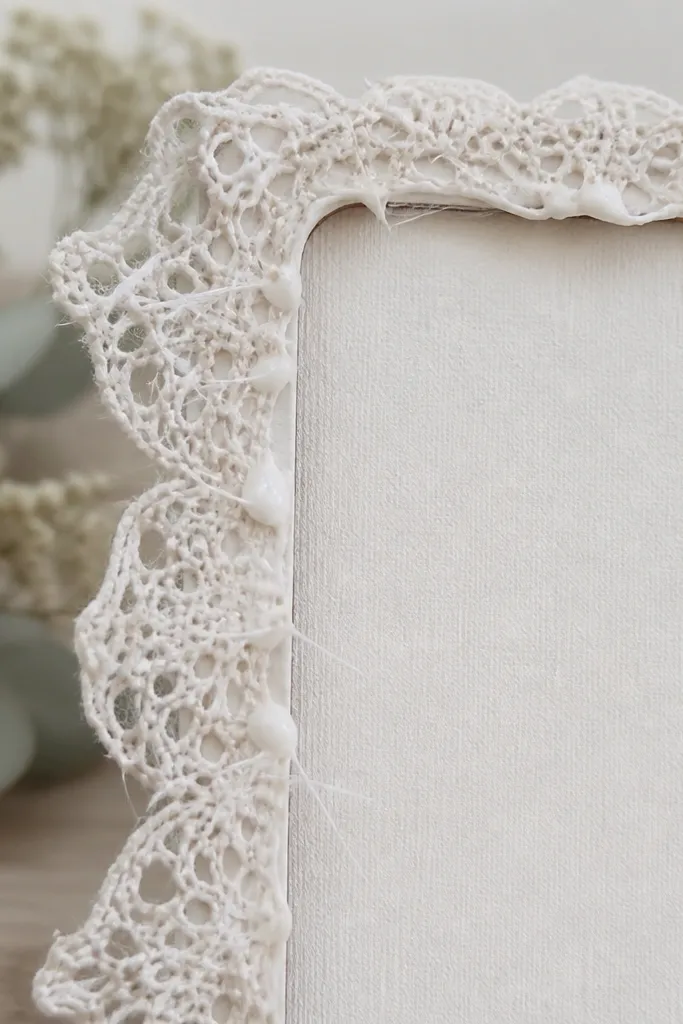
I glued lace trim to a wooden frame with a standard hot glue gun, and the glue cooled into little peaks. In close-up photos, you could see the glue shine and those thin strings that snag the eye. Lace already has fine detail, so any visible glue texture looks messy fast. This craft works only if you control the glue amount and hide the adhesive under the trim edge or switch to a glue that dries clear and flat.
Start by trimming the lace so the ends meet cleanly at a corner, then dry-fit it around the frame without adhesive. Then use a thin bead of fabric glue or a clear craft glue that grabs quickly; press the lace down for 30 to 45 seconds so it bonds without needing heavy glue. Finally, if you must use hot glue, use a low-temp glue stick and apply it to the frame, not the lace, so the glue forms a smooth base. After it dries, run a fingertip lightly over the lace edge; if you feel ridges, peel and re-glue rather than trying to cover it with more glue.
Try thisCut lace ends at a slight angle so they overlap by 2 to 3 mm instead of showing a hard butt seam.
Common mistakeDon't pile on hot glue to "secure it" - extra glue makes lace look thick and cheap.
3. Paper flowers that sagged from watery glue
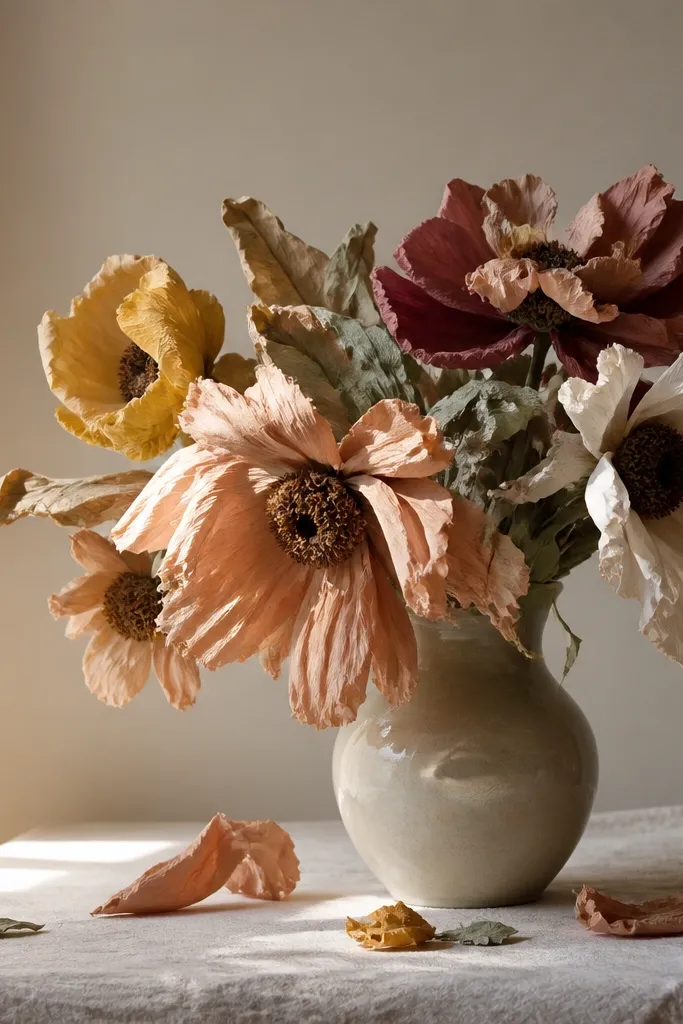
I used white school glue watered down to spread it easier, and my paper flowers sagged like they were tired. The glue soaked into the cardstock, and the petals lost their crisp curl. Paper flowers look best when they stay springy - the moment they soften, they look handmade in a bad way. This fail teaches you to either use glue that stays tacky without soaking or keep any adhesive off the visible petal areas.
Start with cardstock that's at least 80 lb and has some stiffness - I used 65 lb once and it drooped by afternoon. Then assemble flowers dry first and mark where the center will sit. Apply adhesive only at the base of each petal using a glue pen or a small dot of hot glue, then press for a few seconds so you don't flood the paper. Finally, let the whole piece cure flat for 30 minutes; if you need lift, shape petals with a bone folder before the glue sets.
Try thisUse a glue pen for petal bases - it keeps glue off the surface so petals don't warp.
Common mistakeDon't thin glue with water for paper flowers; it soaks fibers and ruins the shape.
4. Foam board table numbers that chipped at the edges
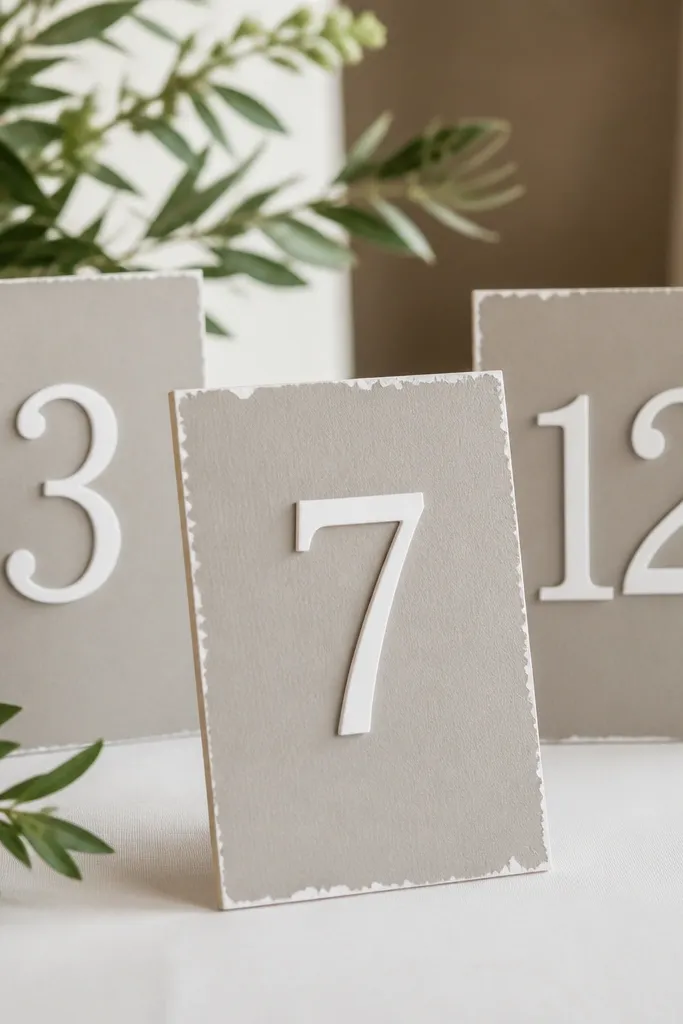
I made table numbers from foam board, painted them, and thought the edges would hold up. At the first bump during setup, the corners chipped and the white core showed up in photos. Foam board is light, but the edges are fragile unless you seal them properly. If you want foam board numbers, you need an edge treatment and a thicker backing so they don't get dinged by chairs and carts.
Start by cutting the numbers and backing from foam board 3/16-inch thick, not thinner. Then seal the edges with acrylic medium or gesso using a small foam brush, letting it dry and then applying a second thin coat. After that, paint the face with satin acrylic (satin hides brush marks better than flat), and add a matte clear coat on top. Finally, attach to a thicker base - a 1/4-inch wood block or a rigid acrylic stand - so the piece doesn't flex when someone picks it up.
Try thisSand the edges lightly with 220 grit before sealing; it removes the brittle factory edge.
Common mistakeDon't leave foam board raw or only paint the face - the edges will chip every time.
5. Vinyl lettering that peeled off acrylic stands
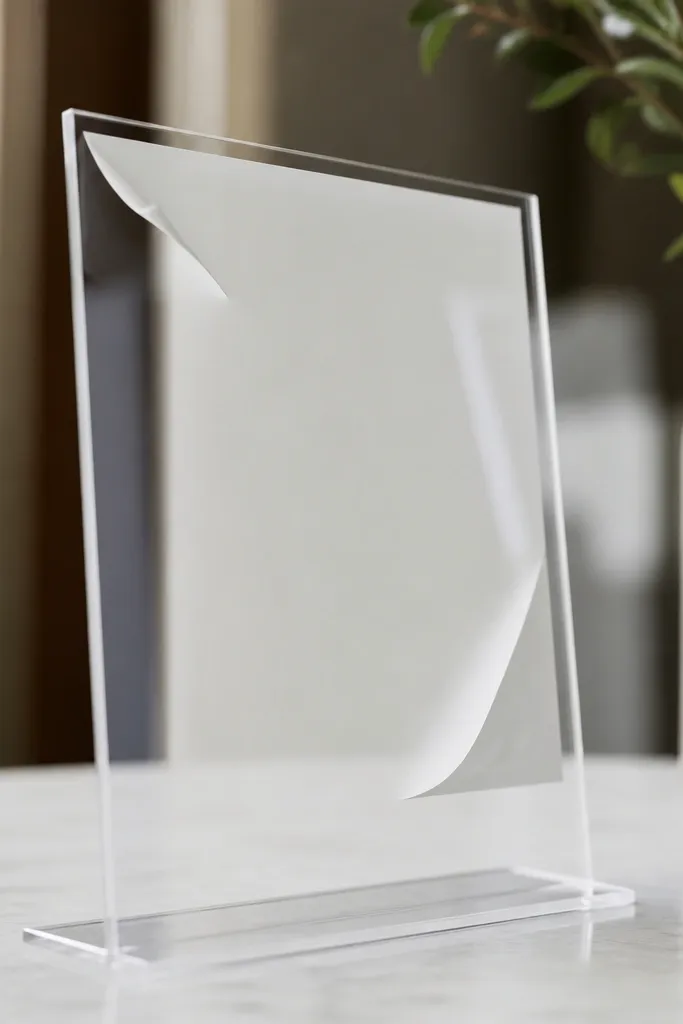
I applied vinyl directly to a clear acrylic stand and assumed it would stay put. It looked perfect in my living room, then peeled at the corners during transport. Clear acrylic has a slightly slick surface and sometimes a protective film residue, so vinyl adhesion is weaker than you think. The craft still works, but you need proper surface prep and the right vinyl type for slick surfaces.
Start by washing the acrylic with dish soap, then wipe with 70% isopropyl alcohol and let it fully dry. Then remove the protective film completely - even a tiny bit reduces adhesion. Apply vinyl using a transfer tape so you can position cleanly; burnish firmly with a plastic squeegee, especially along edges. Finally, after application, let it sit flat for 24 hours before moving it, and seal only if you know your vinyl brand supports it.
Try thisIf you're in a warm venue, press the vinyl with a hair dryer on low for 10 seconds per section.
Common mistakeDon't place vinyl on acrylic that still has any residue or protective coating.
6. Ribbon bows that looked lopsided because I cut the wrong length
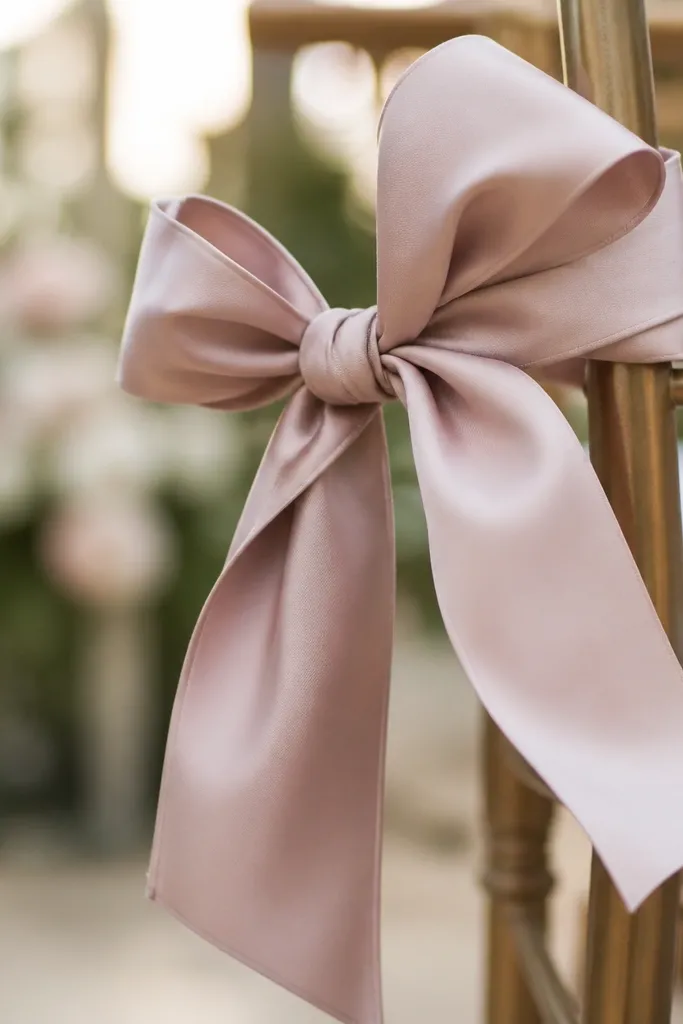
I cut ribbon "by eye" and ended up with one loop shorter, so the bow leaned to one side in photos. Ribbon bows are unforgiving because symmetry is visual - the audience sees imbalance immediately. This fails is common when you're making a bow for a specific spot like a chair back or a sign edge. If you want bows to look intentional, you have to measure loop size and tail length based on the surface width.
Start by measuring the width of the chair back or sign edge where the bow will sit. Then cut ribbon using a loop length that's 2.5 times the width - for example, a 10-inch chair back needs about 25-inch loop ribbon for each side. Tie the bow with the knot hidden behind the surface, then trim tails to match your target: tails should hang 8 to 10 inches for chairs and 4 to 6 inches for small signs. Fluff and set the loops by pinching the ribbon at the knot and spreading the loops outward before you secure with a hidden stitch or zip tie inside the knot.
Try thisUse 1.5-inch wide ribbon for chair backs; wider ribbon makes loops look heavy and harder to balance.
7. Chalk marker guest book prompts that smeared on contact
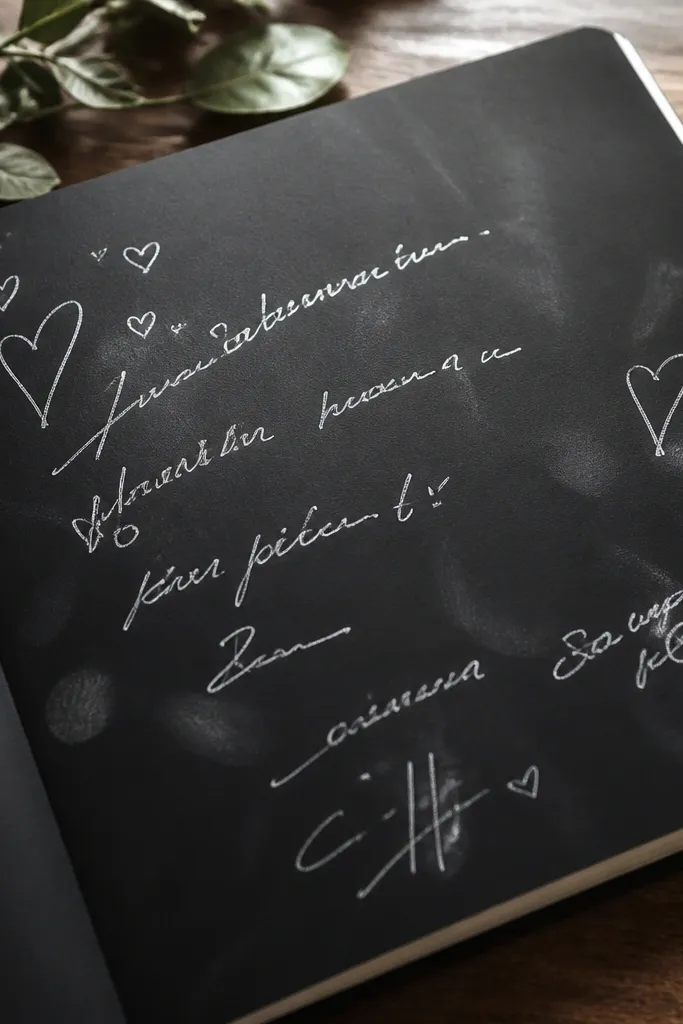
I used chalk markers on a glossy guest book insert and the ink smeared when people touched it or when a pen cap rubbed the surface. Chalk-style products need the right coating, and glossy paper is the wrong partner. In a wedding setting, you need markings that survive repeated handling and light wiping during setup. This craft works when you pick either a matte surface for chalk or switch to a paint marker designed for nonporous finishes.
Start by checking what your guest book insert is made of - glossy paper feels slick under your thumb. Then choose: if it's glossy, use a paint marker or acrylic-based marker; if it's matte, chalk marker is fine. Test on a scrap piece from the same paper pack. Finally, seal the writing lightly only if the marker brand recommends it; otherwise, leave it alone and swap to a marker that dries fully and stays smudge-resistant.
Try thisPress a clean white tissue over a test word after 10 minutes; if you see grey on the tissue, don't use it live.
Common mistakeDon't assume chalk markers work on glossy paper without testing first.
8. Sand ceremony jars that leaked and stained dresses
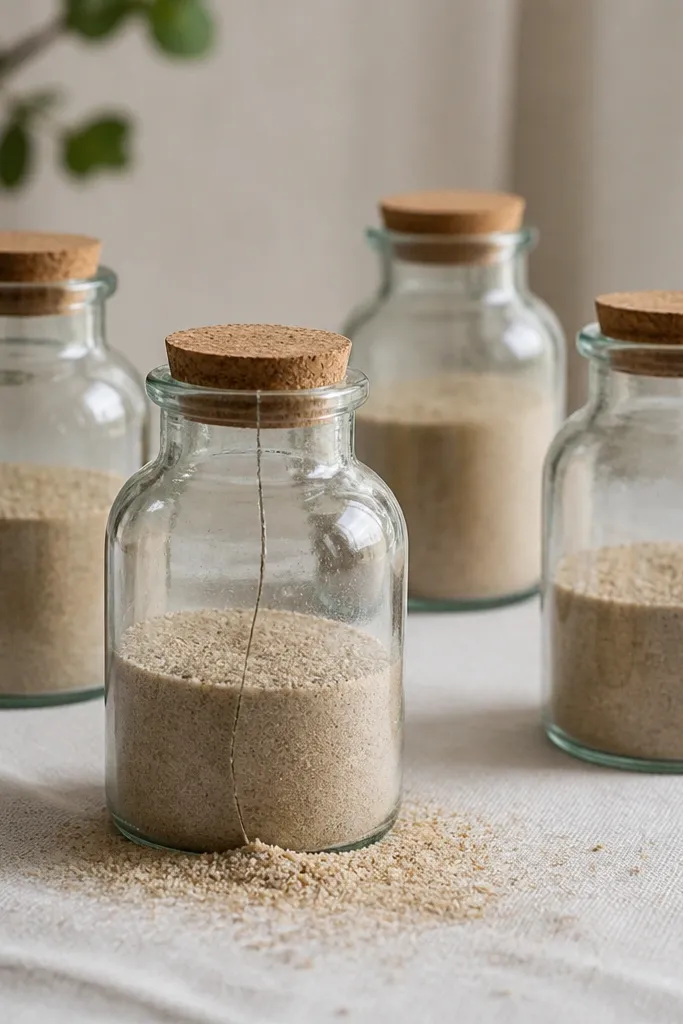
I used cheap jars and a rushed sealing step, and one jar leaked during transport. The sand got into the seams of the tablecloth and left a gritty stain that looked worse in flash photos. Sand is abrasive; even a tiny crack or imperfect lid alignment matters. If you're doing a sand ceremony display, you need jars with intact rims and a seal that survives being moved, not just being closed once.
Start by buying jars with thick glass and a lid that has a rubber liner. Then inspect the rim with your fingertip - if it feels uneven or chipped, skip it. Fill jars to about 80% so lids can close without forcing sand into the threads. Finally, wipe the lid rim clean, tighten firmly, and add a thin strip of clear packing tape around the lid seam for transport only; remove tape at the ceremony to avoid residue.
Try thisDo a water test: fill the jar with water, close it, shake gently, and check for leaks before you ever add sand.
Common mistakeDon't use decorative jars with thin lids or no rubber liner.
9. Crepe paper backdrops that sagged like a wet curtain

Crepe paper looks dramatic at first, then it sags because the strips are heavy and the attachment points stretch. My backdrop started fine and then drooped after a couple hours, especially near the top where the weight pulled down. The fix is not "use more tape" - you need spacing and a hanging method that supports the strips. This craft looks best when the strips are cut to the right weight and anchored at multiple points.
Start by cutting strips to a length that matches your frame height minus 6 to 8 inches for the bottom drape. Then attach strips to a fabric ribbon or a lightweight dowel using sewing thread or zip ties - not just tape to the wall. Space attachment points every 4 to 6 inches along the top so the strip weight is distributed. Finally, fluff the strips by pulling each one gently upward so the layers separate; a flat bundle looks lifeless in photos.
Try thisUse 20 to 25 inch wide crepe rolls for streamers; very thin streamers twist and look messy.
10. Painted mason jars that went tacky and attracted dust
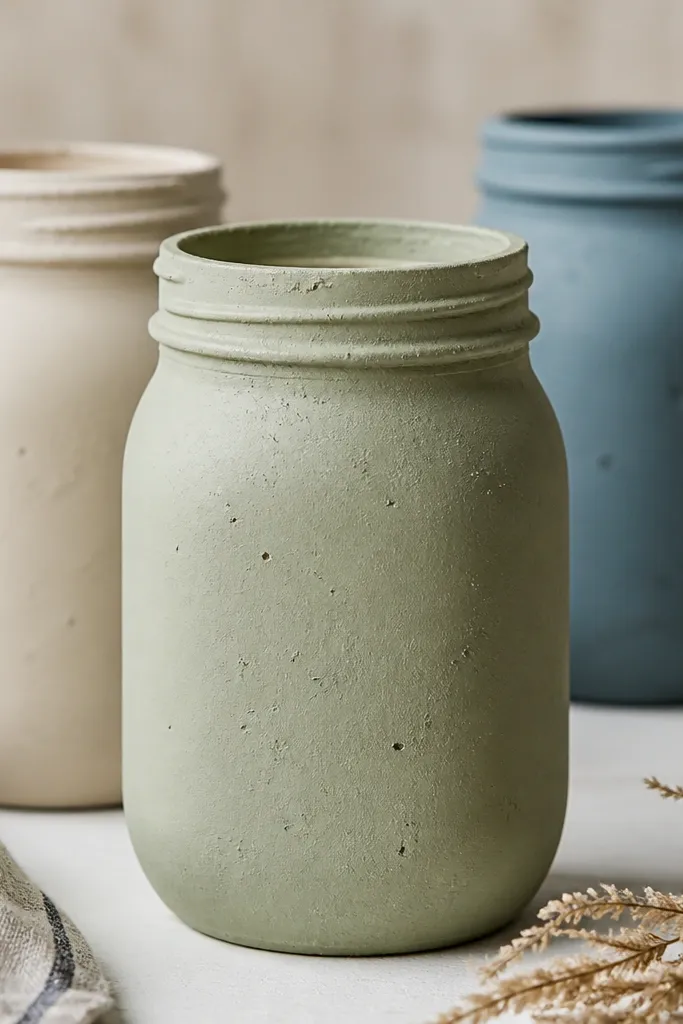
I painted mason jars with craft paint and skipped a proper cure time, then they felt tacky. Dust stuck to the surface, and the jars looked dirty even though they were clean. Paint needs the right primer and enough curing so it doesn't stay soft. If you want jars for centerpieces, you also need a finish that won't react with candle heat or condensation from flowers.
Start by sanding the jar lightly with 220 grit to help paint grip, then wipe with isopropyl alcohol. Then prime with a primer made for glass (spray primer works faster and lays smoother). Paint in thin coats, letting each coat dry fully, and do not rush to the second coat while the first still feels tacky. Finally, finish with a clear matte or satin sealer that's compatible with the paint type, and cure jars overnight before using them on tables.
Try thisIf your venue has AC vents, place jars away from direct airflow; moving air increases dust on tacky surfaces.
11. Cardstock signs with glitter that shed all over the place
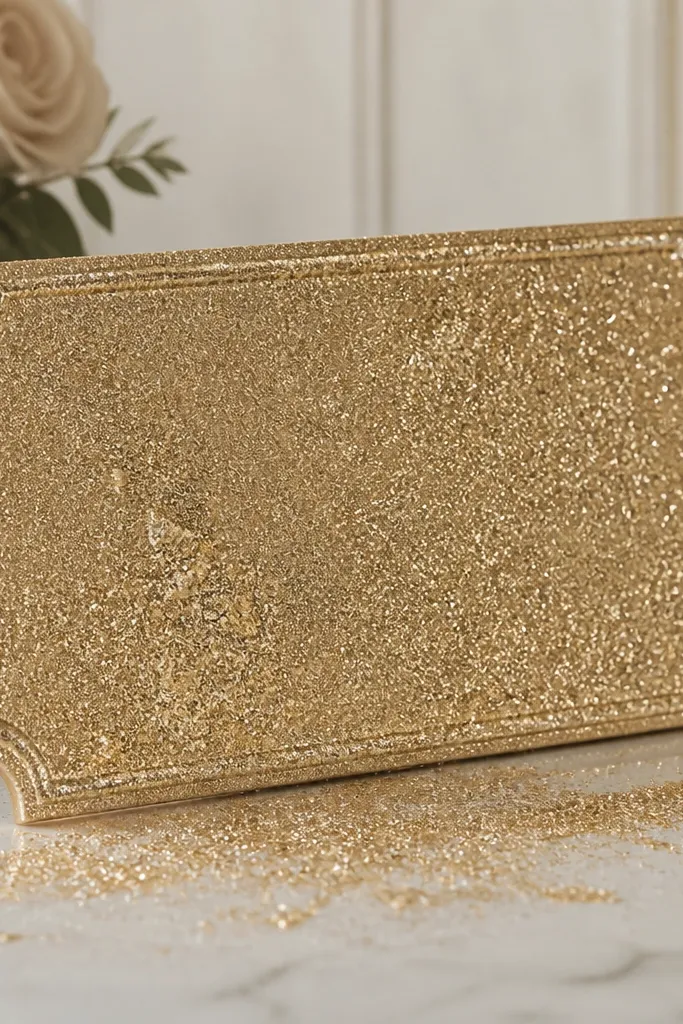
I glittered a cardstock sign and treated it like a craft project, not an event prop. The glitter shed onto the table and into the seams of the tablecloth. In photos, it also created patchy coverage where glitter clumped. Glitter fails when you don't seal it properly and when you use loose craft glitter on edges that get handled. For wedding signage, you need glitter that's either sealed or applied in a controlled way.
Start by using fine cosmetic glitter or glitter glue designed for paper. If you use loose glitter, apply a thin layer of glitter glue first, then sprinkle glitter and tap off excess onto scrap paper. After drying, seal the glitter with a clear spray sealer made for crafts; keep the can moving so you don't soak the paper. Finally, protect edges by adding a thin strip of clear packing tape on the back only, so the front doesn't get sticky and shed.
Try thisWear nitrile gloves the first time you work with loose glitter - it keeps your fingerprints off the final surface.
12. Photo booth props printed on glossy paper that reflected everything
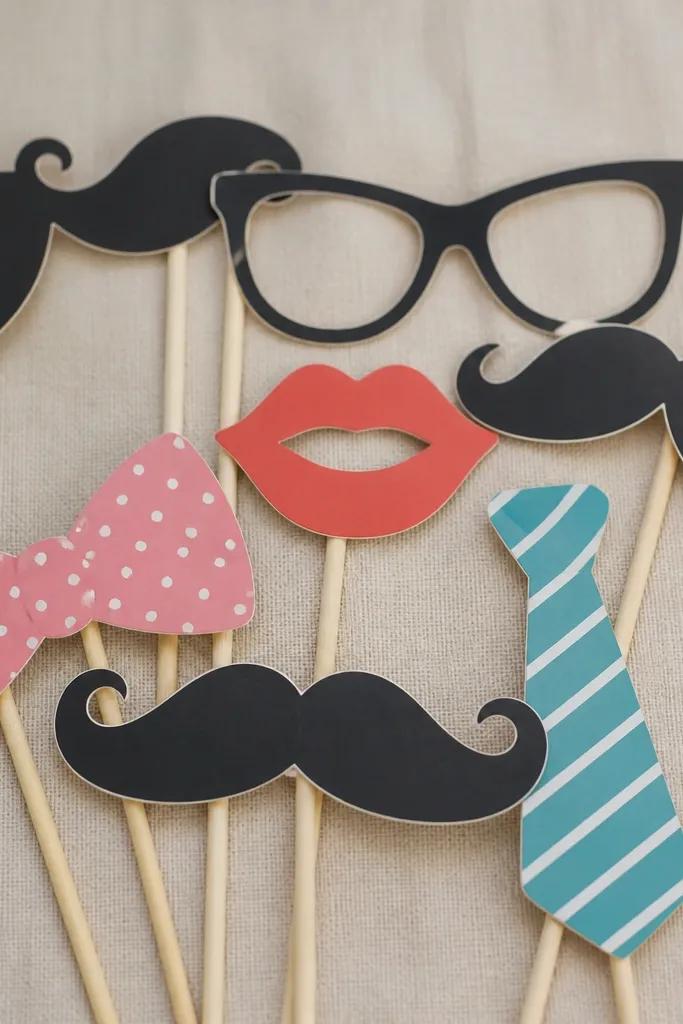
I printed photo booth props on glossy paper because it looked sharp on my printer. Then guests took photos and the props flashed with glare, so parts of the text looked blown out. Glossy stock also warps slightly when it's handled and exposed to warm air. The prop still looked like a prop, just not the cute kind. If you want props that photograph clean, use matte stock and keep highlights under control.
Start by printing on matte photo paper or matte cardstock, 8.5 x 11 or letter size for easy cutting. Then laminate the prop only if you need durability, and choose matte laminate rather than glossy. Cut out shapes with a fresh blade and keep strokes smooth; dull blades create jagged edges that look cheap. Finally, mount on foam board strips or heavy cardstock stems so props stand stiff and don't flop into faces.
Try thisTest one prop under your flash before printing the full set.
13. Centerpiece vases that got water spots from the wrong sealer
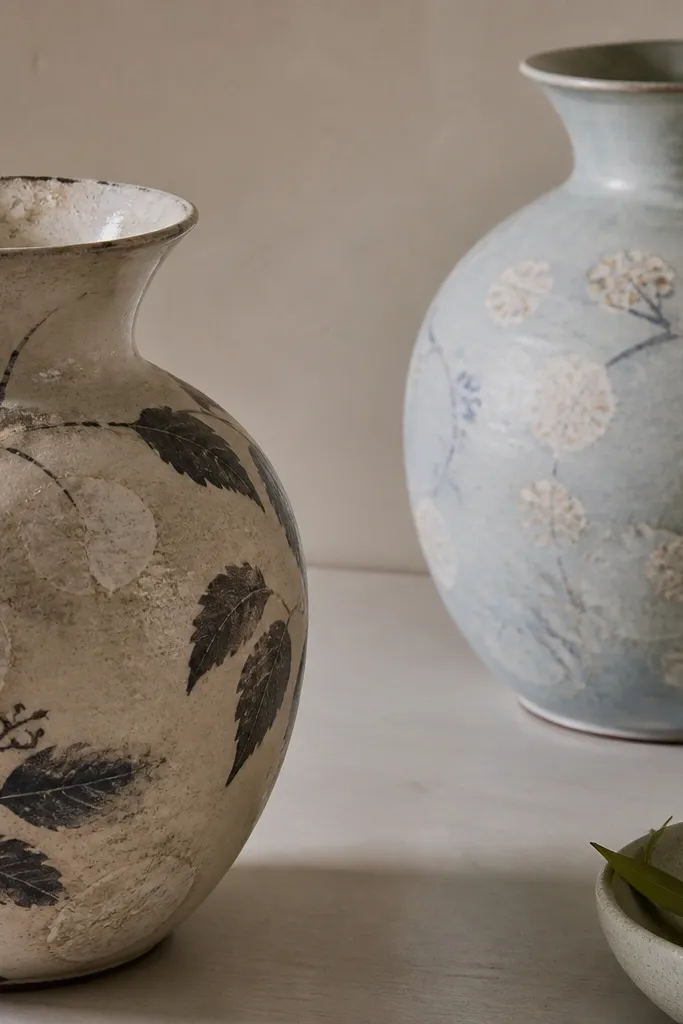
I coated vases with a decorative finish and placed flowers in them, and water left cloudy rings. The sealer wasn't fully water-resistant, so moisture got under the finish and created spotting. Those rings show up hard in wedding photos because they look like bruises on the surface. The craft works if you use a water-safe finish and keep water from contacting the painted areas. I fixed mine by changing the coating and using liners inside the vase.
Start by choosing a vase shape that lets you hide the wet area - a wider top gives you space for a liner. Then paint only the outside parts you'll keep dry, and let everything cure longer than the label says on the first day. After curing, insert a clear plastic liner or glass insert so water stays inside the liner, not against the finish. Finally, wipe the outside with a microfiber cloth after watering to remove any stray droplets right away.
Try thisUse a clear liner even if your finish says "water resistant" - it's cheap insurance against rings.
14. Ribbon-wrapped bottles that bubbled because I skipped cleaning
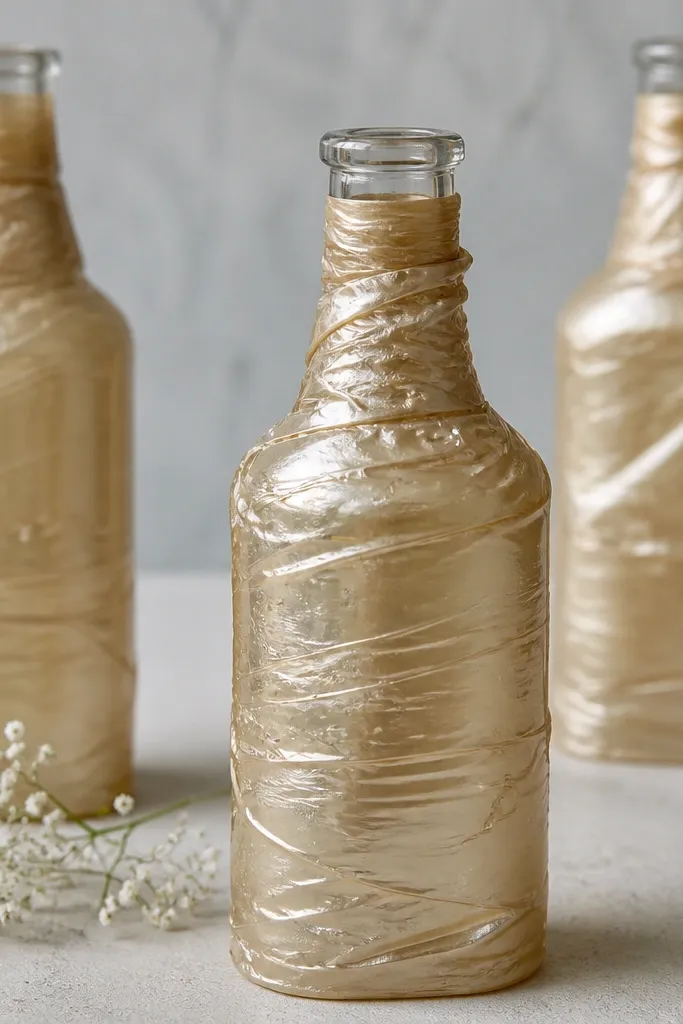
I wrapped bottles with satin ribbon and used adhesive, but the wrap bubbled because the glass still had residue from washing. Satin shows every ripple, and the neck area exaggerates it in photos. This fails is almost always about surface prep and tension. If you want the ribbon to sit flat, you need clean glass and a method that keeps tension even around curves.
Start by washing bottles with dish soap, then rinse and dry completely. Then wipe the glass with isopropyl alcohol and let it evaporate fully. Apply double-sided tape to the bottle in short vertical sections, not one continuous line, so you can smooth as you go. Finally, wrap ribbon with steady tension and press at the seam using a plastic ruler; trim excess at the back and secure with a small dab of clear glue under the seam.
Try thisSatin ribbon needs a hot iron on low with a pressing cloth; it helps the ribbon lie flatter before wrapping.
15. Hand-painted wooden signs with brush marks that looked streaky
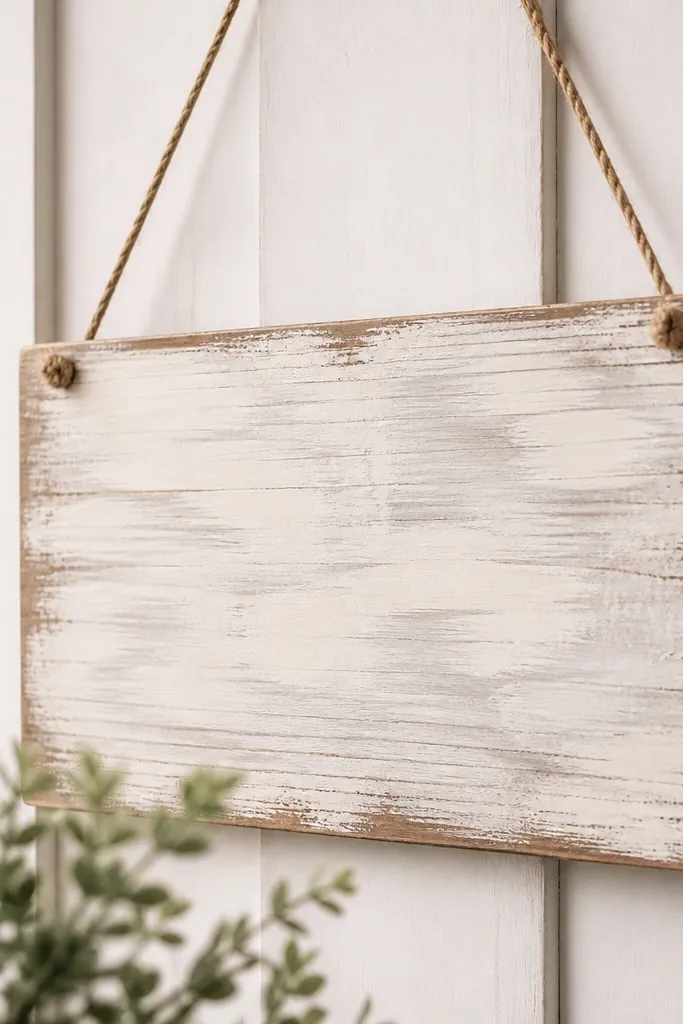
I painted a wooden sign for seating and thought "more coats" would fix it. Instead, brush marks built up and the letters looked like they were painted with a paintbrush you'd use for a fence. Wood also drinks paint differently across the grain, so you get patchiness. This fails is about surface sanding, primer choice, and using the right brush or roller for the job. When you get those right, the sign reads smooth even up close.
Start by sanding the board with 150 grit, then 220 grit, and wipe dust off with a tack cloth. Then prime with a bonding primer so paint grips evenly on wood. For the background, use a foam roller for a smooth coat, and for lettering use a small angled brush or a fine paint marker for crisp edges. Let everything dry between coats, and finish with a satin clear coat so it doesn't look chalky in photos.
Try thisIf your first coat looks patchy, don't panic - prime again before you touch the lettering.