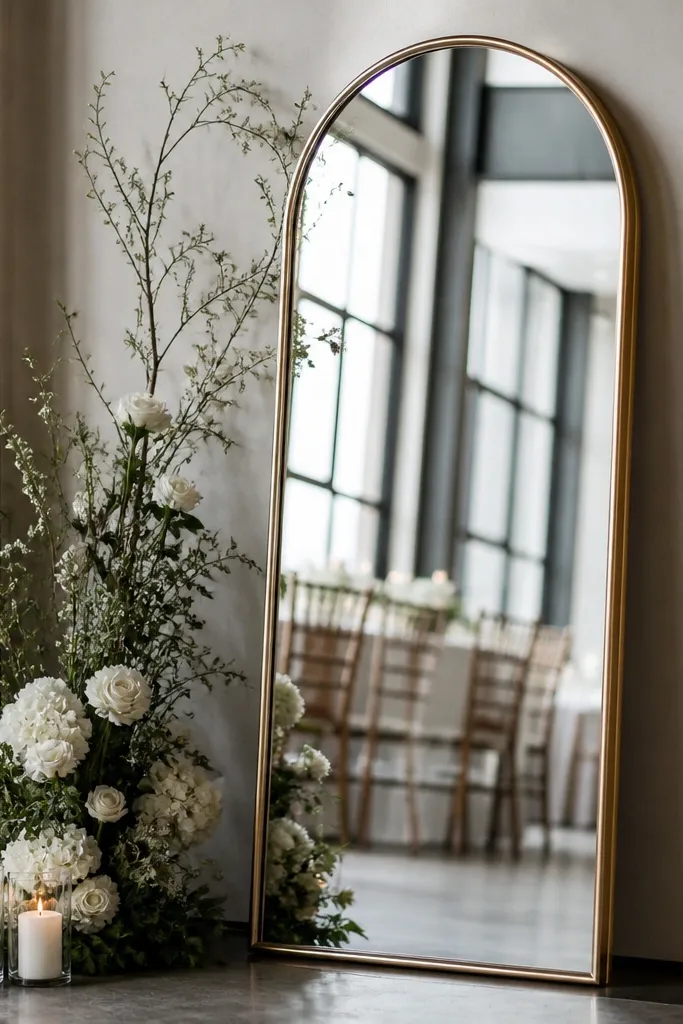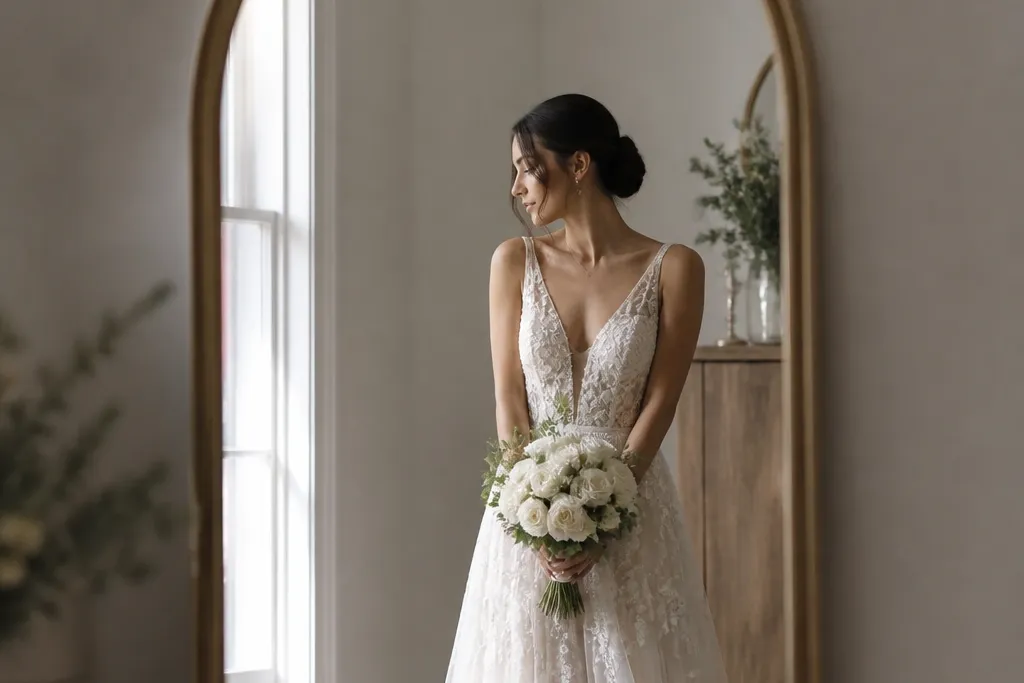

1. Arched mirror with champagne satin drape and pearl pins
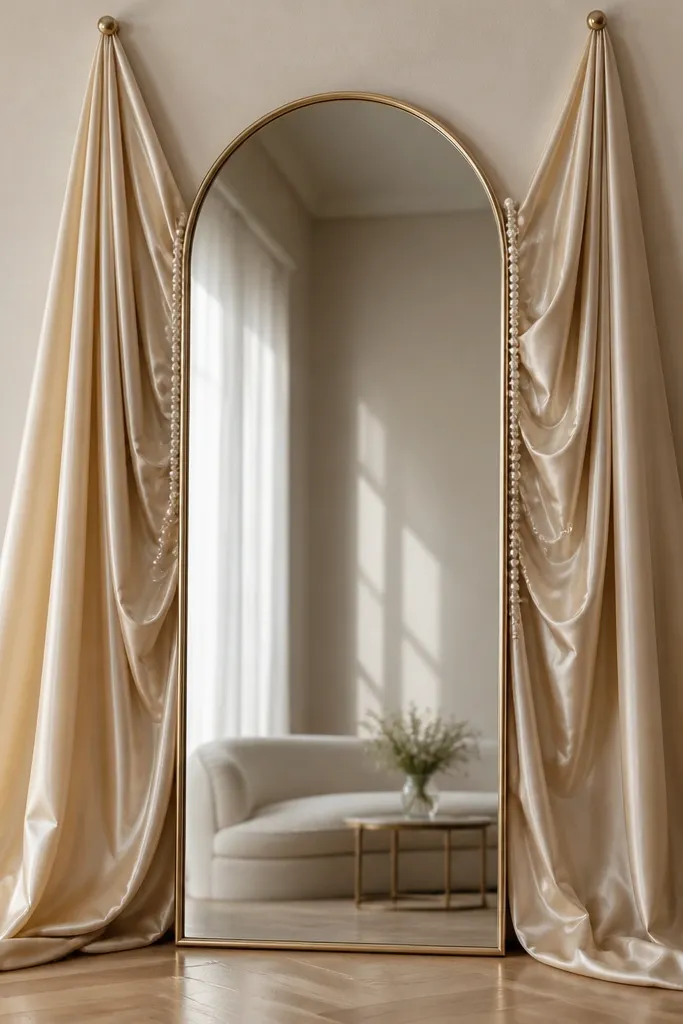
This look works because satin has a sheen that catches light without looking shiny like foil. I've used it for couples where one person wears a blush or champagne tone and the other has a darker suit - the satin bridges both. The arched mirror adds height, which makes you look longer in full-length photos. If you have a warm skin tone or gold-toned jewelry, champagne drape makes your hands and rings look brighter in the reflection. Keep the pearl pieces small and spaced out so the mirror still looks like the star, not a craft project.
Start by placing the arched mirror against a plain wall or a solid backdrop and wipe the glass with a microfiber cloth. Drape a 10-12 inch wide strip of champagne satin from two command hooks on each side of the mirror, letting it pool slightly at the bottom. Pin a thin faux pearl garland along the satin edge with pearl pins every 6-8 inches. Finish by adding one extra satin loop at the top corner so the drape looks intentional instead of flat.
Try thisUse satin that's at least 60 inches wide so folds look full, not skinny.
Common mistakeAvoid cheap satin that looks wrinkled - it shows up clearly in mirror reflections.
2. Round mirror with white hydrangea wall and soft LED candles
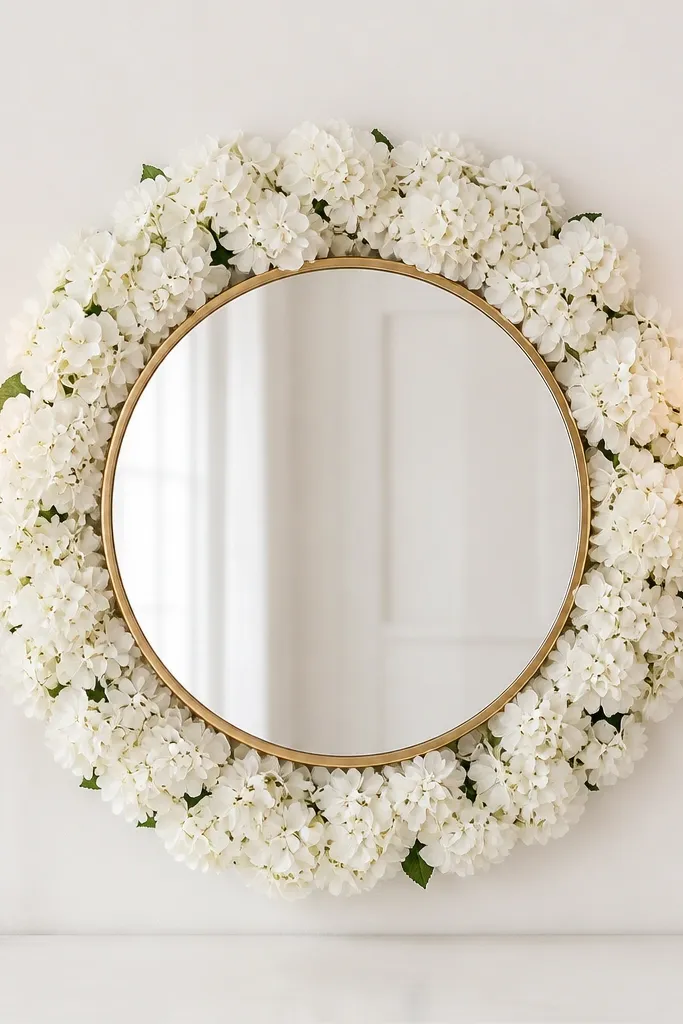
A round mirror gives photos a softer, "storybook" feel, and hydrangeas fill the space without harsh lines. I like white florals for weddings because they flatter almost every outfit color - ivory dresses, pastel bridesmaids, and even black tuxes. The LED candles add warmth without heat or fire risk. In the mirror reflection, the candle light creates a subtle gradient that makes faces look less flat. If you're doing a late-afternoon shoot, this combo keeps the scene romantic even when the room lighting drops.
Start by setting the mirror height so the center is around your chest level when standing. Build a hydrangea halo by attaching faux stems with zip ties to a lightweight foam wreath or a wire ring behind the mirror. Place two LED candles on either side, about 10-12 inches away from the mirror edges so they don't glare. Step back and check the reflection from eye level - if you see bright hot spots, move the candles slightly lower.
Try thisChoose LED candles labeled warm white (around 2700K) for the most flattering skin tone.
Common mistakeSkip multicolored LEDs - they look like party lights in wedding photos.
3. Tall rectangle mirror with eucalyptus and clear acrylic blocks
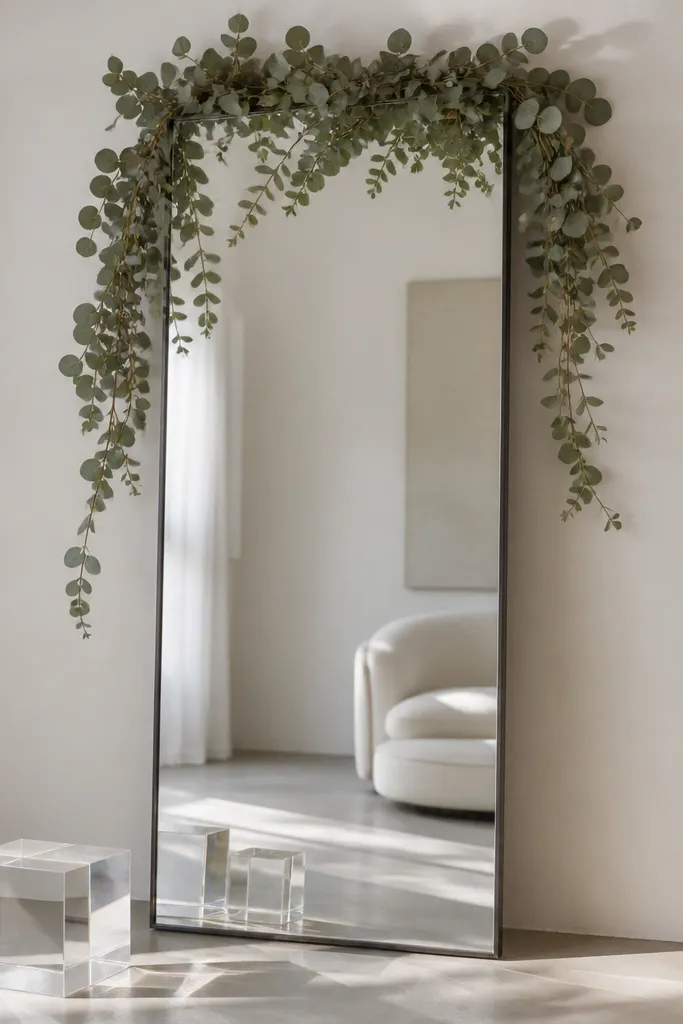
This is the clean-garden look I reach for when people want "natural" but still modern. Eucalyptus reads expensive because of the texture and silvery-green tone, and it works with both neutral dresses and dark suits. The tall rectangle shape keeps lines crisp, which helps when you're photographing a man's suit details or a bride's neckline. Clear acrylic blocks create a glassy reflection that makes the greenery feel brighter. It's also great for people who hate heavy flower walls because eucalyptus stays airy.
Start by cleaning the mirror and placing it on a stable surface so it doesn't wobble. Drape eucalyptus across the top edge, then let a few stems fall 6-10 inches down each side, secured with floral wire behind the frame. Set two clear acrylic blocks in the foreground, one on each side, leaving about a hand's width between them and the mirror. Arrange a small sprig in the reflection area so it frames the couple instead of covering the center.
Try thisMist eucalyptus lightly with water right before photos so leaves look fresh and less dusty.
Common mistakeAvoid using too much greenery - when it crowds the mirror, it blocks your faces.
4. Mirrored panel with cascading baby's breath and tulle bow
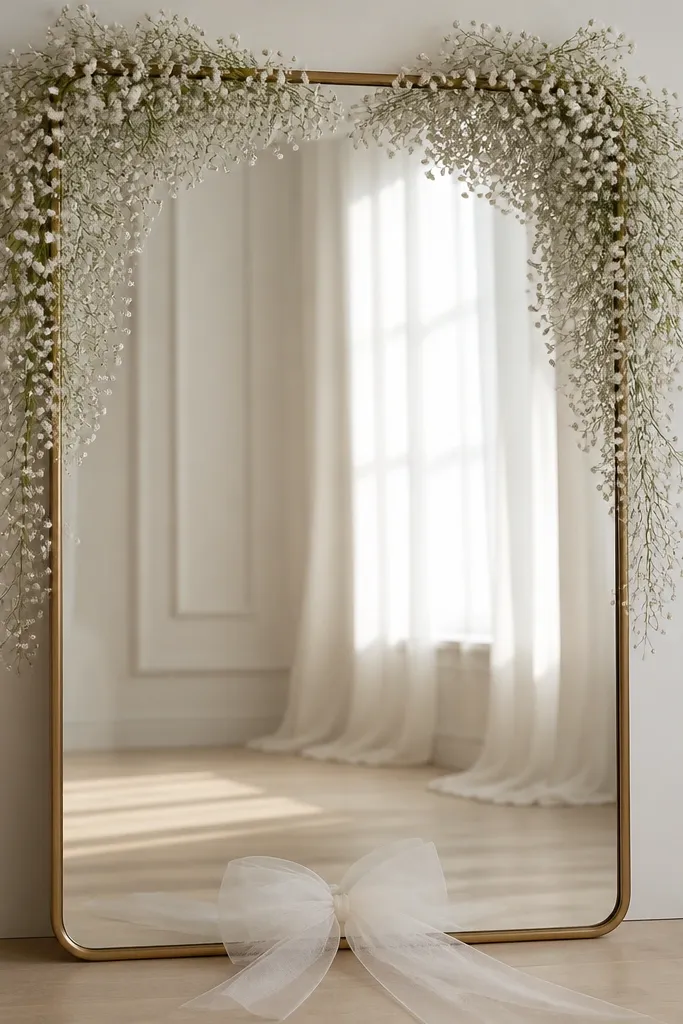
Baby's breath looks delicate in photos, and it fills gaps without stealing attention from the couple. I use this when the wedding theme is classic or when one outfit is already very detailed - the tiny flowers don't compete. The tulle bow at the bottom gives a clear focal point in the reflection and makes the whole setup feel finished. If you're working with a white or off-white dress, this combo keeps the tones cohesive. For men in neutral suits, it adds softness around the torso area in mirror shots.
Start with a mirror that has a simple frame so the cascade stands out. Tie baby's breath stems into two longer strands and attach them at the top corners using floral wire or zip ties around the frame. Cascade them toward the center, leaving a clear gap in the middle so your faces show. Finish by tying a white tulle bow to the bottom center, then fluff the bow loops so they sit at about mirror height.
Try thisUse tulle in 6-8 inch wide ribbon so the bow looks full in photos.
Common mistakeDon't let baby's breath spill across the glass - it creates blurry reflections.
5. Gold-framed mirror with black ribbon grid and mini roses
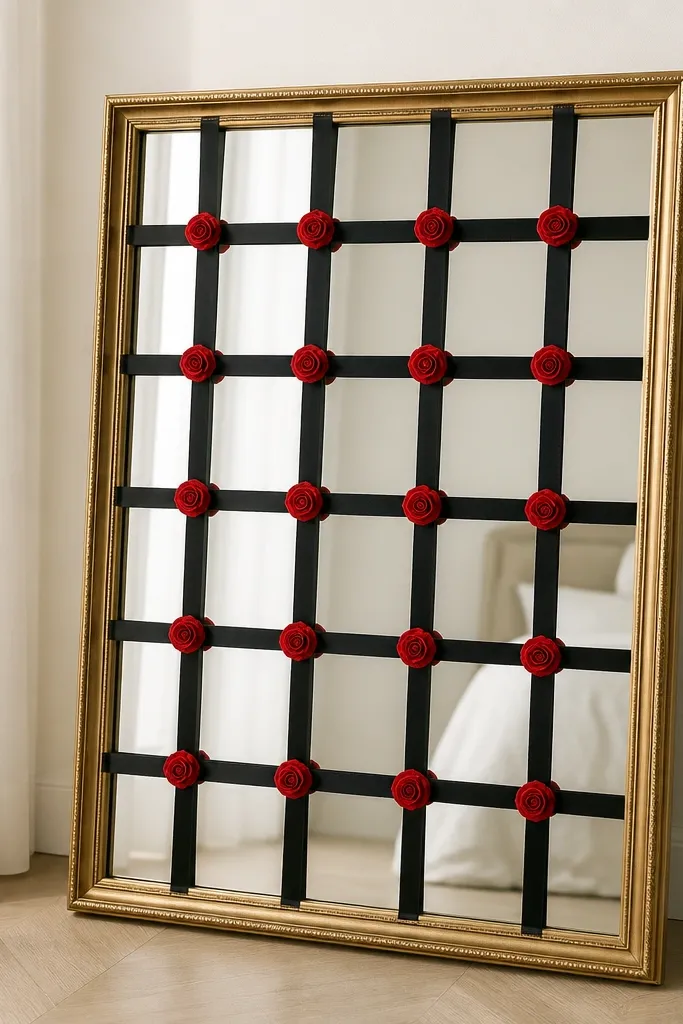
This idea is for couples who want a dramatic, editorial look. The gold frame plus black ribbon creates strong contrast, and mini roses keep it romantic instead of goth. I've used it with deep burgundy gowns and black tuxes and the mirror reflection stays high-contrast and crisp. The grid pattern also helps when you're taking solo photos because it gives a steady visual structure behind you. If your venue has plain walls, this adds design without needing a huge floral budget.
Start by laying down a protective sheet behind the mirror so ribbon tape doesn't mark the wall. Measure the mirror width and create a grid with black ribbon using painter's tape or removable adhesive dots, spacing squares about 8-10 inches apart. Pin mini roses at 4-6 intersection points, keeping most roses near the center so they frame your face. Step back and adjust until the ribbon lines look straight in the reflection, then wipe the mirror again for clean glass.
Try thisUse satin-finish black ribbon, not matte, so it catches light in the mirror.
Common mistakeAvoid uneven tape placement - crooked lines show up instantly in reflections.
6. White folding screen mirror combo with layered chiffon panels
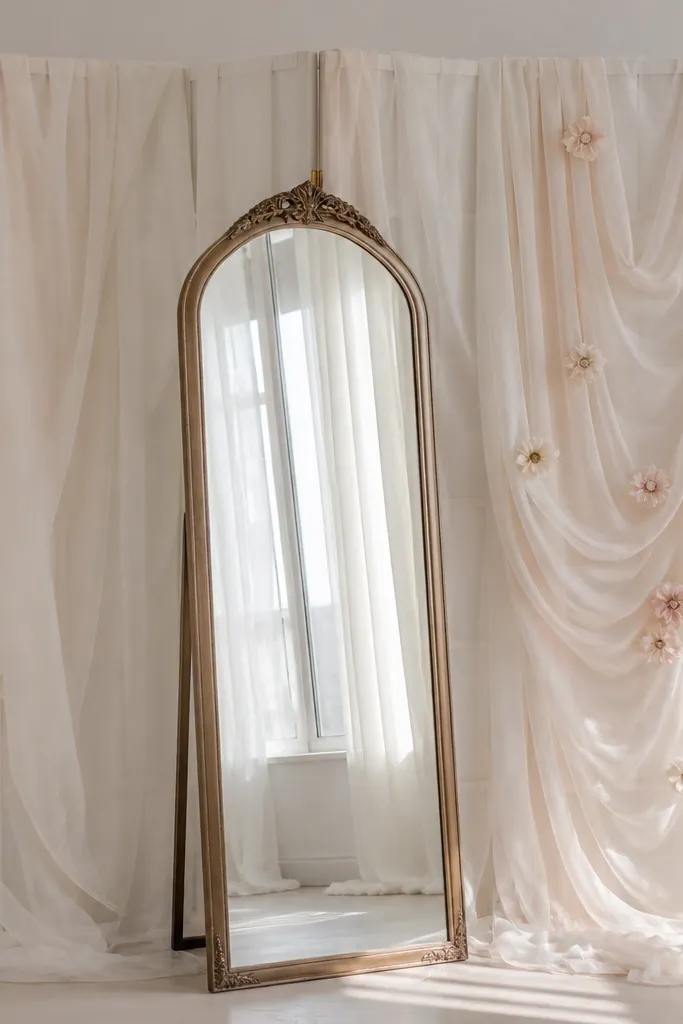
If your venue has ugly corners, a folding screen solves the background problem fast. The mirror gives you the reflection, and the chiffon creates a gentle blur effect behind you. I like this for weddings where people want an airy, light look without thick floral walls. Chiffon flatters all body types because it drapes and softens harsh edges in photos. It also works well for photos of getting-ready moments because the screen hides clutter and keeps the mirror scene clean.
Start by positioning the folding screen so it sits 6-12 inches behind the mirror. Hang two chiffon layers: one longer piece that reaches the floor and one shorter piece that stops around knee height. Secure chiffon to the screen with ribbon ties so you can adjust quickly. Add a small cluster of silk flowers on one side only, then check the reflection for symmetry before you remove the getting-ready items from the area.
Try thisPick chiffon that matches your wedding palette - for me, soft ivory looks best against both warm and cool skin tones.
Common mistakeDon't use too many flower clusters - one side is enough for a clean look.
7. Mirror with hanging glass orb garland and soft sage greenery
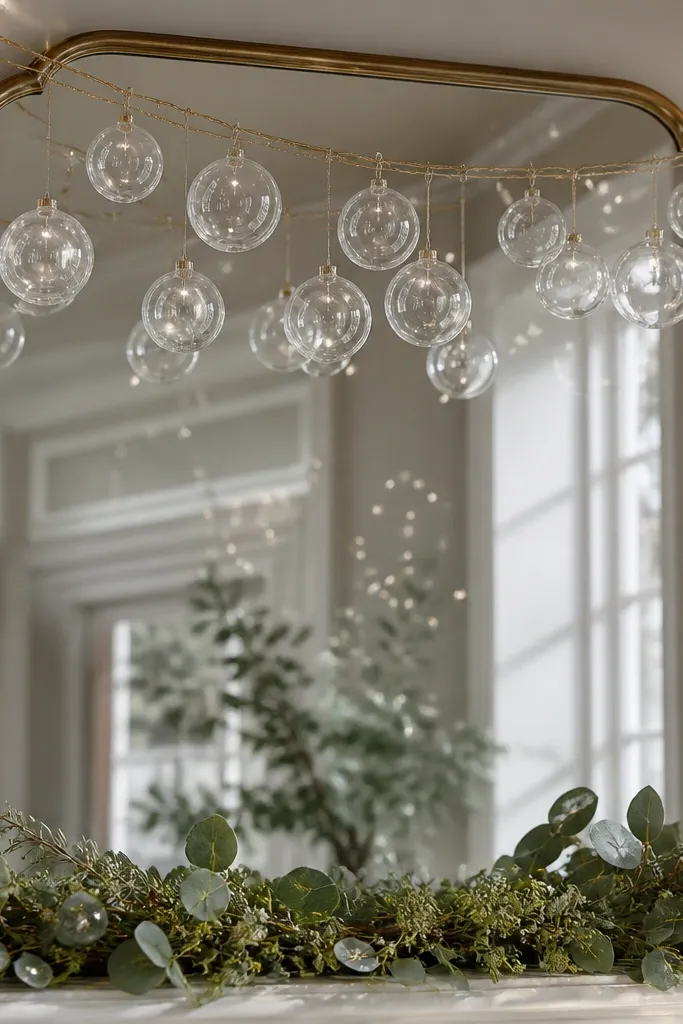
Glass orbs add sparkle without looking like cheap tinsel. Sage greenery is a great in-between color - it reads fresh and natural, but it still looks polished next to ivory, blush, and gray outfits. The hanging orbs create a "depth" effect because some reflections sit in front of the mirror surface. I use this when I want the mirror area to feel like a feature wall even in a small corner. In mirror photos, the orbs catch light and pull your eye toward the center.
Start by placing the mirror where you can hang a garland from a stand, beam, or tension rod above it. Attach the orb garland so the lowest orbs sit about 4-6 inches above the mirror frame. Tuck sage greenery at the mirror base or along a small runner on the floor so it looks intentional, not scattered. Use a warm light source like a lamp or candle LEDs to make the orbs glow instead of reflecting harsh overhead bulbs.
Try thisHang the garland closer to the mirror than you think - too far forward makes it look like random decor.
Common mistakeAvoid icy blue lights - they turn skin tones flat in mirror reflections.
8. Neutrals-only mirror with linen runner and dried palm fronds
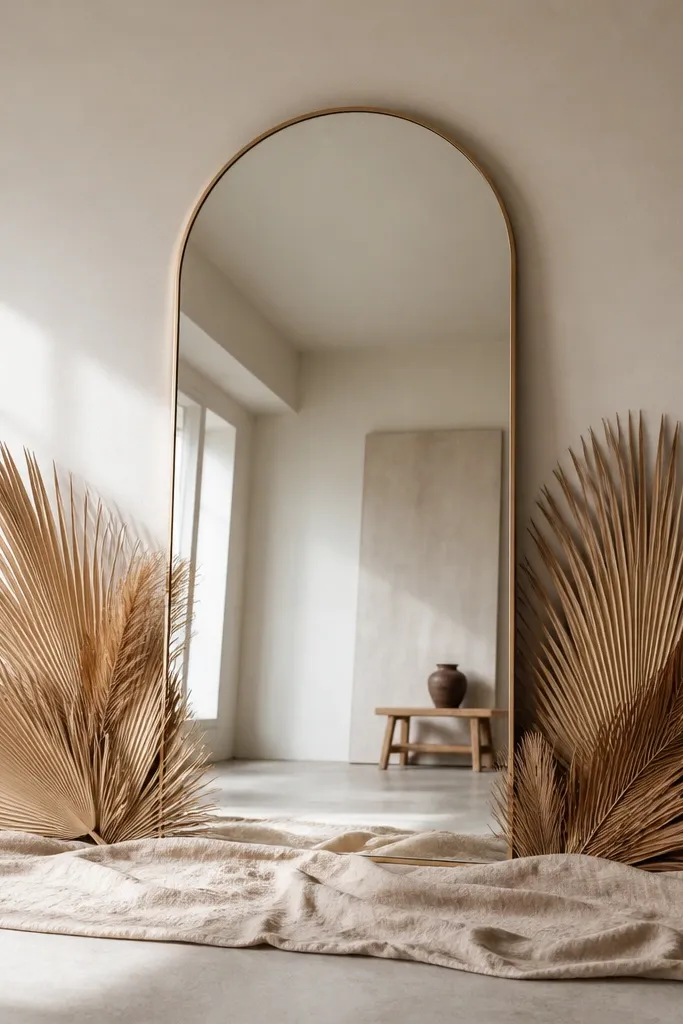
This is the setup I use when the wedding vibe is boho-modern and the couple wants texture more than flowers. Linen has a matte finish that looks expensive in photos because it doesn't glare. Dried palm fronds bring movement and a sculptural shape that reads well in mirror reflections. It flatters both warm and cool outfits because the neutral base keeps the focus on your dress and suit. If your venue is bright and reflective, this matte approach prevents harsh shine from taking over the frame.
Start by laying a linen runner in front of the mirror, centered, with the edges extending about 6-10 inches past the mirror base. Place dried palm fronds at the bottom corners so they arc upward and inward, stopping around mid-mirror height. Secure stems with floral wire or zip ties to a small hidden weight so they don't shift. Add one extra frond behind the runner to create a layered shadow effect in the mirror.
Try thisChoose linen in oatmeal or natural - it warms up the mirror reflection more than stark white.
Common mistakeSkip glossy dried plants - shiny leaves reflect light like plastic.
9. Mirror with blush balloon garland border and satin ribbons
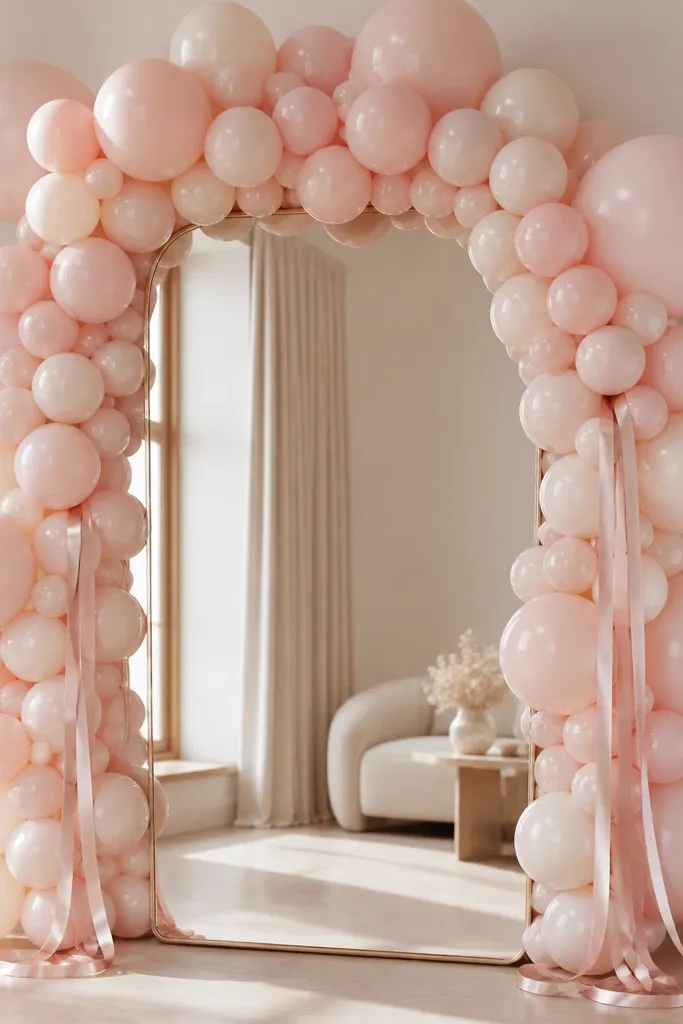
Yes, balloons - but only when you use them like an arch border, not a full wall of balloons. Blush balloons create a soft color wash behind the mirror, which makes dresses look smoother and skin tones look warmer. I like this for smaller weddings because it's fast and it still reads "planned." Satin ribbons add movement in photos, and the mirror reflects the ribbons for a layered effect. If your outfit is neutral or has lace, this background makes the texture pop.
Start by inflating blush balloons in two sizes and build a compact border around the mirror using balloon tape or fishing line. Keep the balloon cluster wider than the mirror by about 8-12 inches so it fills the frame in reflection. Tie thin satin ribbons to the lower edge of the balloon border, letting them fall to about waist height. Pull the ribbons outward slightly so they frame your shoulders when you step in front of the mirror.
Try thisUse a mix of matte and pearl balloon finishes so the background looks dimensional, not flat.
Common mistakeAvoid bright metallic balloon colors - they reflect too much and can overpower white dresses.
10. Mirror with tapered candle candelabra and pearl mesh runner
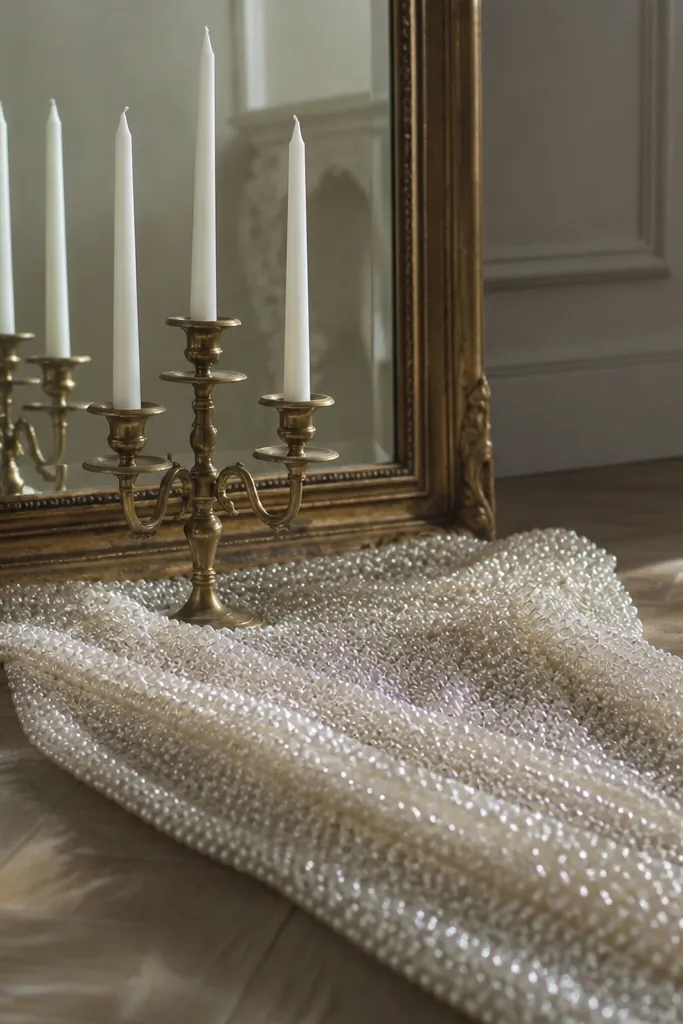
This is the "classic ceremony photo" look without heavy florals. Pearl mesh has tiny bead reflections that look like soft jewelry when the light hits it, and it pairs beautifully with ivory dresses and champagne suits. Tapered candles add height and vertical lines, which work great in mirror shots because your silhouette looks longer. I've used this for evening weddings where the lighting is warm and low - it makes the mirror area feel like a designed corner, not a random backdrop. The pearl mesh also hides scuffs on the floor better than plain cloth.
Start by placing the mirror slightly off the wall so you can set a candelabra in front without blocking the reflection. Lay a pearl mesh runner across the floor in front of the mirror, centered, with one side folded for texture. Put a small pillar base or weighted stand behind the runner so the candelabra sits stable. Light the candles LEDs or real candles only if the venue allows - if real, keep them far from fabric and never unattended.
Try thisIf you use real candles, choose unscented - fragrance oils can be strong in small rooms.
Common mistakeDon't use thick glitter mesh - the sparkle looks harsh in close-up mirror reflections.
11. Modern mirror with white orchids in a single vertical column
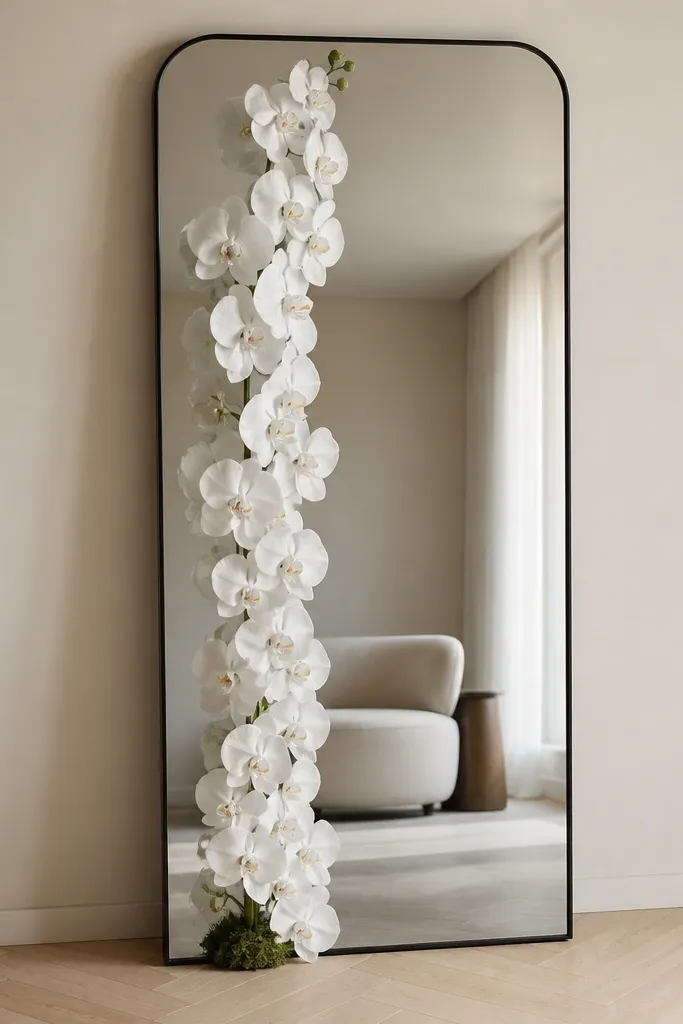
One vertical orchid column makes the mirror look intentional and keeps the photo clean. Orchids have strong shape - petals are structured - so they read well even when the mirror reflection is busy. This works for couples who want a sleek look or for outfits with strong lines like a fitted gown or a crisp tux. The clean mirror frame plus one floral column also keeps attention on faces and hands. I've used it in bright hotel lobbies where people want "minimal but expensive" without building a wall.
Start by choosing orchids in white with green stems and trimming them to create one tall column. Secure stems to a small hidden oasis block or a weighted vase placed on the floor in front of the mirror. Tie or wire the orchids so the column sits centered and stands about 4-6 inches away from the mirror so you don't block the reflection. Keep the rest of the space empty - no extra garlands - so the column is the focal point.
Try thisTrim leaves near the stems so you see the clean orchid lines instead of a leafy mass.
Common mistakeAvoid branching orchid sprays all over - they look messy in mirror reflections.
12. Mirror with scalloped paper fan backdrop and warm string lights
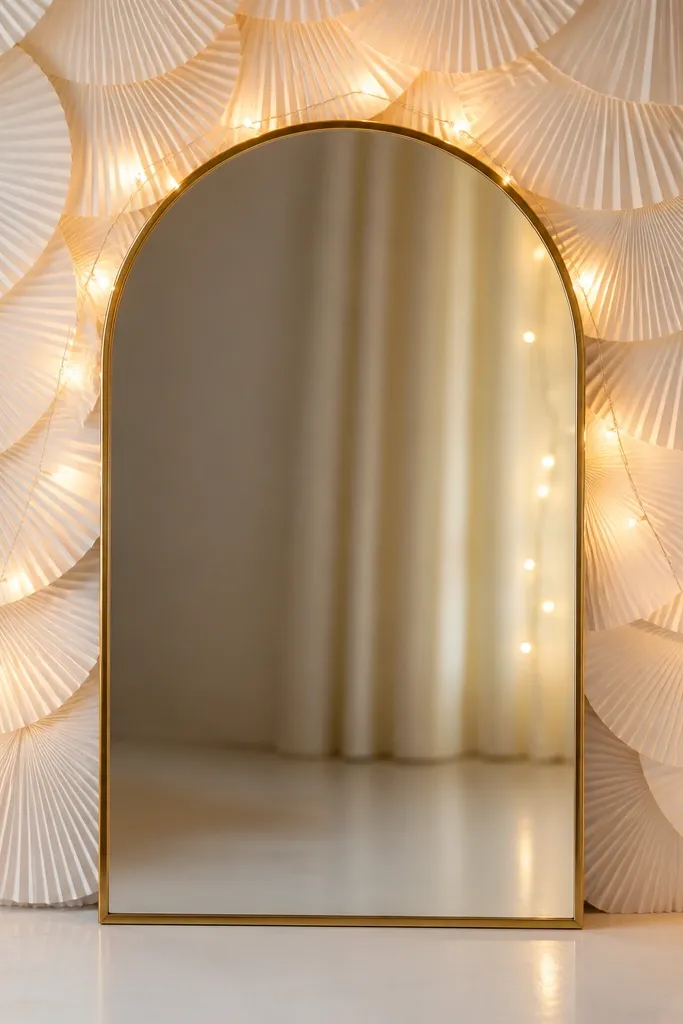
Paper fans are one of the fastest ways to upgrade a plain wall without paying for a floral wall. Scalloped fans create texture and depth behind the mirror, and the warm string lights make everything look soft instead of flat. I like this when the wedding palette is neutral and the couple wants a bright, airy background for both full-body and close-up selfies. Because the fans are lightweight, setup takes minutes and you can pack it up right after photos. The mirror reflection multiplies the fan texture, which makes the background look richer than it is.
Start by placing the mirror centered in front of a fan backdrop that's at least as wide as the mirror plus 12 inches on each side. Hang the string lights in a loose oval around the mirror, keeping bulbs about 6-8 inches away from the mirror edges. Turn on the lights before you style anything so you can see how the glow hits the glass. Adjust the fan height so the top scallops sit just above eye level in the reflection.
Try thisUse warm white string lights, not cool white - cool tones make skin look gray in mirrors.
Common mistakeSkip shiny metallic paper fans - they create glare spots in photos.
13. Mirror with lace runner and vintage brooch cluster
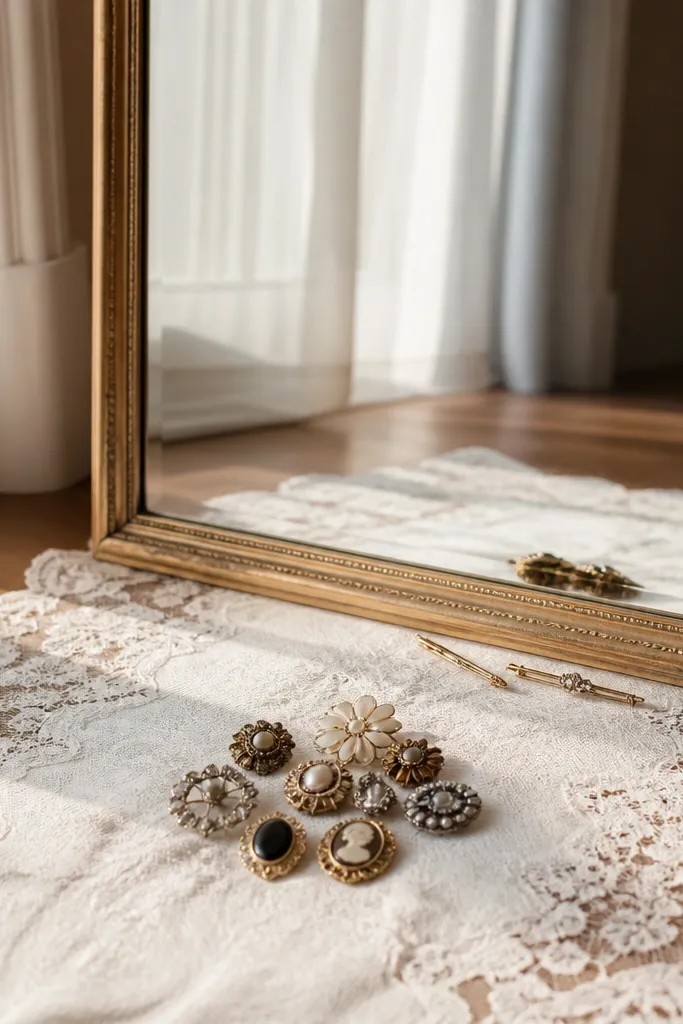
Lace adds softness and it photographs well in mirror setups because the pattern creates gentle contrast without loud color. Brooch clusters make the look feel personal, especially if you have family pieces or thrift finds. I've done this with both a bride's heirloom brooch and a set of pearl pins from a grandmother's jewelry box. It flatters dresses with lace trim and also adds detail when the outfit is plain. The key is keeping the brooches grouped - scatter them and the reflection turns chaotic.
Start by laying a white lace runner across the floor directly in front of the mirror, centered so the pattern lines up with your feet in reflection. Place a small brooch cluster at the center of the runner, using a hidden pin or a lightweight adhesive dot on the fabric backing. Add two or three smaller brooches near the mirror base corners, spaced evenly. Step back and check that the brooch cluster sits at the same height as your waist in the mirror - that's where it reads best.
Try thisUse a runner that's thick enough to hold shape, not thin lace that slips and bunches.
Common mistakeAvoid costume jewelry with bright stones that sparkle too much - it can look cheap in mirror close-ups.
14. Mirror with velvet curtain sides and a single gold tassel
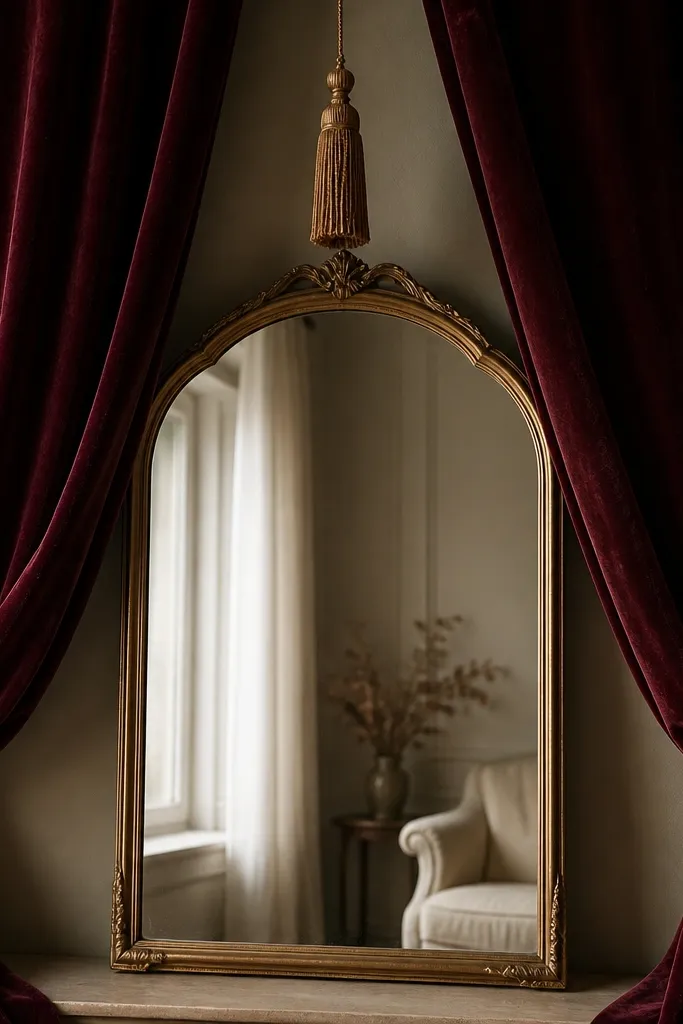
Velvet is one of the fastest ways to make a mirror scene look expensive. Deep burgundy or forest green velvet frames a couple's silhouette and makes skin tones warm because velvet absorbs harsh light. The gold tassel adds a vertical accent that catches light in the mirror reflection without covering your face. I use this when the wedding has a darker color palette or when someone's outfit is satin with a high shine. It also works for photos at night because velvet holds up under low lighting better than thin fabric.
Start by choosing velvet panels about 20-24 inches wide for each side so they drape instead of hanging straight. Attach the top of each panel with command hooks or a tension rod so the curtains sit 2-3 inches away from the mirror edge. Pull the curtains slightly inward at mid-height to create an hourglass frame. Hang a single gold tassel at the top center so it falls to just above your shoulder height in the reflection.
Try thisSteam velvet before the shoot - wrinkles show up more in mirror photos than you'd expect.
Common mistakeSkip synthetic velvet that sheds - fibers cling to hair and fabric.
15. Mirror with faux pearl fringe curtain and satin ribbon ties
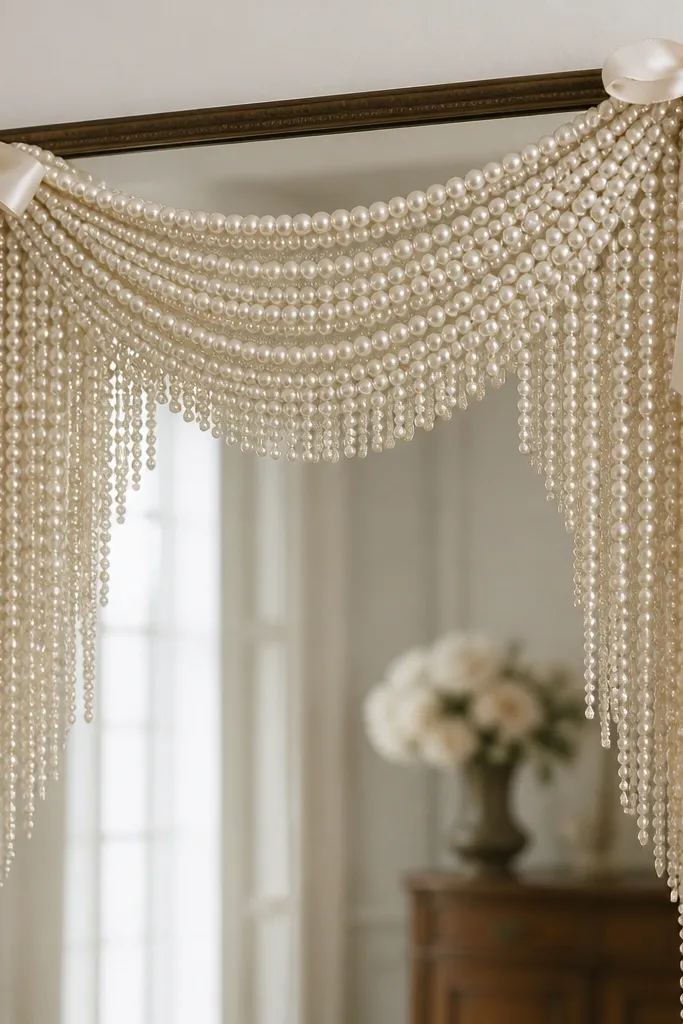
Pearl fringe gives you that glamorous "bride corner" look without building a full floral wall. The fringe creates motion when people walk past, and the mirror catches tiny highlights that make the scene feel festive. I like this for weddings where you want a clean, classic vibe and the outfits are ivory, blush, or gold. It also works well for men's style moments - the pearls add softness around the suit without turning the scene into a girl-only set. Keep the fringe concentrated near the top and sides so the center stays clear for faces.
Start by attaching a lightweight rod or string above the mirror so you can hang the pearl fringe curtain. Tie satin ribbon loops to the fringe at two points on each side and adjust until the fringe forms a gentle U shape. Let the fringe fall to about chest height in the reflection so it frames but doesn't cover. Place a small satin runner on the floor for a matching base and so the fringe doesn't look like it's floating.
Try thisChoose pearl fringe in warm white, not bright white - it looks more flattering under wedding lighting.
Common mistakeDon't let the fringe hang directly against the mirror glass - it can create messy clumps in reflections.
16. Mirror with floral tape frame and mini wildflower bunches
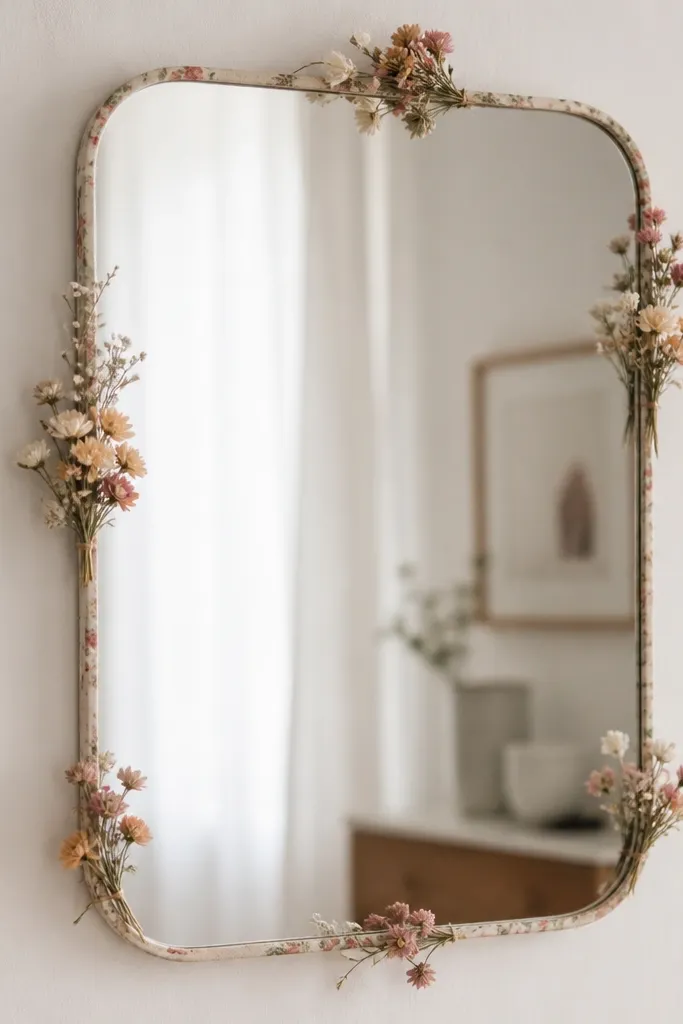
This looks like a custom frame without the weight of big flowers. Mini wildflowers add a lived-in, garden-party feel, and because they're small, they don't block the mirror reflection. I use this when the couple wants something less formal than roses but still pretty in photos. Dusty rose and peach wildflowers flatter both cool and warm skin tones because they sit between pink and neutral. The floral tape makes placement easy and repeatable - you can rebuild it quickly if a guest bumps it.
Start by outlining the mirror frame using floral tape so you have a guide line. Tuck mini wildflower bunches into the tape every 3-4 inches, focusing on the top half first so it frames faces. Leave the center area clear - the mirror should show you, not a wall of blooms. Add one small cluster at the bottom corners so the composition looks balanced when you step in front.
Try thisUse a mix of cream and peach blossoms so the colors read soft instead of sugary.
Common mistakeAvoid large blooms in this setup - they look heavy and messy next to a mirror.
17. Mirror with macro photo strip backdrop and neutral balloons
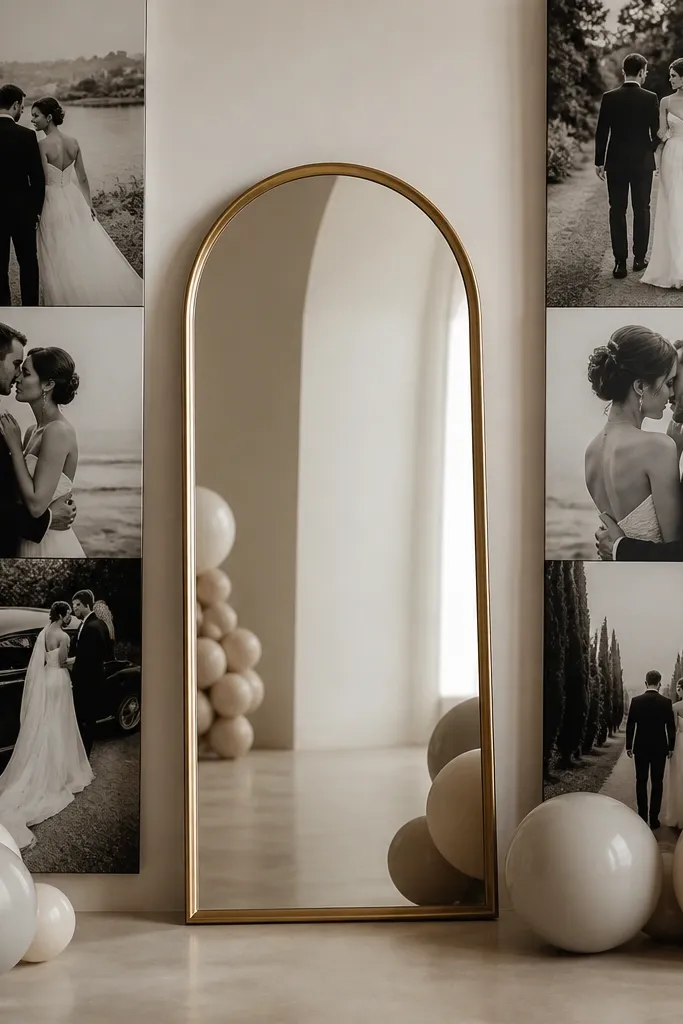
This is how you make a mirror look personal without buying expensive decor. A vertical strip of black-and-white photos gives a graphic background that doesn't fight your outfit, and it reads clean in mirror reflections. Neutral balloons at the bottom corners keep the scene soft and add a little volume without clutter. I've used this for couples who already had strong engagement photos - it turns the mirror into a memory wall. It also works for men's style because black-and-white backgrounds highlight suit lines and watch details.
Start by printing 8-12 black-and-white photo strips in the same width, then hang them vertically behind the mirror using removable tape. Place the mirror centered so the photo strip aligns with your torso in reflection. Inflate neutral balloons in beige or champagne and anchor them on weighted stands at both bottom corners, about 12-16 inches from the mirror base. Step back and check reflections for glare - if a photo strip reflects light, angle it slightly or dim overhead bulbs.
Try thisPick photos with soft backgrounds and clear faces - busy images can look chaotic in a mirror.
Common mistakeAvoid glossy photo paper - it creates glare spots right on your reflection.
18. Mirror with hanging paper lanterns and soft blush ribbon streamers
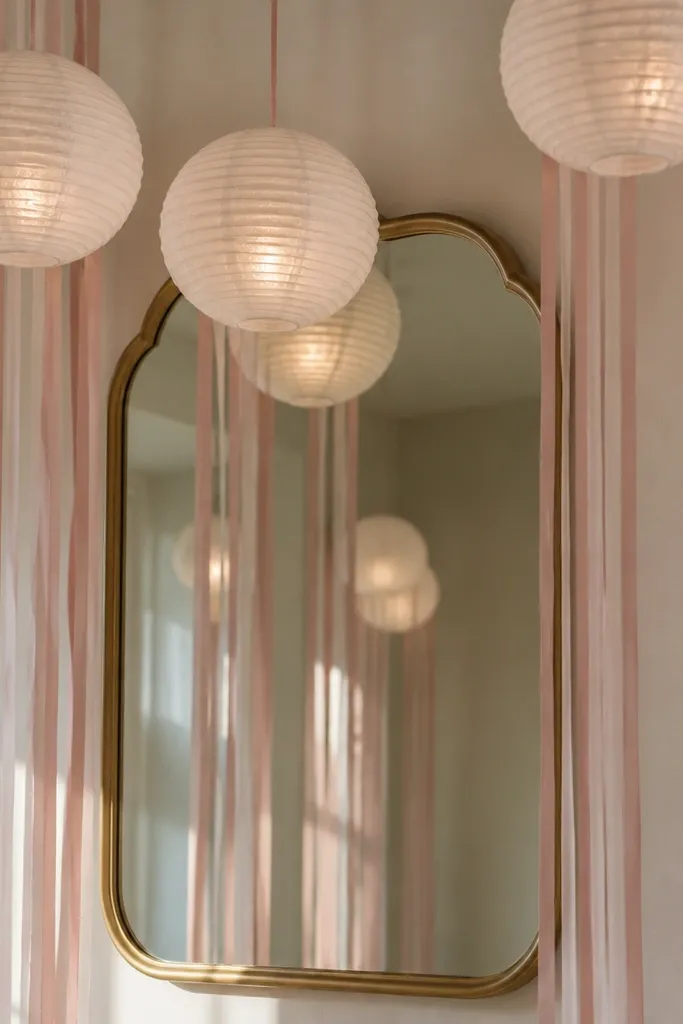
Paper lanterns are an easy way to get soft, flattering light in photos. When they're warm white and placed above eye level, they brighten faces without creating harsh shadows. Blush ribbon streamers add color and movement, which looks great in mirror shots where you move your hands or adjust your suit. I've used this setup in hotel rooms where natural light is limited, and it made the mirror area look like a mini studio. The mirror reflects the lanterns as gentle circles, which makes the background feel intentional and calm.
Start by hanging lanterns from a tension rod or ceiling hook points so they sit about 6-12 inches above the mirror top edge. Use two lanterns at the sides and one smaller lantern centered if the space allows. Attach ribbon streamers to the lantern string or to small hooks near the mirror sides, letting them fall to shoulder height in the reflection. Place a plain white or beige runner on the floor so the ribbons don't tangle with other decor.
Try thisUse ribbon that's 1-2 inches wide so it looks like a ribbon, not a strip of fabric.
Common mistakeSkip dark lanterns - they make the mirror reflection look heavy and reduce face brightness.
19. Mirror with gold leaf vinyl decal and sheer tulle border
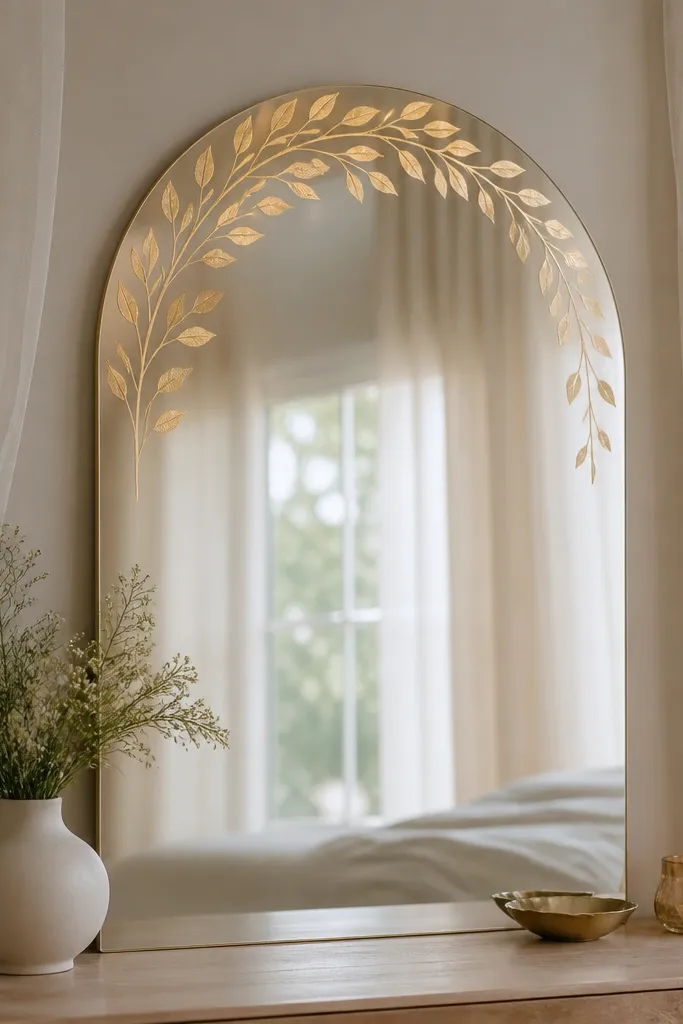
A decal gives you clean, graphic branding for photos, and it looks sharp in a mirror because it's flat and centered. Gold leaf style vinyl adds sparkle without the mess of loose glitter. The sheer tulle border softens the edges so the scene feels wedding-ready instead of like a graphic wall. I like this for couples who want a modern, minimal aesthetic but still want something "pretty behind us." It flatters both matte and shiny outfits because the tulle softens contrast around your silhouette.
Start by cleaning the mirror and placing the vinyl decal above the center, using a level to keep it straight. Add sheer tulle panels on each side, about 18-24 inches wide, secured with command hooks at the top and lightly gathered at mid-height. Keep the tulle ends below the mirror base by 2-4 inches so it looks like a frame. Add one small gold accent at the bottom corners, like a mini faux-gold leaf cluster, to repeat the decal theme.
Try thisTest the decal placement with a photo from your phone first - mirror angles can shift what looks centered.
Common mistakeAvoid thick vinyl that looks raised - it casts shadows in mirror shots.
20. Mirror with fabric-covered foam board and bold floral applique
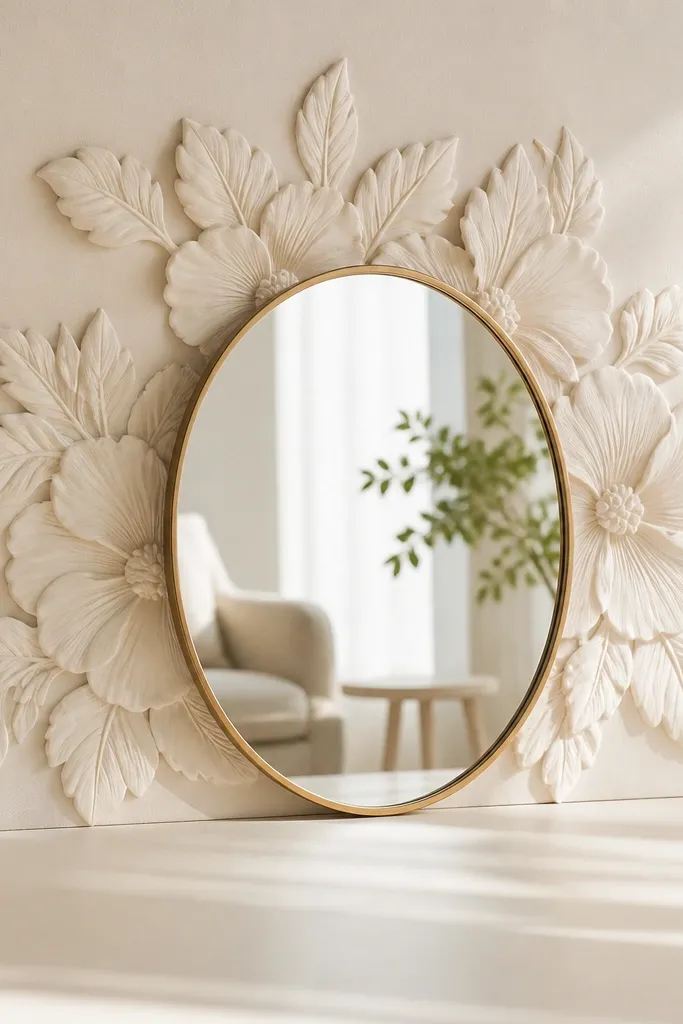
This is the "I want it to look designed even in a plain venue" option. Covering foam board with fabric gives you a smooth background that doesn't wrinkle or distract in the mirror. Bold floral applique looks clean and graphic, which matters when your mirror reflection is close-up and details show. I've used this for couples where one outfit is minimal and the backdrop needs to carry the photo. It also flatters skin tones because the background is uniform and doesn't cast weird colors onto your face. Choose ivory fabric so it doesn't compete with your dress shade.
Start by cutting a foam board to the size that covers the space behind the mirror, then wrap it in ivory fabric and staple on the back. Place the foam board behind the mirror so there's no gap visible around the edges. Attach floral applique using fabric-safe adhesive or hot glue on the board, keeping the largest shapes behind the mirror center. Add a simple floor base - a white sheet or runner - so the mirror and background look like one unit.
Try thisUse matte ivory fabric, not satin - satin reflects light and makes the background look uneven.
Common mistakeAvoid thin fabric that shows wrinkles - mirror photos reveal every fold.