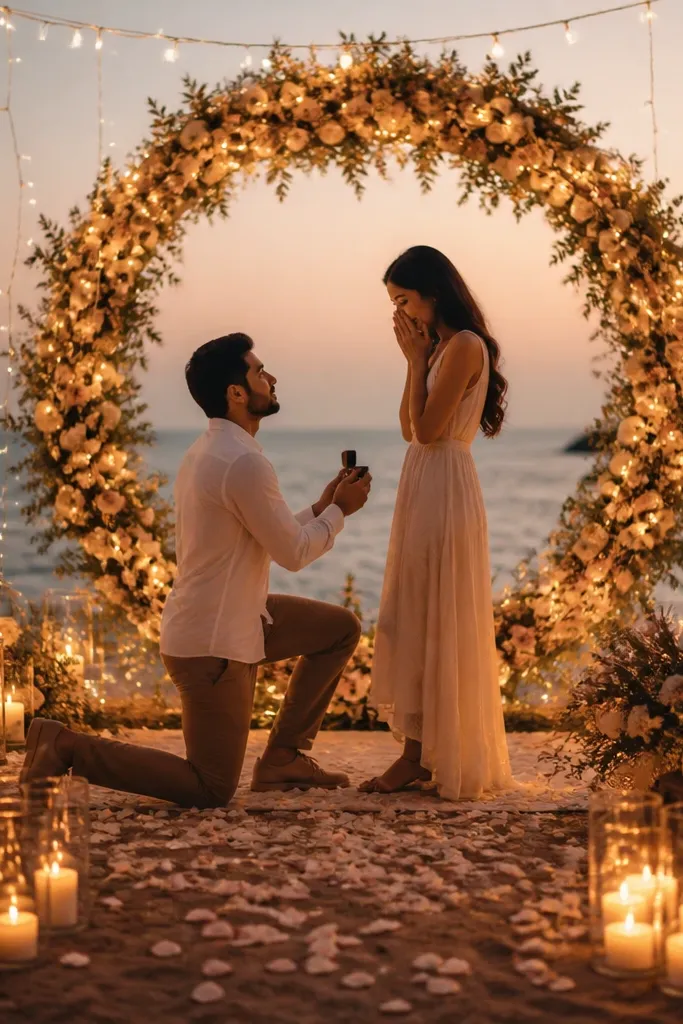
1. Face-Glow Frame with Warm Fairy Lights
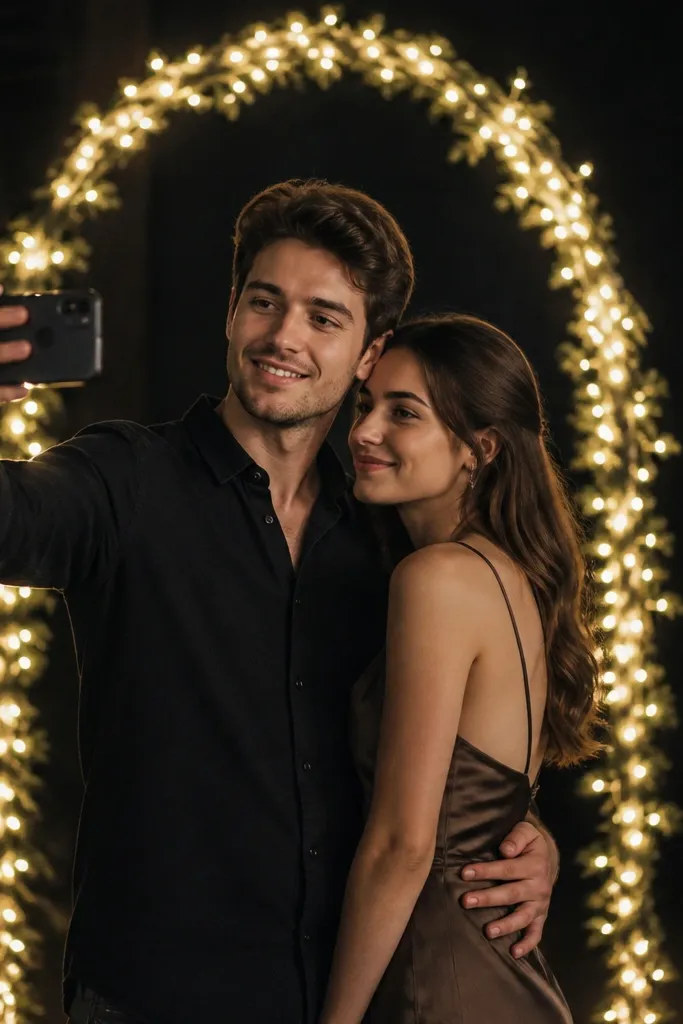
This setup is the one I keep coming back to because it gives you that warm face glow without a ton of gear. I used warm white fairy lights on a thin metal hoop, then kept the hoop at about chest height so the light hits cheeks and eyes instead of the ceiling. The background stays darker, so the camera picks up the glow on skin and your faces look sharp. It flatters most skin tones because warm white (2700K-3000K) reads like candlelight rather than fluorescent. If your venue has plain walls or a dull doorway, this makes the whole spot look intentional in minutes.
Start by making an oval frame: bend a wire wreath ring or a thin hoop so it fits the space behind you. Drape warm white micro fairy lights around it in a loose spiral, leaving small gaps so it doesn't look like a solid glowing blob. Place the frame so it sits roughly at your sternum level when you stand side-by-side. Then add one more light source behind you - a single string kept lower and farther back - so the background has haze instead of extra sparkle. Finish by turning off overhead lights and letting the glow do the work.
Try thisDo a 10-minute phone test: stand in the exact spot, switch to portrait mode, and check if your face looks warm or washed out.
Common mistakeDon't mount the lights too high - if the brightest part is above your head, your face turns shadowy.
2. Curtain-Behind-You Uplight Wash
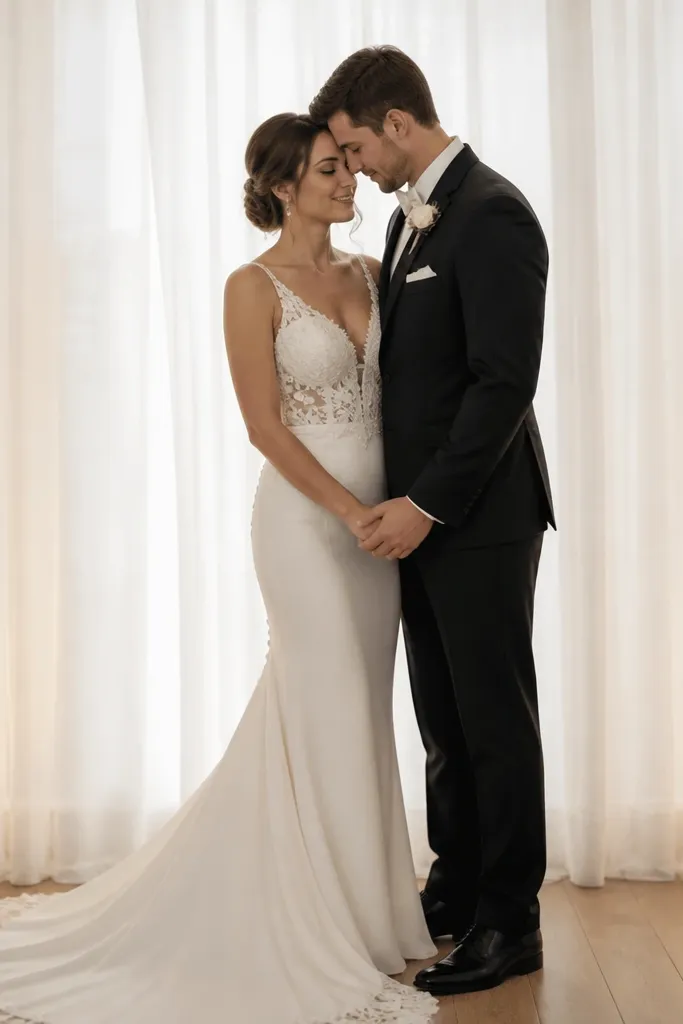
A curtain glow looks expensive because it creates depth. I aimed two small uplights at a sheer curtain so the fabric turns into a soft backlight, and it makes your faces feel lit from the front without harsh spots. This is the best option for apartments and restaurants where you can't string lights everywhere. It flatters people with glasses because the backlight gives a gentle rim glow instead of glaring reflections. If your partner has warm undertones, you'll see it immediately - the light reads like late evening rather than studio lighting.
Start by choosing a surface you can light from behind: a sheer curtain, a drape, or even a pale wall. Put two uplights about 3-5 feet away, spaced evenly, and aim them slightly upward so the glow spreads across the fabric. Keep the bulbs warm white and set brightness low at first. Then stand where the curtain is behind you, not beside you, so your faces sit in front of the brightest part. Finally, keep the ring area unblocked and ask your photographer (or phone) to focus on your hands before you pop the question.
Try thisIf the room is small, one uplight angled higher can look cleaner than two - less clutter in the frame.
Common mistakeDon't aim uplights straight at the camera - it turns into glare on the lens and wipes out skin tones.
3. LED Candle Cluster at Table Edge
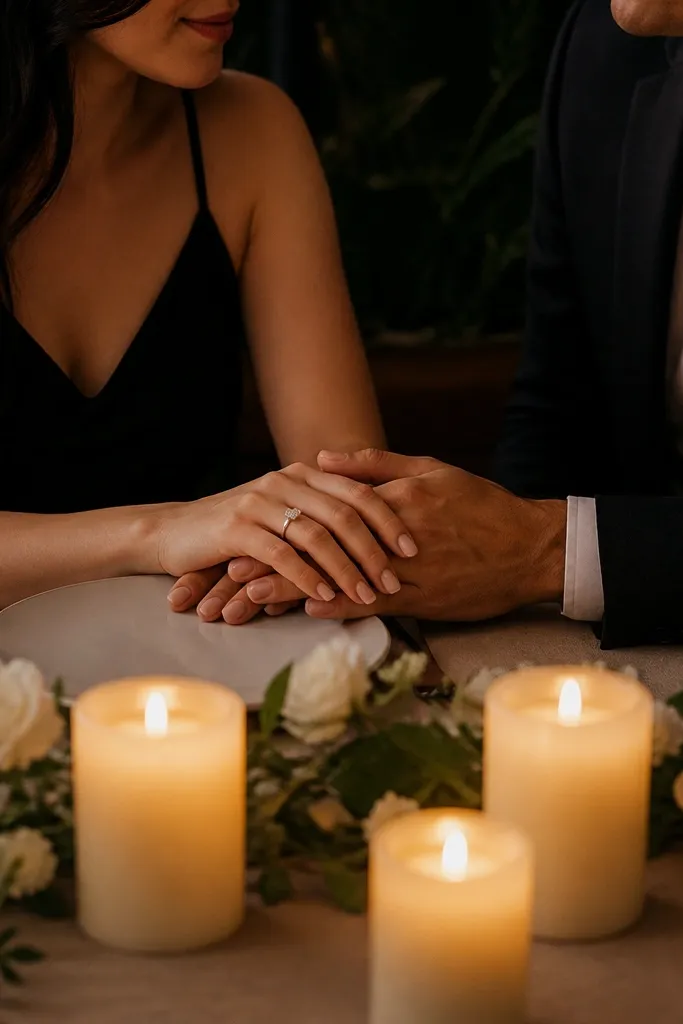
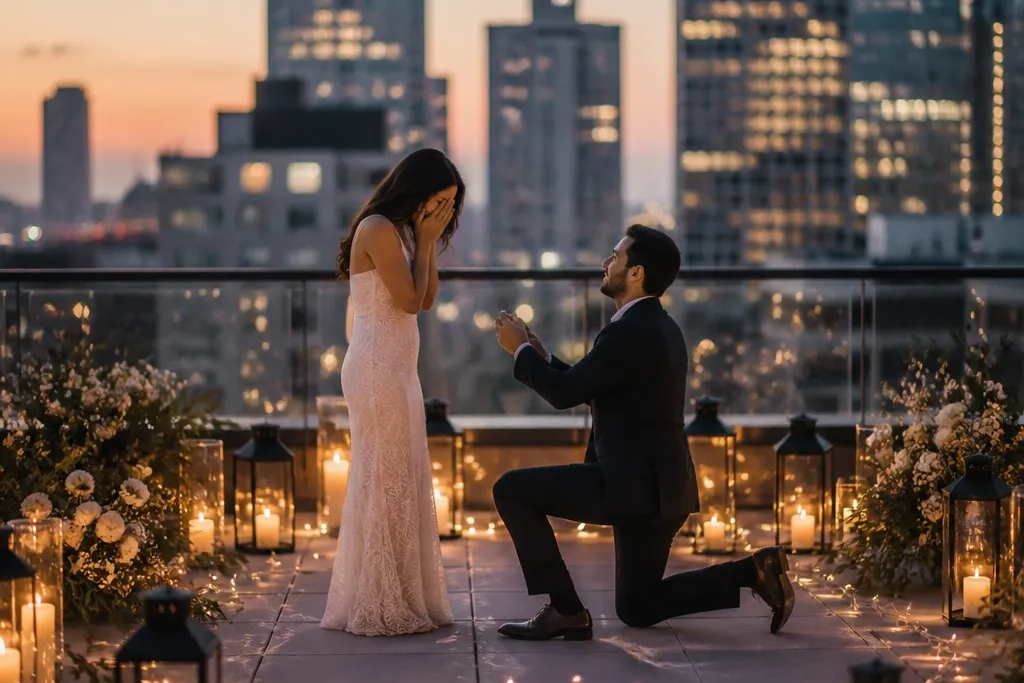
LED candles are my go-to when you want cozy and quiet. The reason they work is placement: I set them along the table edge so they throw upward light onto hands and faces. Warm white flicker LEDs (not color-changing) look like real candles in photos because there's no weird tint. This flatters deeper skin tones and fair skin alike because the glow is directional and soft. It also works for proposals that are calm and intimate - dinner, dessert, or a private corner in a café.
Start by turning off overhead lights and using only the LED cluster for the scene. Place three candles in a line, then add two more slightly behind them so the background has a gentle glow. Keep the candles at about 6-10 inches from the edge closest to your faces, so the light reaches your cheek area. Use a neutral table runner or plain fabric so the warm light reflects without looking glittery. Finally, test your phone camera: if your skin looks yellow-orange, lower brightness or swap to 2700K instead of 3500K.
Try thisPick candles that have a warm glow diffuser - the ones with visible LEDs look like dots and feel cheap.
Common mistakeDon't use RGB or color-changing candles - the ring photos turn into random color casts.
4. String-Light Swing-Spot for Outdoor Proposals
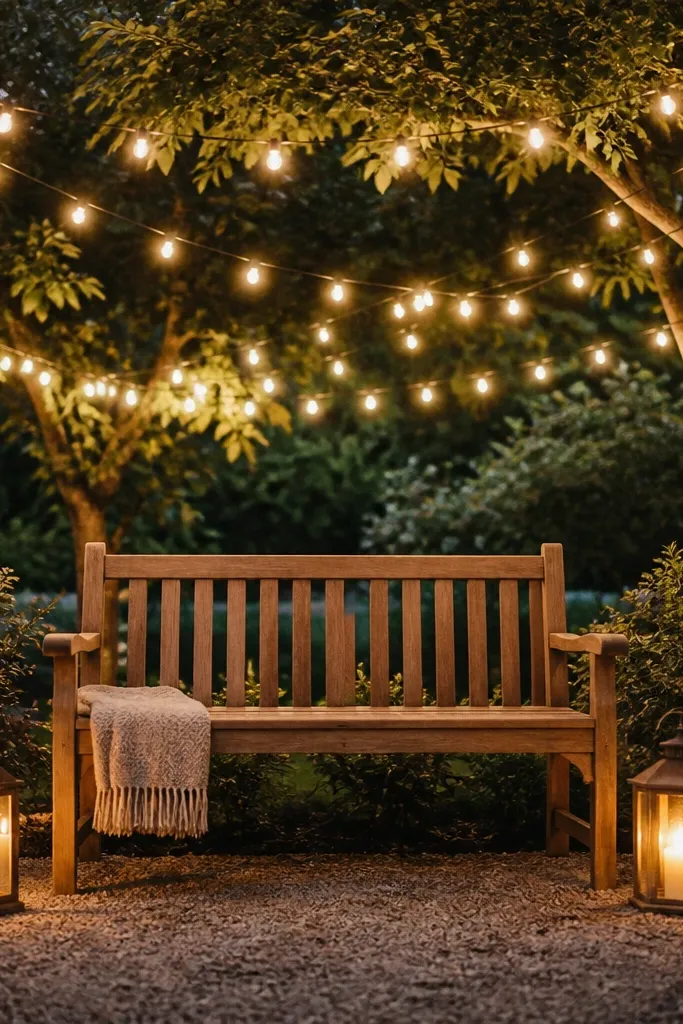
Outdoor proposals look magical when the light follows your body, not the sky. I made a "swing spot" by choosing a bench or small seating area and draping string lights overhead in an arc behind it. Then I added a single warm lantern at ground level so the faces get a soft lift. This setup is forgiving if the outdoors has trees or uneven backgrounds because the draped lights create a frame. It flatters everyone because the warm source is lower than overhead, so you avoid under-eye shadows.
Start by picking a bench, swing, or small seating spot where you can stand close without blocking the light. Hang warm white string lights so they curve behind you, staying about 7-8 feet high at the ends and lower in the middle if your venue allows it. Add one ground-level lantern (or a small uplight) aimed upward toward the bench back so you get a face glow. Keep the rest of the area dark - no other bright floodlights. Then practice your angle: stand where the brightest string segment sits behind your shoulders, not beside your head.
Try thisUse a matte blanket or dark clothing near the light sources so the glow doesn't bounce back too hard.
Common mistakeDon't hang lights too tight and too close - the scene turns into harsh points that look like a backyard party.
5. Warm Light + Sheer Fabric Tunnel
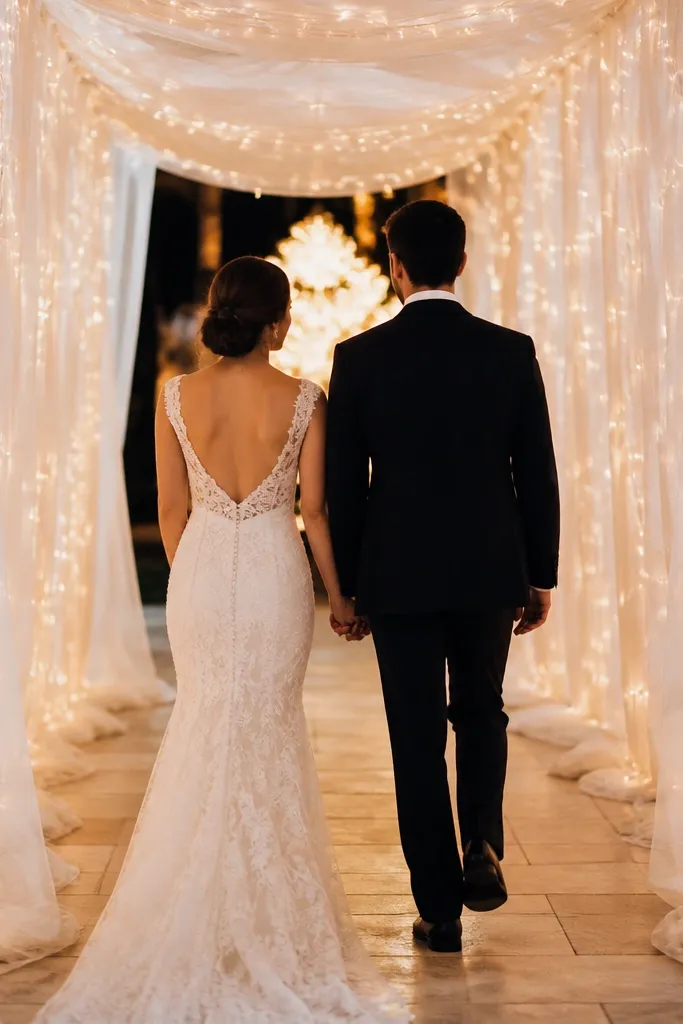
A sheer fabric tunnel looks like a movie set because it softens everything. I threaded warm fairy lights through sheer panels so the light spreads into a glow, not pinpoints. The result feels romantic without being "too much" because the fabric diffuses brightness. This works best when your proposal has a walk-in moment - you can lead your partner through and slow down right before the question. It flatters photos because the tunnel creates a clean leading line toward your faces.
Start by building a short corridor: use two vertical fabric panels on stands or attach sheer to hooks on either side of a hallway. Thread warm fairy lights through the fabric so the glow sits at shoulder height. Leave the center clearer than the edges so your faces are the brightest point. Set a lamp or uplight behind the tunnel for depth, but keep it dim compared to the tunnel glow. Finally, wear solid colors - a light knit or deep color looks best because the sheer fabric already adds texture.
Try thisIf you can, turn off overhead lights and let the tunnel be the only source - your phone will stop hunting for exposure.
Common mistakeDon't use thick, non-sheer fabric - it turns the lights into harsh blobs instead of a soft tunnel.
6. Ring Spotlight with Tiny LED Pin Lights
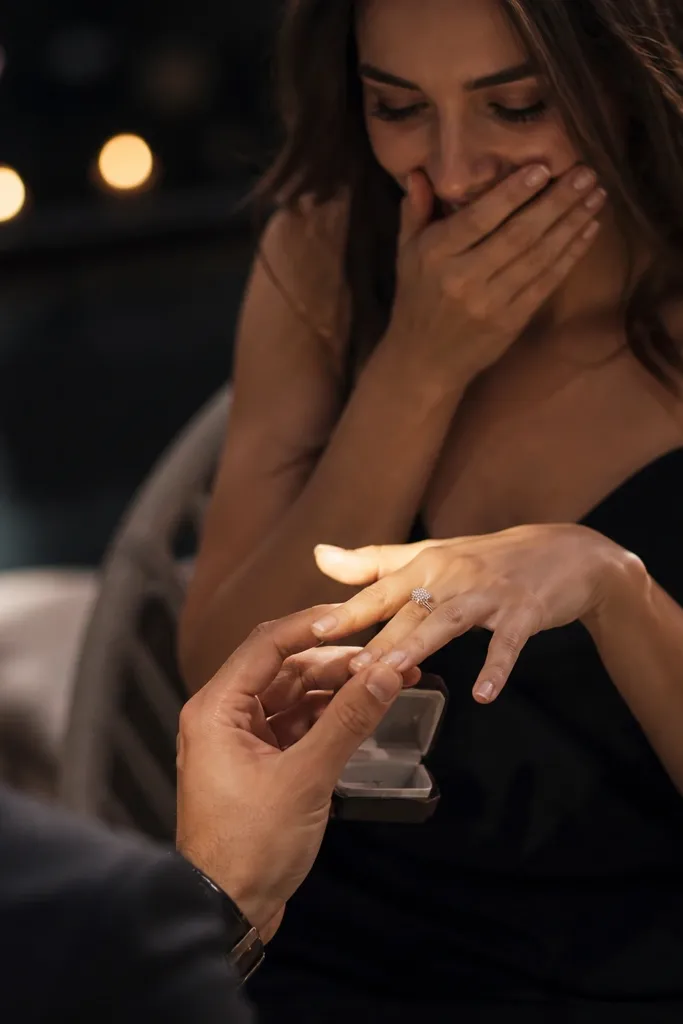
This is the trick I wish I used earlier: light the ring so it actually reads in photos. Tiny LED pin lights (the kind made for crafts or small photography) let you aim brightness exactly where your hands go. When you keep the rest of the scene dim, the ring pops without washing out your faces. This works for any venue because you're not relying on the room's lighting. It also helps if your partner's hands are in darker gloves or sleeves - the light catches the metal and stones.
Start with a small warm LED pin light and tape it temporarily (or clip it) to your wrist support, a stand near your hands, or the underside of a nearby table edge. Turn off overhead lights so the pin light becomes the brightest point. Practice the exact hand position where you'll kneel or stand - move the pin until the ring face catches light at that angle. Then set your phone to focus on the ring area, not your face, before you start the proposal. Keep your clothing darker or neutral so the pin light reflects naturally onto the ring instead of bouncing everywhere.
Try thisAim the pin light slightly from the side, not straight on - it gives sparkle instead of glare.
Common mistakeDon't crank the pin light brightness - over-bright LEDs blow out stones and make ring photos look flat.
7. Balcony Step Lights for a Clean Walk-Up
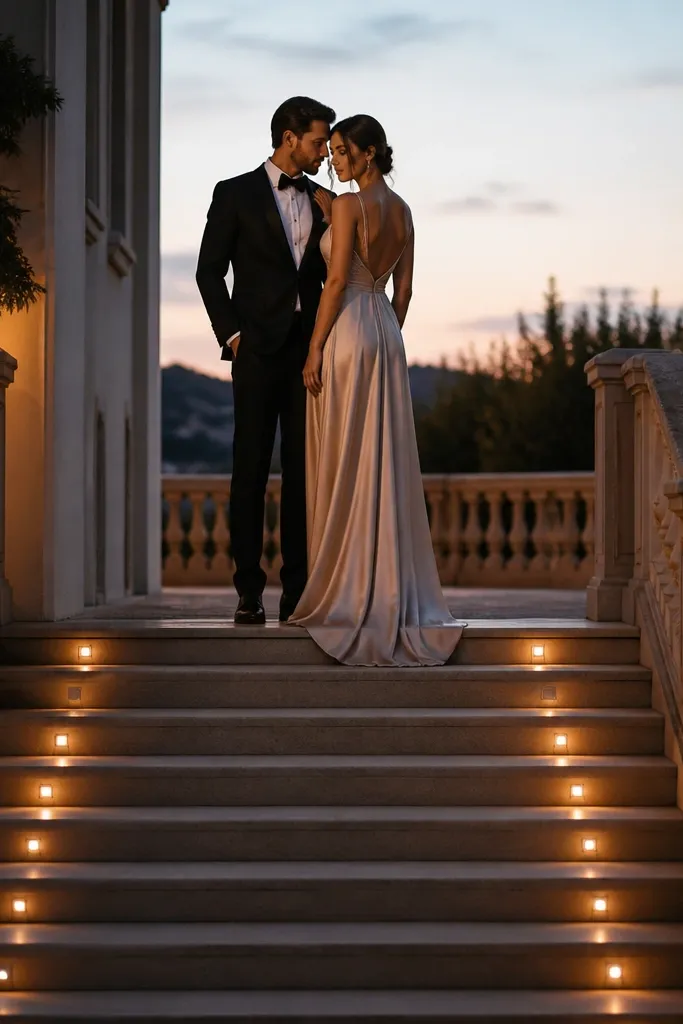
Step lighting makes the whole proposal feel choreographed. I used small warm step lights along the edge of stairs so the path glows and your faces stay lit when you pause at the top. This is the best move when the location has a natural route - stairs, a walkway, a driveway path. It flatters because it adds light from below and reduces under-eye shadows. Also, it keeps people safe, which matters if you're doing a kneel or handing a ring box on uneven ground.
Start by placing the step lights along the edge where your feet will land, spaced about 12-18 inches apart. Choose warm white so the glow looks like lanterns, not daylight. Test the brightness by standing at the top: you should see the path clearly but your face should not look overexposed. If you're using battery lights, hide them behind small landscaping stones or inside planters so they don't look like gadgets. Finally, set your proposal spot so your partner faces the brightest step line when you kneel.
Try thisIf your stairs are narrow, use fewer lights but place them closer together - tighter spacing gives a smoother glow.
Common mistakeDon't put step lights too far apart - you end up with flicker gaps that look accidental.
8. Lamp Shade Bounce for a Soft Indoor Glow
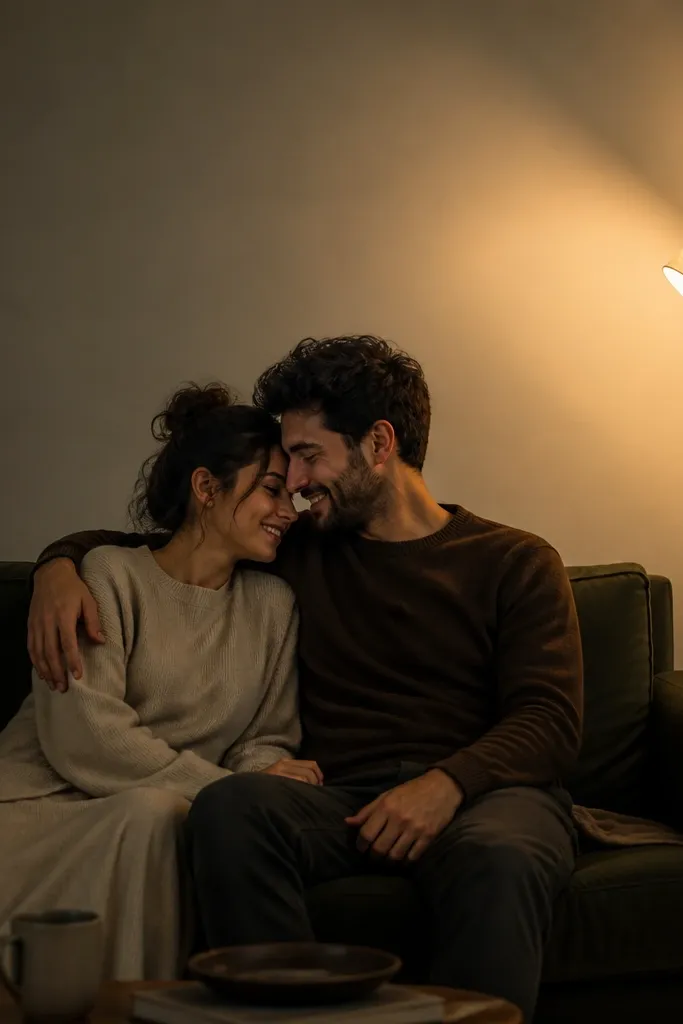
If you already have a lamp, use it like a lighting designer. A cream or light fabric lamp shade bounces warm light onto a wall behind you, which gives a gentle glow without visible LEDs. I've done this in small living rooms where stringing lights would look messy. It's flattering because the light source is big and diffused, so it softens skin texture and reduces harsh shadows. This is great for proposals that happen on a couch, near a fireplace, or in a living room corner.
Start by using a lamp with a warm bulb (2700K if you can). Turn the lamp slightly toward a wall behind where you'll stand, not straight at the room. Dim the room by turning off overhead lights and closing blinds to block random daylight. Add one small accent light near your hands if needed, but keep it weaker than the wall bounce. Then stand about 3-6 feet from the wall so the glow spreads across your faces rather than pooling on the far side.
Try thisUse a cream shade over white plastic - white shades can look too cool and make skin look flat.
Common mistakeDon't use a bright bare bulb or a blue-tinted bulb - it kills the cozy look fast.
9. Window-Glow Backdrop with Warm String Curtains
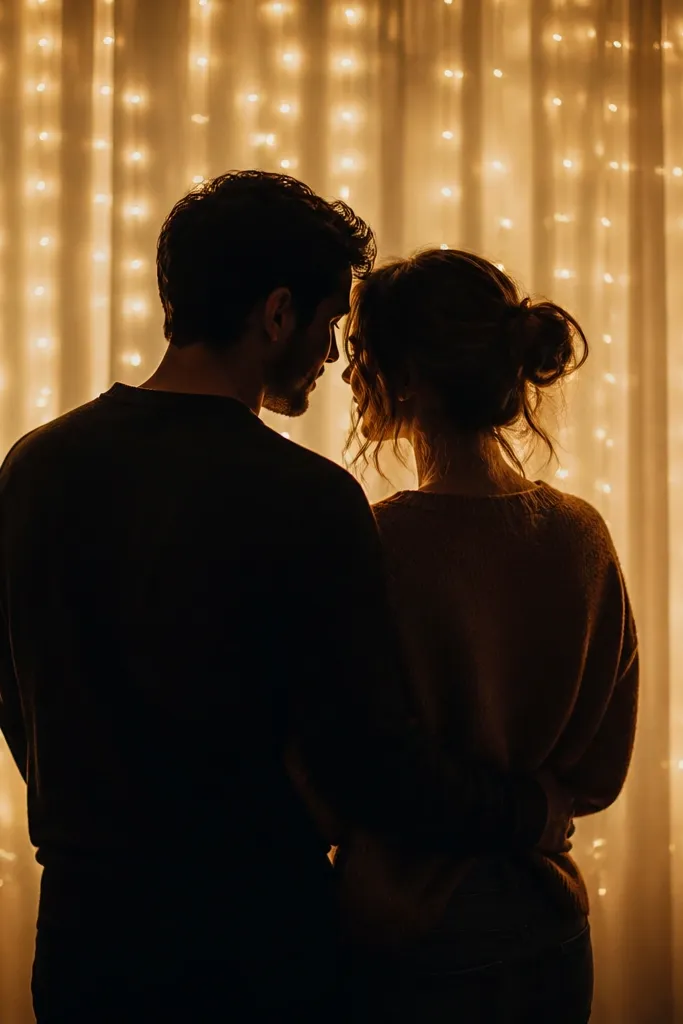
String curtain lights on a window make a clean, romantic backdrop without extra setup. I taped a warm string curtain behind the couple so the glow outlines shoulders and hair, giving you that "soft halo" effect. This is especially good when your venue has a plain wall but also has a window you can control. It flatters because the light is behind you, which reduces the need for direct brightness on faces. If your partner has medium to deep hair color, the contrast looks gorgeous.
Start by hanging the string curtain so it fills most of the window area behind you, not just the edges. Use warm white only - avoid cool white because it looks sterile against skin. Turn off other lights and keep the room dim so the window becomes the brightest element. Place the couple 2-4 feet from the window so the light outlines you but still lets your faces be visible. Wear solid colors and keep patterns minimal so the glow doesn't compete with busy fabric.
Try thisIf your window has blinds, close them halfway - it diffuses the glow and makes it look softer on camera.
Common mistakeDon't place the string curtain directly next to your head - you get distracting hotspots on the side of your face.
10. Drape + Fairy Light Garland on a Plain Backdrop
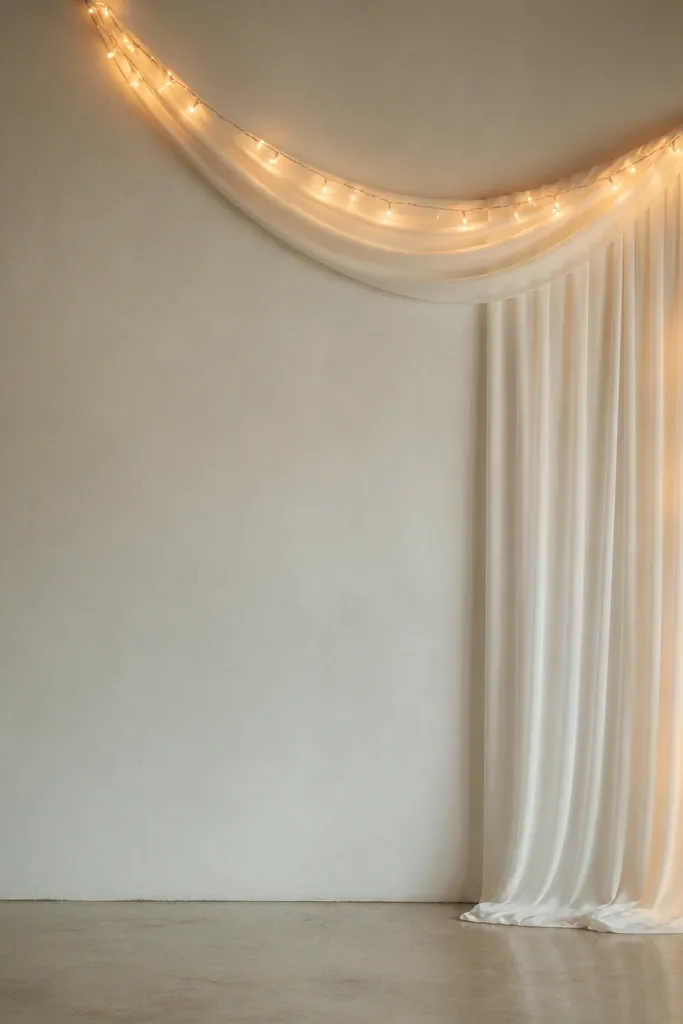
This is the "simple but not cheap" combo I used in a rented event room. I draped a single floor-length white fabric panel, then ran warm fairy lights along the top curve and down one side. The drape makes the lights look intentional and gives the room a focal point without turning everything into a glowing mess. It flatters because the vertical line from garland down the side narrows the visual space around you. It works well for both men and women because it pairs cleanly with tailored outfits and dresses alike.
Start by hanging one drape panel so it falls straight - use tension rods or heavy tape on the wall side so it doesn't sag. Add fairy lights along the top edge first, then let a controlled strand fall down the side you'll stand near. Keep the lights warm white and space them so you can still see the fabric texture between bulbs. Place the proposal spot in front of the drape, centered under the brightest part. Then style your outfit so it contrasts with the drape - black, navy, deep green, or creamy beige all look good.
Try thisPin the fairy lights to the fabric with small clips so they don't slip and create lopsided sparkle.
Common mistakeDon't hang lights directly on bare wall behind you - it looks like a last-minute decoration.